How To Repair Chipped Tile
DEAR TIM: I have a gorgeous white tile floor in my home. It’s a long story, but I dropped something and chipped a tile. I tried to hide it with a throw rug, but my wife caught me. To get out of the doghouse, I need to repair the tile. Do I have to take out the old tile and replace it with a new one? I would think matching the grout would be very hard to do. Is there another way to repair the chipped tile that will work and get me back into the good graces of my better half? Andrew V., Perth, Australia
DEAR ANDREW: I’m reminded of the time forty years ago when I ruined some brand new ceramic tile in the kitchen of my second home. It was one-of-a-kind hand-painted backsplash tile near a sink that I sprayed with molten copper and steel. I need not go into the details about how that happened, but suffice it to say my better half was standing next to me just before the foolish accident and had asked me if I knew what I was doing. The sparks, smoke and molten splatter told her all she needed to know.
Here’s the good news. You’re going to be able to repair the chipped ceramic tile in less than a day. You do have options with respect to how to accomplish the task. I’d recommend you also purchase a box of fine chocolates to supplement your peace offering. Too bad you don’t live in the United States because there’s a candy shop in Cincinnati, Ohio that would go a long way to satisfy your wife’s sweet tooth.
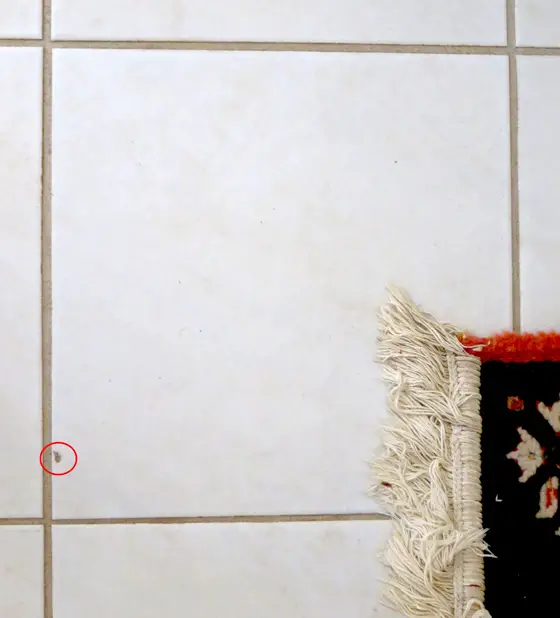
See the small circled area where the white tile is chipped? This can be repaired in less than an hour! Photo Credit: Andrew Vous
Let’s discuss replacing the chipped tile and the challenges that presents. Sometimes you have to do that because the chip in the tile is so big that you may not have the skill set to repair it using the secondary method I’ll describe in a minute.
If you decide to remove a ceramic floor tile, the first place to start is to make sure you have an exact match of the tile. Most people don’t have any spare tile left over at their homes. I feel that builders and remodelers should always leave behind spare tile and put it in the original boxes it came in. Homeowners should always keep the tile and hand it off to future owners of the home for all the obvious reasons.
In addition to saving the spare tile, it would be great if you had some of the original sanded grout. It’s harder to preserve sanded grout because the Portland cement in the product wants to harden as it’s exposed to humid air. To preserve it, you need to place it in a tightly sealed container and freeze it. The air inside most freezers is exceptionally dry.
If you don’t have any spare grout, then you have to match it. If you don’t get a perfect match, the new grout line surrounding the replaced tile will look worse than the current chip! If you do decide to replace the tile, then you need to deep clean the tile and grout first and allow the grout to dry so you can see its true color. I recommend using certified organic oxygen bleach to clean tile grout.
The photograph you sent me is excellent (see above). The chip appears to be the size of a green pea or pencil eraser. I’ve repaired many chips like this in less than four hours. You’re going to do the same.
The first thing to do is be sure the chipped area is clean and free of all dirt, dust, oil, etc. Once it’s clean, then you’re going to mix up some rapid-set clear or white epoxy. The epoxy I use sets up in about five minutes after it’s mixed.
I’ve had great success with a product that’s the consistency of honey when it’s mixed. It’s self leveling and works great in the field area of a tile. You add just enough epoxy so it flows and is the same level as the surrounding glazed finish.
In your case you’re going to have to work a little harder because your chip is on the edge adjacent to the sanded grout. This area of the tile often has a slightly rounded profile and you don’t want the epoxy to run down onto the grout. You’ll have to add the epoxy in at least two applications and build up layers over a period of 30 minutes.
Once you get the epoxy placed and the chip is filled to the right height and profile, you paint the epoxy with a matching paint. You’ll use a fine artist brush so you don’t get any paint on the adjacent tile or grout. Put on at least two coats. Once the paint is cured, this could take several days, then you coat the paint with three coats of water-based clear urethane.
I want you to refine your repair skills first using some scrap tile you have around the house or you buy. Chip a piece and do all I say until you’re an expert at the method. Do not try to do all I say the first time on the tile in your kitchen. You only get one chance to repair it correctly and you need to have great skills and magic. You’ll attain those rapidly with a few practice sessions out in your garage.
Let me know the instant you’re out of the doghouse and how the chocolates were received. I’d also like to see an after photo taken of the tile once you repair the chip.
Column 1132