Wallpaper Tips and Tricks
DEAR TIM: My wife wants me to wallpaper a room. I've never done wallpapering before. I'm really worried that I'm going to mess it up. Can you give me the executive summary on some of the most important things to know before I start this intimidating job?
Is it possible to get professional results the first time out of the gate? What are the biggest mistakes you can make? Brad T., Richmond, VA
DEAR BRAD: First, I believe you can get excellent results even though you're a rookie. It's absolutely impossible in this tiny space for me to impart all the knowledge I've gained over the years hanging hundreds and hundreds of rolls of wallpaper. But I believe I can give you some tips that will help you succeed.
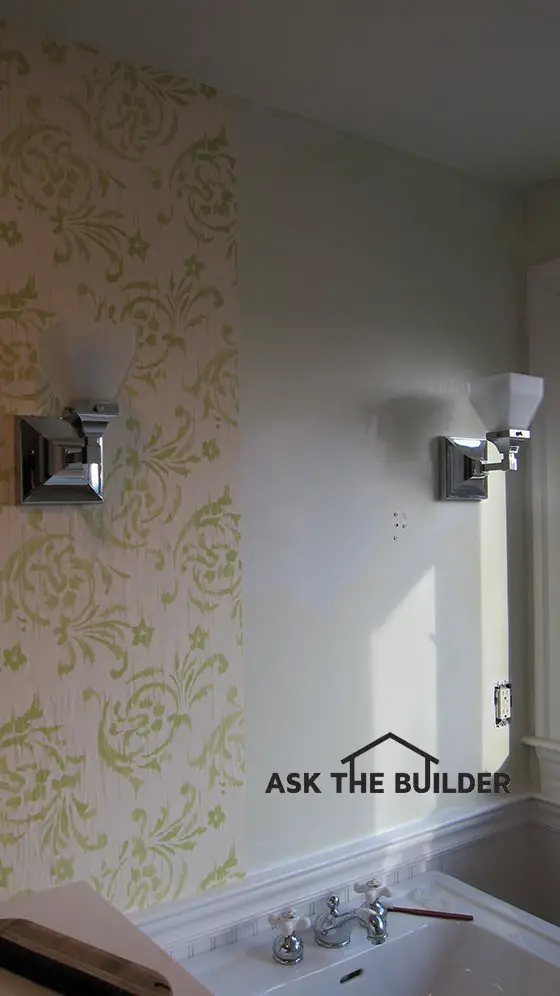
The light fixture was taken off the wall before the wallpaper was installed. Don't try to cut around things like this. ©2017 Tim Carter
The first thing you need to do is prepare the room for wallpaper. This means the ceiling needs to be painted, all cracks between woodwork and walls need to be caulked, the walls need to be sealed with a special wallpaper primer, and the woodwork needs to be painted.
The actual wallpaper is the last thing that happens in a room that's being redecorated.
The special wallpaper primer is mission critical. It seals the wall surface so the wallpaper glue does not penetrate through to the drywall paper.
This primer will be an enormous help to you as a rookie. It allows the paper to be re-positioned fairly easily after it contacts the wall in case you need to slide the paper slightly. Don't skip this special primer.
I would recommend using a pre-pasted wallpaper your first time out. To activate the paste, use a premixed clear activator. Don't soak the paper in a tray of water to activate the paste.
If you soak too long, you'll dilute the paste. The activators ensure you never dilute the paste. Apply the activator with a new paint roller cover. It's easy.
Once the activator is applied to the back of the paper, fold the paper onto itself so the glued surfaces are touching one another. Wait ten minutes before you try to hang it.
You may panic thinking you'll not be able to peel it apart. Don't worry, it will come apart in ten minutes. This is a mission-critical step that allows the paper to expand and relax.
If you don't do this and apply the paper immediately after you activate the glue, you'll get bubbles in the paper.
The first strip of paper needs to be perfectly plumb. I always try to start the first piece immediately adjacent to the least visible corner of the room.
Be sure one edge of the paper wraps around the corner no more than 1/4 inch. You want to start in this obscure corner of the room because this is where you'll end the job and the odds of a perfect pattern match here are 1 in a million.
Just A Few Tools
Let's get started with the tools. Fortunately, you don't need many tools to wallpaper.
Here's a list that will get you going on this job:
- retractable razor knife with snap-off blades
- 4.5 or 6-inch drywall taping knife
- smoothing brush or plastic smoother
- 4-foot level
- grout sponge
- measuring tape
- paint roller & pan
- paint brush
Click the Image Below to get all, or some, of the tools now:

opens in a new windowCLICK HERE to get all the tools I recommend in one place. It's easy and fast.
Draw a very fine plumb pencil line 1/8 inch away from the other edge of where the paper will be on the wall. I never hang the paper on a pencil line as it can show through the seam where two pieces of paper meet. Just keep the paper the same distance away from the line and it will be plumb.
Use a 6-inch wide flexible drywall taping knife to help you trim the paper at the ceiling and where it touches woodwork. If the knife is new, take a metal file and round off the sharp edges of the tool. Failure to do this will cause the paper to tear if you slide the blade along the paper.
Before you hang a piece of paper, use the blade to scrape off any tiny bumps on the wall. These nibs will show through wallpaper and look like tiny pimples.
Don't stretch the paper as you hang it. As you hang the subsequent pieces and are matching at the seams, start applying the paper at the seam and smooth the paper out sideways and up and down.
Don't trap air bubbles in the paper as you install it. Use a special brush or plastic smoothing tool to smooth the paper. But don't press so hard you squeeze out the liquid paste at the edges!
Be sure to take off all electrical cover plates, wall sconces, anything that you can easily remove from the wall that you have to cut around. This is how professionals get great results. Be very careful trimming paper around live electrical outlets and switches.
Your razor knife can short out against live wires and screws. You can hurt yourself, ruin the paper or start a fire!
To get pro results at all inside corners, you have to only have about 1/4 inch of paper wrap into and around the corner.
This means you have to make a long vertical cut after the paper wraps around the corner and then you overlay the cut piece on the tiny sliver that wrapped around the corner. Be sure to re-plumb this new thin starter strip so all subsequent pieces on that wall face are plumb.
I urge you to somehow practice hanging paper in a very small room or closet first to see how it all works. You'll never regret doing this practice exercise. You need to get comfortable using the tools and seeing how to control the paper on the wall.
Column 910