BOO! Happy Halloween! I'm going trick or treating tonight festooned as a telegrapher! Pretty good alliteration, right?
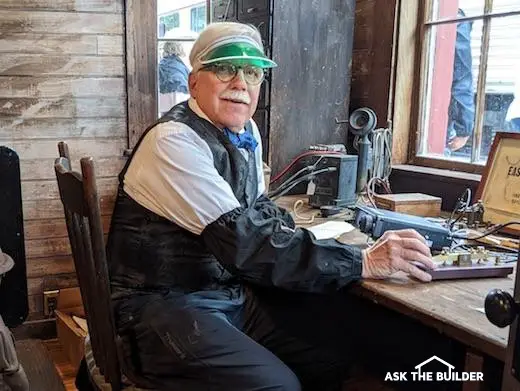
How about you? All new Ask the Builder subscribers are supposed to wear costumes! Are you dressing up in a flouncy skirt popular in the 50s and early 60s? Or maybe you've decided to be a train engineer or a hayride driver with bib overalls and flannel shirt.
If you're a seasoned subscriber, you know autumn is my FAVORITE season of the year. Everything about autumn is amazing. The colors here in New England can take your breath away. Here's a photo I captured just three days ago.

If Bob Ross were alive, he might take that photo and create a painting of it in about 25 minutes! I loved his show. He had the most soothing voice! My son got me Bob Ross socks for Fathers Day. Fun!
I marvel at the ability of any painter who can take a blank canvas and create scenes like you see above in minutes with maybe a few happy accidents! I have poor artistic skills. CLICK or TAP HERE to see what I mean. If you want to use the above photo to create an oil, acrylic, or watercolor painting, feel free to check out the high-resolution version.
The Golden Hour
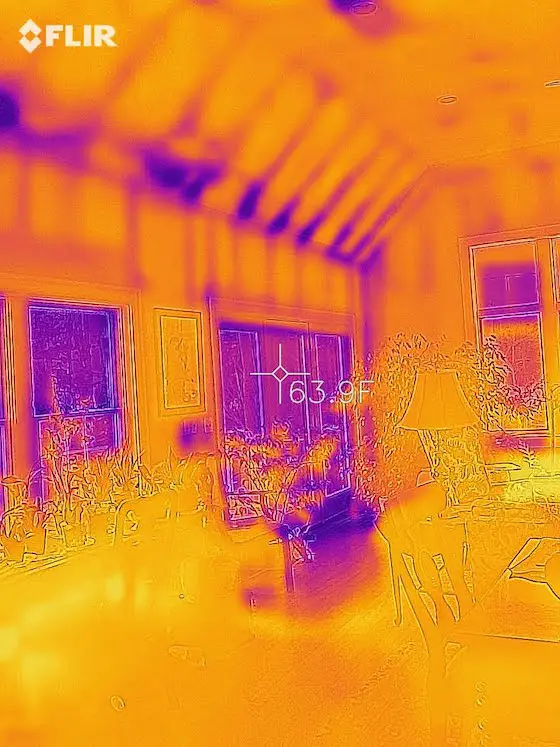
Are you aware of the golden hour? It's that magic time of day just after sunrise and before sunset that excites painters and photographers alike. I'm sure you've noticed that reds and oranges look more vibrant during this short time span.
That said, if you wanted to experience the most vibrant blues and greens, when might be the best time of day to do that? More importantly, what's happening? What's causing this color shift?
It's all about color temperature. CLICK or TAP HERE to get your head all around how the color temperature of light sources AFFECTS the colors you see!
For example, you may be out shopping for a fleece. You select one that appears to be a nice light green but when you get home, it's gray! Yes, this can happen if the overhead lights at the store have funky bulbs in them completely different from your light bulbs at home.
Gray & Black Water
Several days ago, Dori ordered one of my plumbing isometric/riser diagrams for her new house project. She was the first customer ever to request two separate building drains - one for black water and one for gray water. Look at her drawing.

Here's a riser isometric drawing showing the separation of gray water from black water in a home.
If you're building a new home, you absolutely should consider installing at least one gray-water sink. I'm talking about the slop or utility sink you find in many laundry rooms or sometimes in a garage that doesn't get below freezing.
Use these sinks to clean nasty things like paint brushes, greasy items, etc. You NEVER WANT this polluted water to enter a septic tank. If on a city sewer, your city sewer plant manager will appreciate you not sending him a bunch of goopy latex.
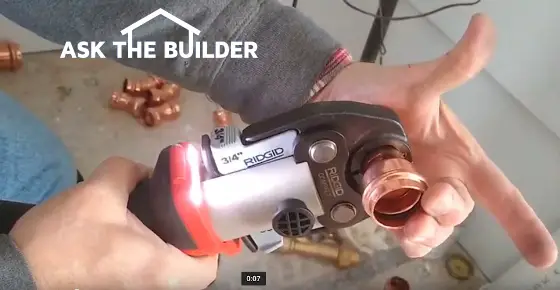
If you're about to build a new house or do a major remodeling and want to SAVE THOUSANDS of dollars, you should consider doing your own plumbing rough in using one of my drawings. Zoe in New Mexico did it this past spring. As she got close to installing the pipes, Zoe scheduled two phone coaching sessions.
When her inspector showed up to look at all the below-rough plumbing, he said, "Zoe, this is the best DIY install I've ever seen in my thirty years of inspecting. It's even better than what some plumbers do." Zoe got it right using my drawing and with me looking over her shoulder in the phone calls.
I also draw water-supply-line drawings and gas-line ones too. It's really important to get the size of gas lines correct. You don't want to starve a gas-burning appliance of the fuel it needs!
DIY Interior Walls
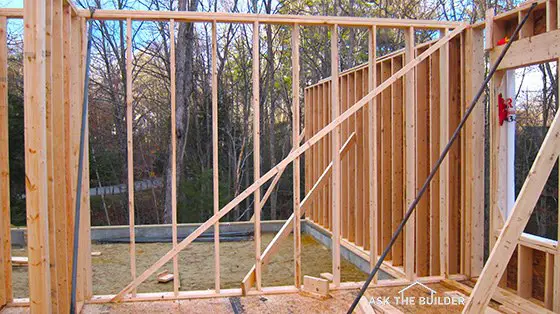
How about building a new interior wall in your home? You can do this. I know you could easily figure out the angles on this one.
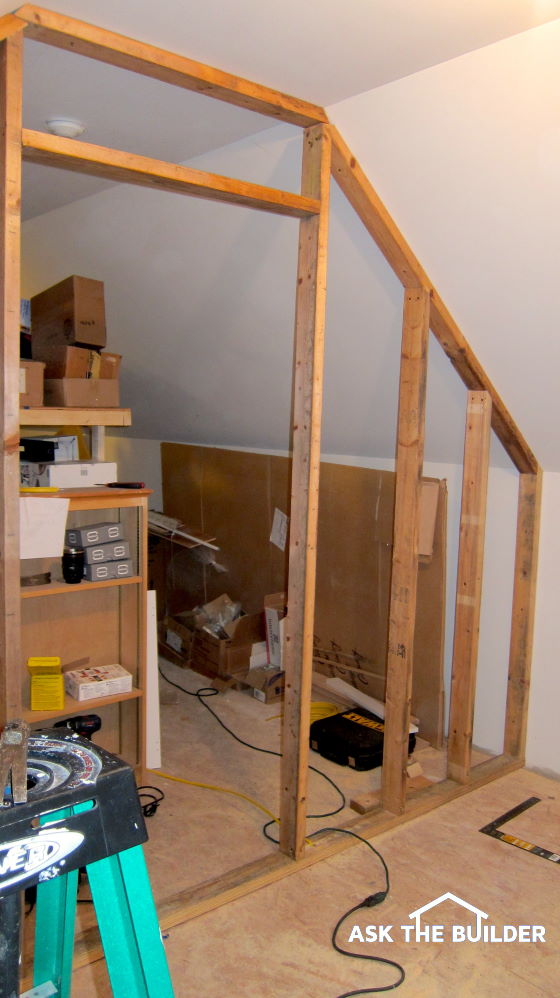
This is a new interior wall in an existing home. The angled ceiling makes the job a bit more difficult. Copyright 2021 Tim Carter
The door opening still needs to have the jack or trimmer studs installed but for the most part it's complete.
CLICK or TAP HERE for a quick primer on how to save yourself lots of sweet moola building your own walls. Don't worry, the carpenters in your area are busy. You'll not take food off their tables.
BTW, there was a mistake made building that wall in the photo. It should have been built two feet past that large 4x8 piece of cardboard leaning against the wall!
Faux Slate Roofs
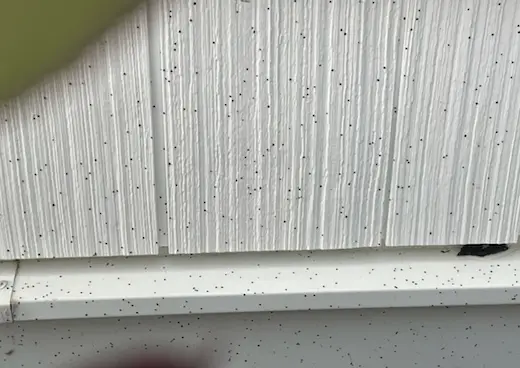
Would you like to have a roof that gets "Ooooos" and "Ahhhhhs"? I've got one. Mine is made with DaVinci faux old world slate. It's the light-gray roofing in the photo below. When visitors or delivery people see my roof they almost always say, "Wow, real slate! It looks fantastic."
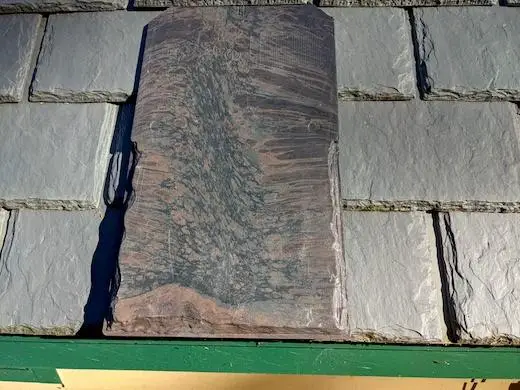
The piece of faux slate in the center is one made by Brava. As you can see, it's got very interesting variegation going that resembles real multi-colored slate. There are other more-subtle colors in the Brava palette that don't have so much contrast. I decided to show you the one with the most color variation.
If you want a roof that will last 100, or more, years and you want the WOW factor, faux slate is but one way to go. These shingles are easy to install.
That's the voice of experience talking. I hand-nailed every one of the ones on my house - all 42 squares of them! Oh, and the roof pitch was 12/12 and 9/12. Watch this payoff video of my roof. I only almost fell off four times.
Inflation is REAL
Are you feeling the burn of inflation? Kathy and I sure are. When you sell products like we do - STAIN SOLVER for one - and offer FREE SHIPPING, you get emails like this:

When the shipping cost of your product is the MOST EXPENSIVE line item for all the costs that go into getting the product in your hands, emails like this are especially troubling.
A 5.9% increase? Are you kidding me?
What's this mean to you? If you want STAIN SOLVER at the current LOWER PRICE, then you better order before we have to RAISE our PRICES once more because of things out of our control.
I'd say that's more than enough for a Halloween Sunday.
Tim Carter
Founder - www.AsktheBuilder.com
Stocking Stuffer - www.StainSolver.com
Zombie Shuffle QRP - www.W3ATB.com
Do It Right, Not Over!
P.S. You've got rust on your concrete steps like this. Climb these steps in Cincinnati and behind the doors, you can light votive candles. How do you get the rust off? How do you PREVENT the rust in the first place? CLICK the photo for the answers, silly!!!!