Workbench
DEAR TIM: I need a workbench at my house. After reviewing many workbench plans, I am a little confused. Is there a difference between a garage workbench and a workbench stand? Is there an advantage to making a metal workbench instead of one made from wood? What would you use for the workbench legs? What is the most affordable way to build a workbench? Laura C., Glendale, CA
DEAR LAURA: A workbench is a subject near and dear to my heart as you might imagine. I have spent countless hours standing at mine engrossed in a project of my own or often something I am doing with one of my children. A garage workbench or one in a basement can be the center of the vortex of enormous pleasure and sometimes great frustration; all in the same project!
There is an enormous difference between a workbench and a workbench stand. You may discover that once your workbench is finished you may need a small stand on the workbench to support different things you are adjusting or finishing. A workbench stand is often a small tripod device that adjusts to different heights. They can come in very handy on any number of projects.
This sturdy and attractive workbench was made entirely from scrap material. PHOTO CREDIT: Tim Carter
There are indeed pros and cons to both metal and wood workbenches. A metal workbench can have enormous strength, but fabricating one can be a challenge. Those who have great welding skills and the needed equipment can quickly use common angle iron to make the legs, shelf supports and the horizontal brackets needed to secure the top to the undercarriage. If you can't weld metal, you can substitute sturdy angle iron that has holes punched in it at regular intervals. Nuts, bolts and washers take the place of welds when connecting the pieces of metal together.
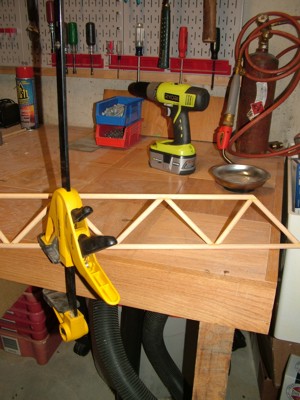
Wood is often the material of choice because it is affordable and many people have both the skills and the tools to work with it. What's more, with a little preplanning you might be able to build your workbench for nothing. I did just that with some dandy scrap lumber I had accumulated. Much of the lumber was solid oak that was salvaged at the loading dock at a supply house I frequent on a regular basis. If you or a friend work at a place that has a shipping and receiving dock, you might be surprised at the rich supply of wonderful wood that could be yours for the asking.
I was able to procure some rough-cut oak that measured 3 by 3 inches. These made wonderful legs for my most recent workbench. I used parts of shipping pallets for the frame of the actual workbench. The top of my basement workbench is made from a salvaged piece of plywood that I then covered with some leftover squares of oak parquet flooring. Try to use oak or some other durable hardwood for the workbench top as these woods can take the years of abuse typically levied on workbenches.
Pay attention to the depth of your workbench top. If you plan on having either metal or wood pegboard on the wall above the workbench, then only make the workbench top 24 inches deep. Resist the temptation to make the top a generous 30 or 32 inches deep. If you do, you will discover it is hard to reach things hanging from the pegboard. But if you plan to have 12-inch-deep wall cabinets over the top, then make the top 32 inches deep for sure.
Be sure to brace the workbench so it does not sway side to side. You can do this quickly with a scrap piece of plywood that is screwed to the back legs of the workbench. The taller the piece of plywood, the stronger the workbench will be.
The height of the finished workbench depends on how tall you are. To get the height right, experiment with your breakfast table. Place a clean drop cloth on the table and place objects on the table that you might work on. Stand at the table and see if the height seems right. If you are tall, try this at a regular kitchen countertop.
If you are looking for scrap or remnant oak flooring for a workbench top, you can also use regular oak strip flooring. I did that years ago on several workbenches I built for customers. There was a bundle or two of leftover flooring that made a superb top.
Be sure your workbench top has an overhang of at least 4 inches on the front and the sides. You will discover this will come in very handy if you need to use larger adjustable clamps to hold something in a steady position while you glue, drill or sand the object.
To keep your workbench top looking like new, always keep a few scraps of three-quarter-inch-thick pieces of plywood nearby. Place these under things as you drill so the drill bit does not puncture the surface of the actual top.
Column 705
Tim built custom homes and did ultra-custom remodeling for 20+ years before launching his Ask the Builder media presence. He was selected as one of the Big 50 by Remodeling magazine in 1993. This award gave birth to Ask the Builder in October 1993. Tim also operates https://DrawPlumbingPlans.com. His @askthebuilder YouTube channel was the first home improvement channel on YouTube.
I need a workbench that is 18" deep not 24" that most are,,,any idea where to purchase one ??