Garden Sheds
Are you interested in garden sheds? Or a new storage shed? My wife and the tools and machines we use to garden were overtaking our garage.
This is a very basic page and it shows you just a little bit of how I have spent the last two weeks. Soon, I will post many more photos, but from these shots you can see pretty much what I am trying to accomplish.
The outcome of this project will be a series of eBooks. There will be an overall eBook showing how to build the shed from start to finish with hundreds of photos. Then, there will be separate eBooks if you just need help with one aspect of the shed. Hopefully some of these eBooks will be completed shortly.
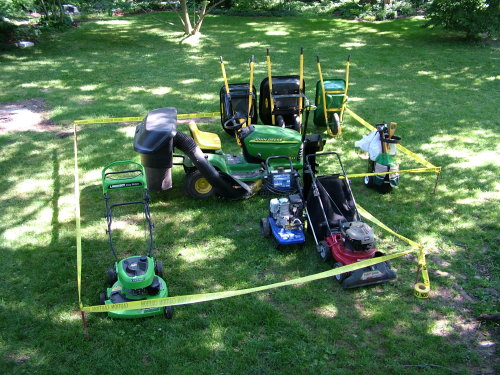
This is the first step in building a shed that will work. You take much of the stuff you are going to store and place it on your lawn. Then draw an outline around the equipment to get some rough dimensions. PHOTO BY: Tim Carter
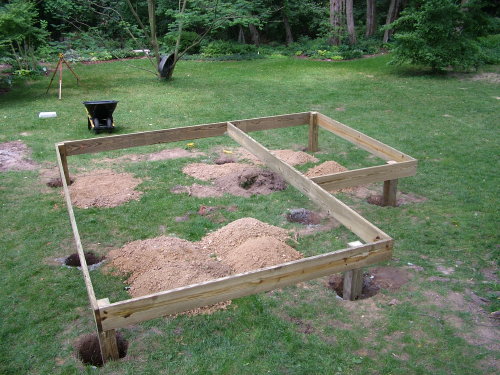
Here is the early stage photo of the outline of the shed. The floor joists are resting on notches cut into the 6 x 6 posts. The pier holes go all the way down to 30 inches below the grass. PHOTO BY: Tim Carter

Here is the floor about 90 percent complete. PHOTO BY: Tim Carter
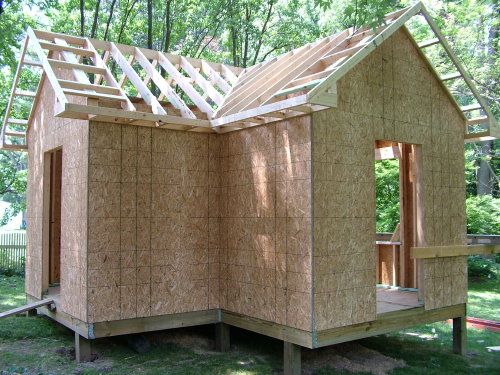
This photo was taken July 8, 2005. The shed was started on June 23, 2005. 99% of the work has been done by me with no help whatsoever. Add in the heat and humidity and you can see why it is taking so long. But I am having a blast. It is really a lot of fun. PHOTO BY: Tim Carter
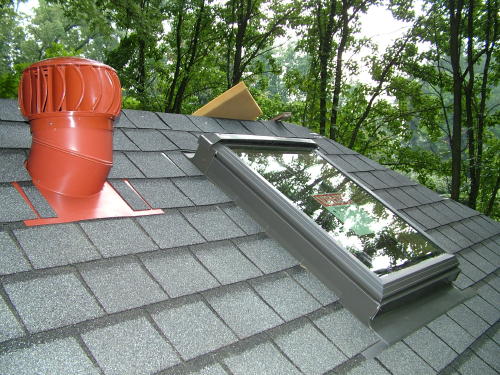
The shed has two Velux skylights and a really neat ventilating roof turbine. The other skylight is around the corner on the other side of the hip roof. The EBooks will show you exact step-by-step instructions how to install both of these things without ever getting a drop of water in your home or shed!
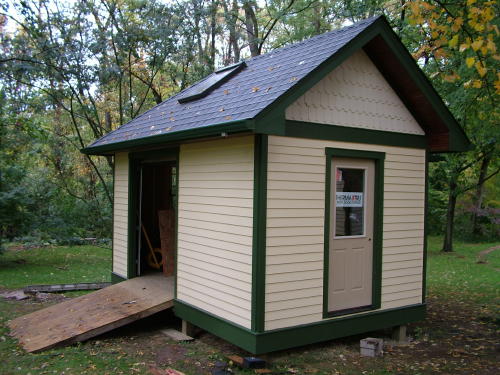
My friends and neighbors who see the shed are amazed. They call it a little house. Look at the cool six-foot wide overhead Clopay garage door that allows me to get my John Deere tractor in and out. How about those fancy cedar shakes in the gable end? Did you notice the real beadboard used for the soffits? If you live near Cincinnati, OH, you can stop by to see the shed in person if you like.

CLICK this IMAGE to get the turbine vents that I put on all my jobs. Great great quality and Made in the USA! Image credit: Lomanco
Tim built custom homes and did ultra-custom remodeling for 20+ years before launching his Ask the Builder media presence. He was selected as one of the Big 50 by Remodeling magazine in 1993. This award gave birth to Ask the Builder in October 1993. Tim also operates https://DrawPlumbingPlans.com. His @askthebuilder YouTube channel was the first home improvement channel on YouTube.