Sanding Block
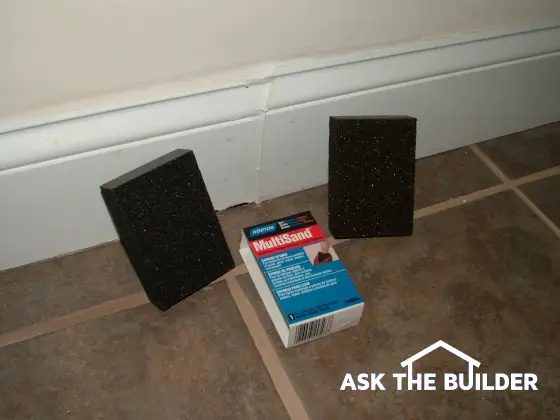
These sanding blocks are the perfect tool to sand the contoured and flat profiles of the baseboard. PHOTO CREDIT: Tim Carter
DEAR TIM: Is a sanding block hard to use? I saw all sorts of sanding blocks at the hardware store just before I was about to purchase traditional sheets of sandpaper. What sand block should I buy? I saw a rubber sanding block, but there were flexible sanding blocks as well. It was fairly intimidating as I don’t know how they work and which one is the best for each task. Help! Leslie C., Stoneham, MA
DEAR LESLIE: I still have my rubber sanding block, but over time the rubber has lost much of its elasticity. In its day, it was an amazing tool. I still use it from time to time, but newer variations of sanding blocks made from different materials are usually my weapons of choice when sanding things.
Years ago when I was a young pup contractor, I used plain sheets of sandpaper to sand things. I quickly discovered that method was fraught with mistakes, wasted time and poor results due to uneven pressure by my fingertips.
Just this morning before writing this column, I was using a grit sanding block. These tools have been around for at least twenty years. The first person I saw use one was my drywall contractor. The flexible sanding blocks he used were about the size of a deck of cards. They were perfect for touching up the joint compound in corners where two walls met a ceiling. I soon discovered they were a multidimensional tool a carpenter like me could use for sanding all sorts of things.
You can use many things to make a sanding block. A simple piece of scrap wood or anything you can get sandpaper to wrap around including empty medicine bottles, dowel rods or pieces of stiff foam board make suitable sanding blocks. The purpose of all these things is to create even pressure on the surface of the material being sanded.
A wood sanding block can mean different things to different users. You may think it’s a block made from wood with traditional sheets of sandpaper attached to it. I’ve used hundreds of these on jobs in the past with fantastic results. To another person, it’s a sanding block made from any material of choice that sands wood. Just hours ago I used a flexible foam sanding block to sand both the flat surface and the profiled contours of a wood baseboard.
Using a sanding block requires about as much skill as it takes to fall off a log. You’ll have more trouble matching the type of grit to the job than you’ll have using these handy tools. If you’ve not sanded much, you’ll discover it helps to experiment with different grits on different surfaces. Coarse grit will shred softer materials leaving deep scratches. But on hardwoods, you may have to aggressively use a coarse grit to make quick progress. You’ll undoubtedly finish all sanding tasks with a fine paper or a fine grit flexible sanding block.
When sanding flat surfaces, you’ll probably get the best results using a rubber sanding block or one that has a pretty stiff surface that’s absolutely flat. Most rubber sanding blocks are sized so that you can get three pieces of paper from a standard sheet of sand paper. If you don’t want to cut your own paper to fit the block, you can almost always get precut pieces of paper made to fit in the block perfectly.
Make sure you get the paper to fit tightly in the sanding block. If the paper has any slack in it, you’ll discover pretty quickly that it will wear out faster and tear where the paper attaches to the pins in the sanding block or where it wraps around the corners of the block.
When it comes to sanding curved surfaces I’m quite confident you’ll agree the flexible sanding blocks are ideal. As you apply pressure to the block, it conforms to the shape of the item you’re sanding. You’ll discover as the grit on the block gets finer, you can wrap the blocks around some very tight radiuses, even the diameter of a standard pencil. That’s amazing versatility.
If you’re working in an older home with sanding blocks, beware of lead-paint hazards. Sanding lead paint creates clouds of toxic dust that can make you or someone else very sick. In extreme cases, it can cause death. Assume that any house that was built prior to 1967 has lead paint inside or outside.
Be sure you take your time sanding. If you want to check for imperfections as you sand, do so in a room with little light. Shine a light across your work at a low angle. The light beams will create shadows where there are depressions. You can also use green light for the same purpose. Green light increases depth perception, and is used by professionals who hunt for surface defects and cracks in materials.
Column 778
Tim built custom homes and did ultra-custom remodeling for 20+ years before launching his Ask the Builder media presence. He was selected as one of the Big 50 by Remodeling magazine in 1993. This award gave birth to Ask the Builder in October 1993. Tim also operates https://DrawPlumbingPlans.com. His @askthebuilder YouTube channel was the first home improvement channel on YouTube.