Decks and Patios – Scale Building Plans
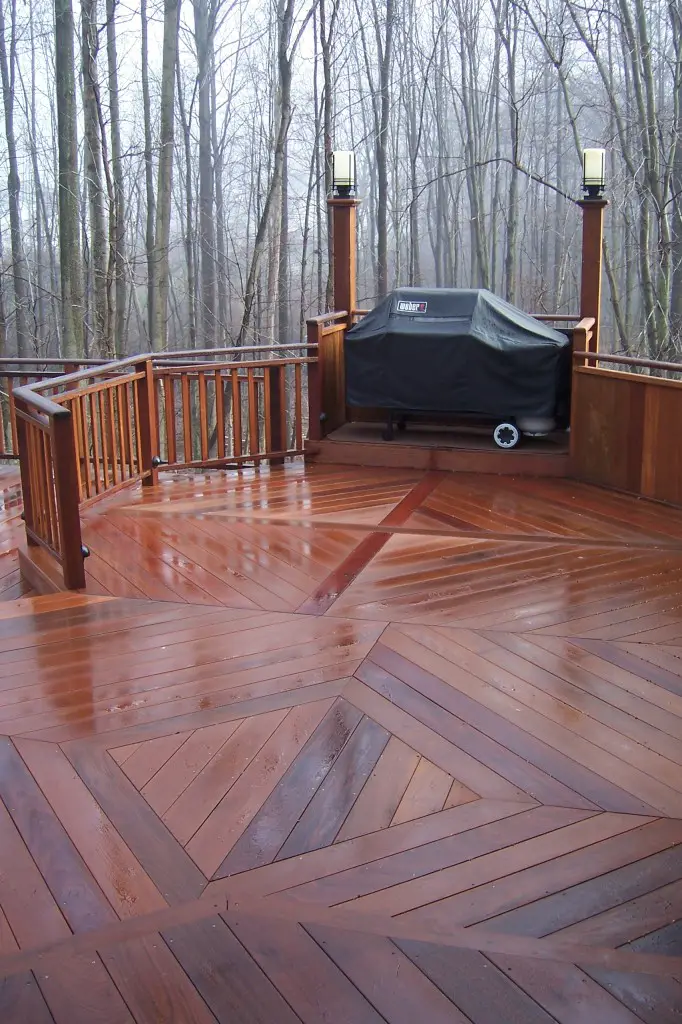
Here's a partial shot of Corey's IPE deck. Look at that craftsmenship. WOWZA!
The Plan
You've thought through your spatial requirements to accommodate the seating, pass-through space and furniture placement. You know how many people you'll likely need to make room for on your new deck or patio. See "Patio or Deck Plans".
Now the fun begins. The easiest way I have found to create a simple plan is to use 1/4 inch graph paper. This is pre-lined graph paper that has four lines to the inch. This type of paper is available at many office supply stores or where you might buy school supplies. Usually, it can be found in 8 1/2 x 11 inch size. This is large enough for our purposes. Buy a pad of this paper if possible, as one or two sheets will not be enough.
What scale to create your plan layout?
The next step is to create small colored cutouts of the pieces of furniture you intend to use. There is nothing hard about this exercise. However, you must decide upon the scale of the plan. I prefer to stick with 1/4 inch equals one foot. That is the size of the blocks on the graph paper, so it is easy to remember that each block on the graph paper equals a one foot square. You will use a separate piece of the 1/4 inch graph paper for your cutouts.
Cut out your furniture to scale
Take the measurements of your furniture and begin to create little squares or rectangles to scale. For example, most regular chairs measure two feet by two feet. Simply cut out a piece of the graph paper two blocks on a side and you have your chair. There is nothing to it! Do the same thing with all the pieces of furniture, including a grill if you intend to have one. If you are going to use a four foot diameter round table, you will find that a quarter (25 cents) is just about the perfect scale size. Check it for yourself. Trace around the quarter, cutout this disk and color it with a marker or colored pencil. I realize that this seems like child's play, but it does work and it is very effective. The coloring is very important. It allows you to see the cutouts on the graph paper. I suggest that you use a different color for the different types of furniture. Make the tables one color, the chairs another, and any benches or special pieces a third color. This will allow you to more easily place the cutouts without confusion.
Don't forget the hallways!
The rest of the job is easy. Take a new piece of graph paper and at the bottom, draw a line across the paper. This line represents the side of your house on which you intend to construct the deck or patio. If your house is irregularly shaped, attempt to duplicate the shape to scale. It will pay big dividends to take the time to do this. In the example at the bottom of the page, I have duplicated the rear of my house to show you what I mean. Locate accurately on the line any doors which you will use to enter or exit the patio or deck. OK, remember the 'hallways'??? Let's put the first one on the plan right now before we go any further. Draw a line from the door or doors across the new patio or deck (even though we haven't drawn it yet!!!) which will replicate the center of the path you will use to get to your lawn, garden, car, driveway, etc. Get the point??? If there are going to be any other pathways or 'hallways' draw them now. If you have decided that you want your 'hallways' four feet wide, draw a faint line parallel to the center line of your path two feet on one side or the other of the center line. Do the same thing on the other side of the center line.
Need help with planning and building your deck? CLICK or TAP HERE to get FREE QUOTES from local companies that specialize in decks and patios.
You should not place any furniture in these pathways. Surely you do not want to have to move them every time you walk out onto your patio or deck? OK, now start to place the cutouts on the graph paper in an arrangement that you feel will work. If you are happy with the arrangements inside your present house, simply copy them. Be sure to be realistic about the spacing between pieces of furniture. If in doubt, simply measure the distance between things in your present rooms. Don't forget to do it to scale. As a test, if you decide to use a four foot diameter table with four chairs, you will need a minimum of a 10 foot by 10 foot area just for these items! Also,that does not count one inch of space to comfortably walk around the table and chairs! Remember, you generally have to pull a chair one foot away from the table to be able to sit down. Check it for yourself.
The last part of your plan is to draw the outer boundaries of your deck or patio. This is entirely up to your tastes. You can simply draw straight lines, or you can add flair to your design by introducing curves. In any event, try to leave enough room behind furniture so that it is not at the edge of the deck or patio. Someone could scoot a chair or table backwards and tip into the grass or landscaping. Think of it, you have gone this far to create a workable plan, so adding a foot or two in either direction seems to make sense.
Before you put your plan into action, be sure to check and recheck your dimensions and the scale of the cutouts. Good luck with your plan!
Column B16
Tim built custom homes and did ultra-custom remodeling for 20+ years before launching his Ask the Builder media presence. He was selected as one of the Big 50 by Remodeling magazine in 1993. This award gave birth to Ask the Builder in October 1993. Tim also operates https://DrawPlumbingPlans.com. His @askthebuilder YouTube channel was the first home improvement channel on YouTube.