Damp Garage Solution
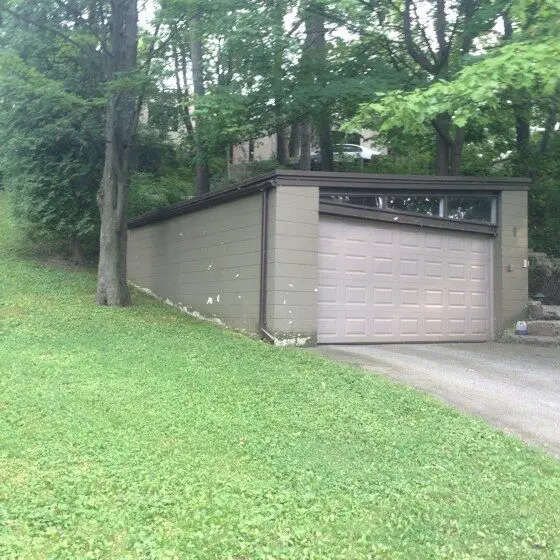
Damp Garage Solution | This garage tucked into a hillside is suffering from dampness and water infiltration. The solution is easy but will take work. Photo Credit: Howard Lee
DEAR TIM: My garage is at the bottom of a hill and is tucked into the soil on three sides. I do get some water leakage through the concrete block walls in the spring and during heavy rains. The asphalt floor is always damp despite running a dehumidifier all summer.
Do you have any solution short of digging out the floor and starting over properly with a waterproof membrane? What could have been done when the garage was built to prevent all the water problems? Howard L., Toronto - Ontario, Canada
DEAR HOWARD: Your garage is like millions of other structures around the world that are built into sloping ground. Builders have been dealing with water issues in these structures for hundreds of years. I was lucky and majored in geology when I was in college. One of my classes was hydro-geology, the study of ground water. The knowledge I gained in those classes allowed me to build houses and garages that were always bone dry.
Let's first talk about what's going on in the soil. Without studying a soil map for your area, I'm going to assume your soil has a high clay content because the land your garage is on has experienced four periods of continental glaciation up there in eastern Canada in the past 2 million years. All that ice was created and melted long before man was around. Isn't that fascinating?
The deeper you dig into the ground, the more compact the clay is. Water has a very difficult time passing through it so rain and snowmelt that enters the soil tends to pass through the soil downslope along the top of the clay. Most of the water moves through the air spaces in the top soil.
Before your garage was built, the water higher up on the hill just continued down the hill until it connected to a small spring or brook. Your garage is acting like a dam and water prefers to take the path of least resistance. Cracks in the concrete block walls or between the block walls and the floor are easy entry points for the water.
Here's what your builder should have done to create a dry garage. This same advice can be used for any structure built into a hill. The portion of the concrete block walls below the soil line should have been waterproofed. There are many different products and methods to waterproof a foundation wall. I used a rubberized asphalt spray and stiff insulation boards on the last house I built and it is still keeping the basement dry.
A perforated drain pipe should have been placed alongside or on top of the footing that supports your concrete block walls. This pipe should have extended around the back and along the two sides of your garage. The pipe should have then extended past the front of the garage with the trench having a minimal slope.
Because the hillside is fairly steep, within about ten or fifteen feet, the ends of this pipe on both sides of the ground would surface out of the ground. Any water entering the pipe underground would readily flow out of the ends of the pipe exposed to daylight and then go back into the top soil to continue its journey to Lake Ontario and then to the St. Lawrence River.
This pipe should have then been covered with washed rounded gravel the size of golf balls or walnuts. The gravel should have extended up to within 4 inches of the top of where the final grade would be where you have grass growing. Water passing through the soil discovers this gravel, immediately drops down through it to the perforated drain pipe and then exits to daylight never having a chance to enter the garage.
To stop water vapor from coming up through the garage floor, the builder should have put down a plastic vapor retarder or barrier under the concrete or asphalt floor. This plastic sheeting is a common product available at any building supply store.
If you want to permanently solve your water issues you need to dig along the sides of your garage and do all I outlined above. It's not necessary to put the perforated pipe all the way down to the top of the foundation footing at this point. I'd probably only extend it to 1 foot below the top of the soil at the two front corners of the garage.
You'll have to use a pressure washer to clean all clay and soil from the concrete block walls once you expose them. Allow them to dry and apply the best waterproofing compound that's available to you. If you choose to hire a company understand that hot asphalt that's sprayed on the walls is just damp proofing. Standard hot liquid asphalt is not a waterproofing material. It will do a great job of keeping dampness from the soil from entering the concrete block, but it will not bridge cracks to stop liquid water.
To stop water vapor from coming up through the garage floor I feel the best way is to install a thin concrete overlay over your existing floor. You need to put down the 6-mil vapor barrier first and then pour 1 inch of concrete over your existing floor.
This concrete needs to contain very small pea gravel no larger than 3/8-inch diameter. The mix is like any other concrete, but if you're doing it yourself I'd probably do a ratio of 3 parts gravel, 2 parts medium sand and 1.5 parts Portland cement. The extra amount of cement will give you a very strong mix that will resist the freezing weather you have up there where you live.
This popular column was mentioned in Tim's August 30, 2015 Newsletter.
Column 1106
Tim built custom homes and did ultra-custom remodeling for 20+ years before launching his Ask the Builder media presence. He was selected as one of the Big 50 by Remodeling magazine in 1993. This award gave birth to Ask the Builder in October 1993. Tim also operates https://DrawPlumbingPlans.com. His @askthebuilder YouTube channel was the first home improvement channel on YouTube.
For the French drain pipe. Any preference to solid perforated pvc pipe vs the coiled black flexible pipe
I answer that in other columns here on my website. Try using my search engine. Type: flexible pipe
Interesting
Damn it! I wish I had read this column 3 years ago!
Our 1880 Prussian Court has been a nightmare whilst hacking through roots, stone, bricks and discarded bits of metal, bones and crockery - just to water proof the basement walls with an acrylic-bitumen blend reinforced with blown glass beads and glass fiber. It is water-washable from your tools and body for the first 15 minutes, then hardens into a dense oatmeal-like, very black coat.
The footings are stone. No drains., but the water table is 11 metres beneath the surface. The basement walls are 720 cm thick, with 18 head's-height 100 x 60 cm basement windows. Basement ceilings are 3 metres high vaulted masonry. But it never freezes in the basement! Only two weeks ago, a heavy rain forced water up though the floors - 1.2 metres thick - comprised of 4 layers of brick over loose-lay sandstone). Or (I suspect) forced water between the footings and the wall
Specifically, I had eschewed laying perforated pipe at the footings because there is no feasible access for discharge. We are at high elevation, but cannot discharge water onto our neighbours' properties.The soil has no clay or even loam to speak of... just a small ratio of sand to construction debris (eases the pain of excavation, thank goodness).
I am ashamed to say that it never occurred to me that the perforated pipe need not be at the footings.
Of course!
So now I will have to lift 80 linear metres of paver around the perimeter of the building. Next to the walls, that is.... But there are another 70 linear metres yet to be laid.
Thank you, thank you!
Now's our chance to install perforated perimeter pipe to the drains leading from all four gutters that I have already installed down the middle of the 2 metre wide walkway around the building.
They all go to a sump-type filter, then to a large well, which joins a fast flowing underground aquifer. This flows to the river only three blocks away, albeit 30 metres lower in elevation.
Incidentally, work originally commenced because we in northern Germany are taxed by the water authority for every square metre of roof, drives and walks - unless we can prove the land perks with no danger to neighbours, and/or we have means of re-injecting the water safely into an appropriate seepage cistern or natural waterway. Otherwise, we are required by law to discharge into expensive privately maintained storm sewers beneath the street.