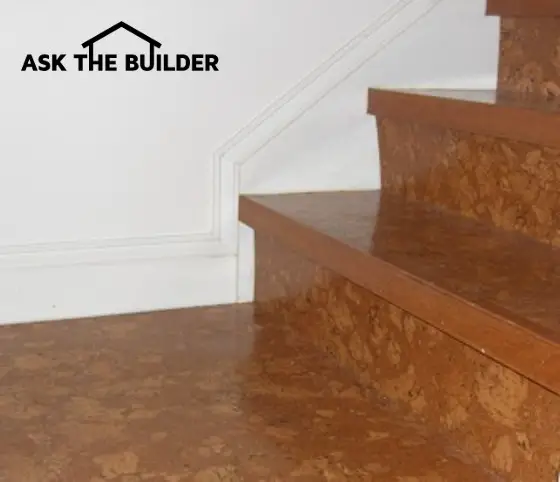
Soundproofing Tips | These cork flooring tiles were used to cover the steps as well as the entire recreation room that’s at the bottom of the staircase. Cork is a natural soundproofing material and it even works to soundproof condo ceiling. PHOTO CREDIT: Tim Carter
Soundproofing Tips - Do It During Construction
Soundproofing Existing Construction is Hard - Really Hard
Existing houses, condos, and apartments are the toughest challenges in sound attenuation (control). The reason is simple: the most effective way to control sound is to incorporate certain materials and building practices during construction. However, there are some things that can help.
CLICK or TAP HERE to get FREE BIDS from local contractors who can soundproof your home.
Where is the Source of the Sound?
The source of the sound might be outdoors, indoors, or some combination of the two.
First, determine the source of the sound. For example, if the sound is originating outdoors, quite possibly you are hearing it because of an air leak. Very often, the sound is working its way around a window or door which is poorly sealed.
Can Replacement Windows Block Outdoor Sound?
Replacement windows can do a fantastic job of blocking outdoor sound if you seal all the spaces between the window frame and the rough window opening. Use a special expanding foam made for windows and doors to stop these sound leaks.
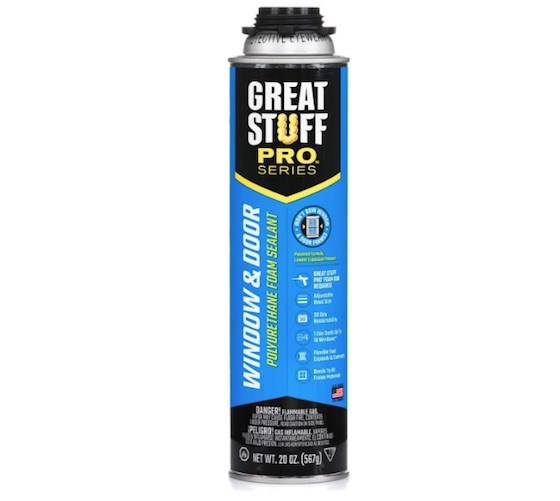
This is a special expanding foam to use around windows and doors. It STOPS sound. CLICK or TAP HERE or the photo to have it delivered to your home.
Often, one of the first comments I hear from customers when installing replacement windows is how quiet the house becomes. Check the caulking around the window both inside and out.
Does Sound Travel Through Air Leaks?
Noise which travels from room to room can also be caused by air leaks. Seal the holes inside of electrical boxes (CAUTION: Be sure power is turned off!), caulk between the edge of the electrical box and the drywall or plaster, caulk any and all cracks at door trims, baseboards, beneath baseboards, etc. Try to imagine filling the room with water. Anywhere that water would leak out of the room as it were filling should be caulked.
How Do You Soundproof a Bedroom Door?
Bedroom doors can be weather stripped, just like exterior doors. You can even go to the trouble to install an exterior door that has full weatherstripping and a bottom door sweep. This is the type of door that is used in my radio studio. It really blocks noise from getting into or out of the broadcast studio.
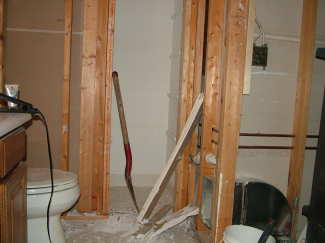
How Do You Soundproof Interior Walls?
You can fill the cavities between studs with blown-in fiberglass insulation. This will help, to a small degree, control airborne sound that gets into a wall cavity.
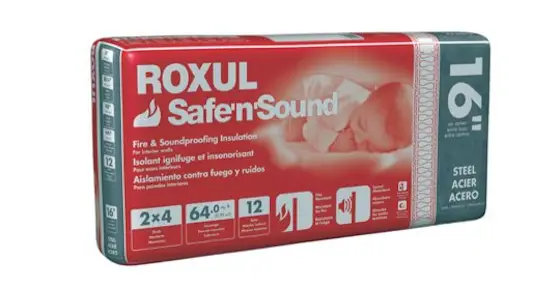
Add these batts to keep sound transmission down between the two rooms. CLICK or TAP HERE or THE IMAGE NOW TO ORDER IT.
A more aggressive approach would be to try to increase the density of a ceiling or wall surface. I did this very effectively on a recent job. We had to soundproof a bedroom which was above a family room. So, we installed two layers of 3/8 inch drywall on top of the existing drywall.
Does It Help to Isolate the Ceiling Drywall?
This extra drywall was installed on special metal furring strips called acoustical channels. These were purchased at a commercial outlet that sells steel framing materials for commercial jobs. After the first layer of 3/8 inch drywall was installed, the joints and corners were taped, even though another layer (the final one) was going immediately on top. This was done to block any airborne sound. The net result was incredible. The homeowner said that the difference was like night and day. The bedroom was very quiet.
Can Pipes or Ducts Create Sound?
In the basement, look for and isolate any pipes or ducts that vibrate or rub against wood framing. These things can make floor joists or wall studs vibrate and act like giant tuning forks!
What Soundproofing Can be Done in a New Home?
There are many things you can do to soundproof a new home.
Here's a shortlist:
- use cast iron drain pipes for toilets drains and wall stacks between floors
- use different thickness drywall on either side of the same wall
- install sound batts in all interior walls
- caulk holes in electric boxes
- caulk the gap under bottom wall plates between rooms
If you are getting ready to build a new home, remodel, or add a room addition, you can do some small things that will go a long way to minimize noise. Some cost little or nothing, while others add just slightly to the project. The first place to begin, if it can be squeezed into the budget, is to hire an acoustical consultant. For a fee of $300 -500 you may be able to obtain some excellent advice. Trust me, you will never regret obtaining this advice. If you can't afford such services, maybe some of the following ideas will be of help.
Should I Caulk Wall Plates?
Always caulk beneath wall plates when walls are being constructed. Critical rooms should have two wall systems. In other words, instead of a conventional rough wall being one row of 2x4 studs 3-1/2 inches in depth, you would maybe have two rows of 2x4 studs on top of a 2x6 plate. The wall depth would be 5-1/2 inches thick. Inside of this wall, would be sound batt insulation. Also, make sure that electrical boxes are caulked before the drywall goes on. Caulk every hole into the box. Caulk all holes that penetrate wall plates as well.
Should I Use Insulated Ductwork?
Consider using insulated ductwork if you have a forced air heating or cooling system. Definitely use cast iron drainage pipes for your plumbing system. Use type L copper for your supply lines. Where ever a pipe penetrates a floor joist, stud, or wall plate, wrap the pipe with a piece of rubber or strong foam. Do not attach pipes directly to framing members with U shaped clamps! Use special acoustical hangers or wrap the pipe, at the connector, with rubber.
Should Subfloors Be Glued and Screwed?
Glue and screw the plywood subfloor to floor joists. I always screw the floor after the roof is on and just before any finish materials are applied on top of the subfloor. This is especially critical in hallways and other areas where you know you will be walking in a room.
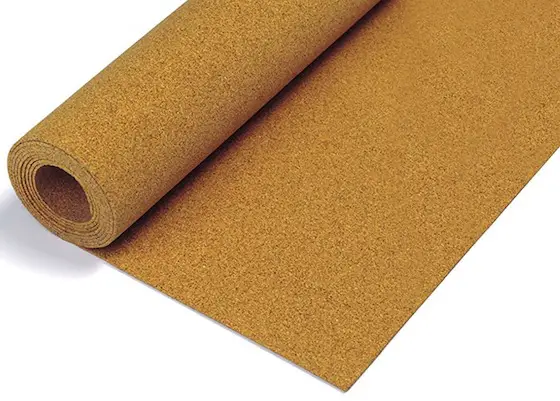
Are Acoustical Underlayments Good Soundproofing?
Use acoustical underlayments (cork, acoustical honeycomb composite underlayments, etc.) under all hard surface floors (tile, slate, hardwood, vinyl flooring, etc.).
Increase the mass of as many wall and ceiling assemblies as possible. This means adding another layer of drywall in critical rooms. It will be worth it!
Will an Air Infiltration Barrier Stop Outside Noise?
Use an air infiltration barrier on the outside of the house. Purchase the best, tightest fitting windows and doors that you can possibly afford.
Column B323