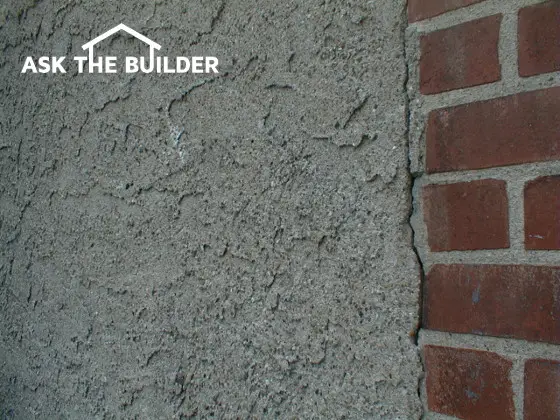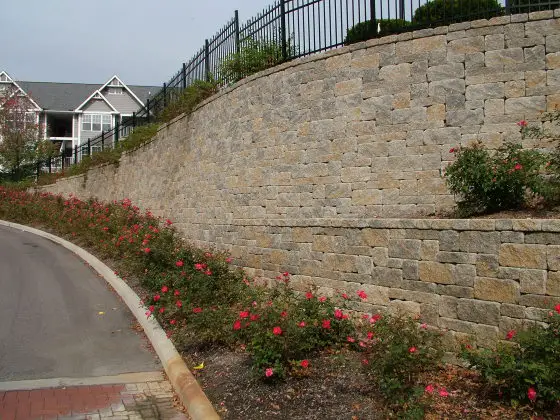
If you stand back from this mortarless retaining wall, it actually appears like rough cut stone. The manufacturer uses different pigments in the concrete mix and different sized stones to create the illusion.
DEAR TIM: I am trying to create a level play area for my children. My rear yard slopes away from my house. Building a 4 foot high retaining wall will correct my problem. I have seen new masonry walls that you simply stack one piece on another. Are these suitable? Can a single mom like me realistically do the job? What do you suggest? T. O.
DEAR T.O.: Your project is ideal for the new segmental retaining walls. A 4 foot wall height is a no-brainer. These new wall systems, which employ mortarless concrete technology, can actually exceed 25 feet in height! If you don't own some sturdy work boots and gloves, get out to the store this week. You are going to need them.
Segmental retaining walls have been used in this country for over 20 years. The technology is really quite old, just the materials are new. The Great Wall of China employs some of the same methods that are being used in many of the walls you see being built today.
There are many advantages to using a wall system like this. Time consuming and costly concrete footers are rarely required. A simple gravel base is often the substitute. The wall has built in flexibility. The individual masonry units are manufactured under ideal conditions. Each high-strength concrete block is uniformly shaped.
The design possibilities are virtually endless. Serpentine walls are a breeze. Many of the wall systems offer a simulated split-faced rock appearance. Some are available in different colors. Using different colored block you can easily create a design or a color stripe. There are accessory pieces that allow you to build steps, pillars, masonry light posts, and more.
Need to build a retaining wall? Build a sturdy, durable wall with my Retaining Walls Checklist. I offer a 100% Money Back Guarantee.
The wall you need to construct is a simple gravity wall. It relies solely on its own weight to resist the sliding and overturning forces exerted by the fill behind the wall. Wall heights in excess of 4 to 5 feet tall often must be engineered. The segmental wall systems will work, however you often must incorporate a special geogrid fabric into the wall and the compacted backfill soil behind the wall. Segmental retaining walls that support roadways or parking areas also require engineering attention.
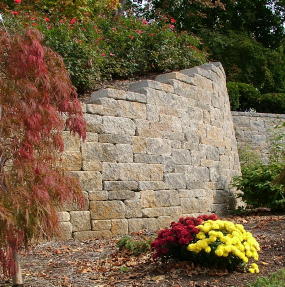
You can make both gentle and tight curves with mortarless segmental retaining wall systems.
Water must be allowed to drain freely behind and away from the walls. A perforated drain pipe along with gravel behind the wall helps improve drainage. Some of the wall systems actually use a light hollow block which is filled with free draining gravel. The gravel fill allows you to easily add weight to the gravity wall system. These particular blocks may be of interest to you should you wish to minimize visits to your chiropractor.
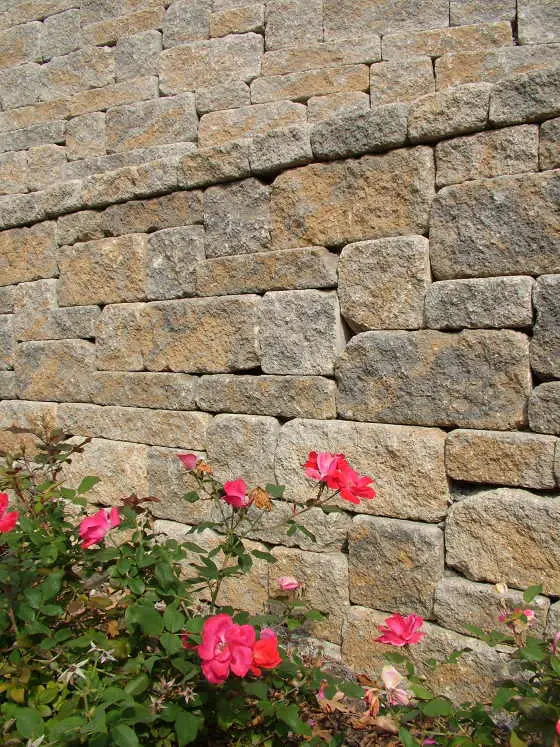
This is a closeup shot of the mortarless system. Excuse the pun, it rocks!
Each wall system comes with easy-to-follow instructions. Be sure to always start at the lowest end of the wall and work up slope. If your wall will abut an immovable object, such as a basement wall, try to start there as well. This will minimize cutting. Don't hesitate to ask for advice from the supplier. Ask if they have a three wheeled fork lift which will allow them to deliver the blocks and gravel to your rear yard. This will save you tons of labor and time, literally!
Column 128