Drywall Finishing Tips
Mixing the Compound
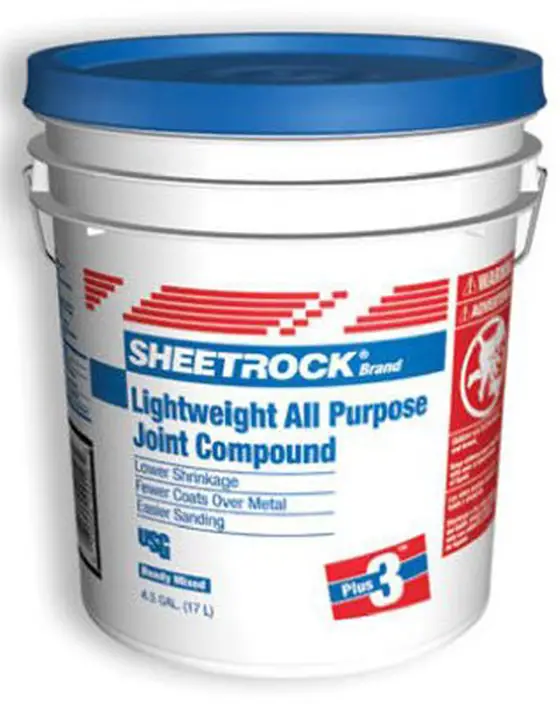
Probably the biggest mistake I see amateurs make is applying the joint compound straight from the bucket. Professionals always add a slight amount of water and use a drill or hand operated mixing tool to whip the compound into a creamy mix. It should have the consistency of cake icing. It should be very smooth. Often the easiest way to mix is to have a spare five gallon bucket. Open the new container and scoop half of the unblended compound into the spare clean bucket. This will make mixing very easy. Only mix half at a time, in case you add too much water. The addition of too much water will cause serious problems. The compound will lose its strength and durability characteristics.
Drywall Taping
When taping, do not scrape too much compound from beneath the tape. Blisters will develop if you do this. Believe me, you will know when you put on your second coat. Common sense tells you not to put on too much. Before you even begin to tape, take a straight edge and put it across the tapered joints where two pieces of drywall meet. There is not that much space. Imagine this space filled with joint compound and tape after you are finished. The tape should be in the middle of two layers of compound! It is not as easy as it looks. Too little mud and you get blisters. Too much mud and you will have a hump. Try a little area and practice. Some people can do it and some cannot. I had one helper who worked for me for six years and he never was able to develop the touch. Good luck!
Always let the compound dry between coats. Professionals finish drywall in three stages. They tape on the first coat and apply the first coat on all fasteners. They follow with a generous second coat and hit all corner beads and other trim pieces. This second coat is the hardest. One side of each corner is coated at this point. Apply a second coat to all fasteners and seams. Frequently, it looks a little messy. Swirls and lines may appear in flat and butt seams. The compound may appear a little thick at the seams. It probably is. Often professionals lightly sand all of the seams before they apply the third and final coat. The third coat consists of applying a coat to the remaining side of each corner, skim coating all seams to fill in lines, depressions and swirls, and hitting corner beads and trim pieces. All fasteners are coated for the third and final time.
Drywall Sanding & Drywall Painting
If all has gone well, when you sand you will have a very smooth job. The paint job will make or break a drywall job. Frequently, people do not apply the proper primer. Make sure that you do. Read the paint can label and make sure that it says the primer is intended for new drywall. Don't let anyone tell you that regular paint will do. Only believe the manufacturer. Check it yourself. The primer coat is the most important layer. All other subsequent coats of paint depend on it. Don't underestimate its importance.
Some drywall manufacturers make a special drywall primer paint. This paint eliminates common decorating problems referred to as 'joint banding or photographing'. Because the porosity of the finishing compounds is different from that of the drywall paper, painting problems can occur if you use inferior primers. Drywall manufacturers have developed high quality primers which are very compatible with their drywall products. These primers will ensure an excellent base coat for high quality finish coat paints.
Don't let unsightly drywall happen to you! Learn the secrets to great drywall installation in this Drywall / Plaster Installation Checklist. I offer a 100% Money Back Guarantee.
Always apply a minimum of two coats of paint. Apply it properly. Many homeowners have a tendency to over-roll and put it on too thinly. Avoid semi-gloss or high gloss paints. These paints will highlight every imperfection in the drywall. They are extremely unforgiving. New washable flat paints are now available. Use them if you are concerned about washability.
Related Column: Drywall Finishing Requires Skill
Column B19
Tim built custom homes and did ultra-custom remodeling for 20+ years before launching his Ask the Builder media presence. He was selected as one of the Big 50 by Remodeling magazine in 1993. This award gave birth to Ask the Builder in October 1993. Tim also operates https://DrawPlumbingPlans.com. His @askthebuilder YouTube channel was the first home improvement channel on YouTube.