Veneer Plaster – Overview and Repair Techniques
The Big Sheets
Conventional plaster application changed radically in the 1960s and 1970s. Veneer plaster systems were developed at that time. Drywall was being substituted for plaster at that time as well.
Drywall offered a different approach to quickly achieve a finished wall surface. The 4' x 8' and 4' x 12' panels of drywall could be rapidly applied to framing members. A standard sized room could be ready for finishing in an hour or two.
During the 1950s, conventional plaster systems required the installation of "gypsum lath." These were smaller (16" x 48") pieces of material which looked, at first blush, like typical drywall.
However, these smaller pieces of gypsum plaster lath actually were covered with a special paper which absorbed the water in a special manner so as not to harm the inner gypsum core. The paper was also manufactured in such a way as to provide an excellent surface for the plaster to grab on to.
CLICK HERE to get FREE & FAST BIDS from local Contractors who can install your new plaster wall.
The traditional two coat plaster system (brown coat/white coat) was applied over this gypsum plaster lath system. However, it was quite labor intensive to nail on these smaller pieces of gypsum lath. It made sense to switch to larger pieces of gypsum lath and develop a one coat plaster system.
Veneer Plaster Systems
Although drywall was rapidly becoming popular, drywall did not have the overall performance characteristics of conventional plaster. Plaster surfaces offered better joint concealment, fewer nail pops, a hard monolithic surface which could be easily decorated, and plaster was more quickly finished than drywall.
Also, the joint compounds used to finish drywall, even after they dried, could be easily dissolved by water. Water applied to the surface of a traditional plaster wall for short lengths of time did not harm the plaster in any way. Veneer plaster systems changed this. They took the best qualities of the two systems and combined them.
Veneer plaster systems use a gypsum core panel as the base for the plaster coat. This panel has a gypsum core very similar to drywall. However, the paper used to cover the gypsum core is different from regular drywall.
It is a special multi-ply paper. The top ply has the capability to readily absorb water and provide a good bonding surface for the plaster coat. The bottom ply, however, is water resistant. This ply protects the inner gypsum core from being softened by the water in the wet plaster.
Some manufacturers use a special blue paper on this gypsum panel. Plasterers often refer to it as "blue board." Special plasters were developed which allowed a one step finishing process. This plaster is applied in a thin coat directly over the gypsum panel.
The plaster thickness usually ranges between 1/16th to 3/32nd of an inch. Conventional plasters were often 1/2 inch thick.
Advantages of Veneer Plaster
Veneer plaster finishes offer two distinct advantages over drywall - dust and money. Dust is kept to a minimum with these products. The veneer plaster is applied in a wet state and troweled to a smooth surface. No sanding is required.
A one step veneer plaster can cut up to 75 percent off of a similar drywall finishing production time. After the gypsum wall panels are hung, a one coat veneer system requires one step.
A similar drywall job requires four finishing processes. The last step of a drywall job, as many people know, involves the creation of massive quantities of dust.
Certain plasters offer tremendous durability. Some achieve compressive strengths of up to 3,000 pounds per square inch. This strength rivals that of some concrete mixtures! Drywall can not make similar claims.
Plaster wall systems offer greater decorating flexibility as well. Wall coverings can be applied to plaster as easily as they can be applied to drywall. However, plaster systems allow you to readily remove the wall coverings in the future without damaging the wall surface.
The paper covering of drywall is often damaged, or partially removed when wall coverings are stripped from drywall.
Veneer plaster is affordable. Often it costs just 25 percent more than a drywall finish. While this may seem like a large differential, it is, in fact, not.
This upgrade may only add one-half of one percent to the overall cost of a construction project. When you consider the long term durability that veneer plaster systems offer, it is a tremendous value.
Tips on Residential Plaster Patching
Plaster is a hydration product, just like concrete. When you add water to dry plaster mix, you begin an irreversible chemical and crystallization process.The water and air content of the mix is critical. Timing is important, as the plaster has to be "finished" at just the right time. It is not a job for the rookie.
However, several manufacturers have developed different plaster products. They are fast setting plaster compounds. These products are dry powders. You add water to them and they begin to crystallize or "set" just like plaster.
They are available with different "set" times. Some of these compounds, however, are sandable. They allow you to do quick repairs to surfaces in a one-step operation similar to plaster. You can teach yourself some basic plastering techniques by working with these materials.
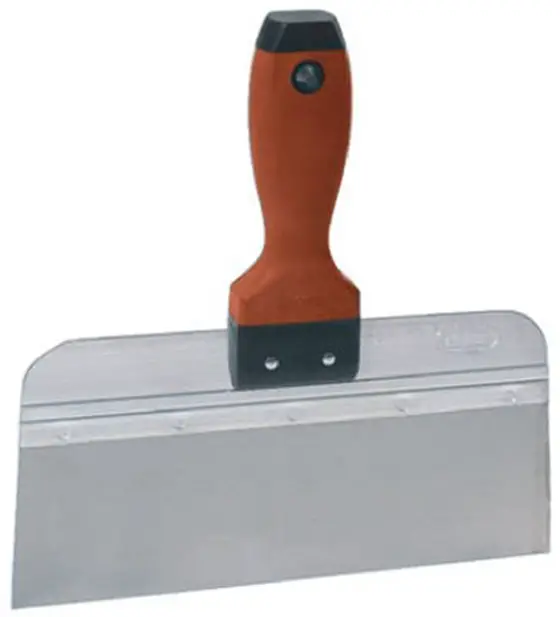
CLICK THE IMAGE to get a Durable Taping Knife for Drywall and Plaster projects.
As they begin to 'set' or crystallize, you can trowel them to a smooth finish, just as you would plaster. Or, if you are unable to achieve a smooth finish, you can sand them after they dry completely (assuming you used a sandable compound!).
If you live in an older home with a conventional plaster wall and ceiling system, you should consider using these compounds to patch your plaster. Premixed vinyl joint compounds do not always bond well to the sandy plaster base coats.
The quick set joint compounds, because of the crystallization process, actually grab to the old plaster much better. As the crystals in these compounds begin to grow, they interlock in the rough, sandy texture of the fractured plaster.
Once you have applied the quick set joint compound, you can always skim over the patched area and existing plaster with a ready mixed compound to fill any small nicks or scratches.
CLICK HERE to get FREE & FAST BIDS from local Plaster Contractors who can repair your plaster wall.
Plaster Crack Failed Repairs
Most older homes that have cracked plaster are constructed using wood framing materials. In certain climates, these framing members react seasonally to changes in humidity. During warmer more humid months, the framing members absorb moisture from the air and expand.
During winter months, the wood dries out and contracts. The houses actually develop stress points or joints where the energy of this movement is released in a visual form that we see. This same movement can also be a result of soils which expand and contract due to changes in moisture.
Repairing these cracks, which move on a regular basis, is somewhat difficult. You must tape over these cracks with a paper or mesh tape. Simply filling the crack with patching plaster will not work. As long as the cracks move even a small amount, the paper tape in most cases will hide the movement of the crack.
Patching the cracks is just like taping a regular drywall joint. You need to feather the joint to hide the tape as in a standard drywall butt joint.
Fixing Plaster Cracks
Cracks are simple to repair. You will need a four, six and 10 inch flexible drywall taping knife and/or broad knife. A drywall mud pan or flat plaster's hawk will be necessary as well. These two things hold the plaster so you can work with it.
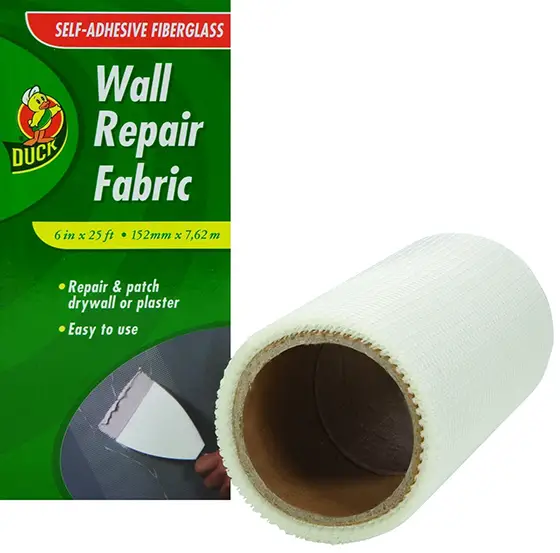
CLICK THE IMAGE to get a fiberglass repair fabric that will help eliminate cracks in your plaster walls.
Start the repair process by removing all loose plaster. Mix up some joint compound. Mix until all lumps have disappeared. Precut pieces of paper or fiberglass tape to cover the cracks. If the crack is curved (many are!), then you will need several smaller pieces to make the curve.
Apply a 1/8 inch thick layer of joint compound over the crack with your four inch knife. Embed the tape into the wet compound. Drag the knife across the tape and remove half of the compound you applied. If you remove too much, the tape will blister on the second coat! If you leave too much, you will have a giant hump!
Once the compound has set up (becomes hard), you can apply a second coat to hide the tape. I like to use the six inch knife for this job. I also use the 10 inch knife as well. You are trying to add just an additional 1/16th inch over the top of the tape. The larger length knife allows you to taper the compound so the hump is disguised.
When this coat hardens, you can apply the third and final coat. Before you do this, it may pay to scrape off any high spots or use a ceramic tile rubber grout float to smooth out high and low spots. Slightly wet the dried or hardened joint compound and glide the rubber float over the patch. With just the right touch, you will get ultra smooth results.
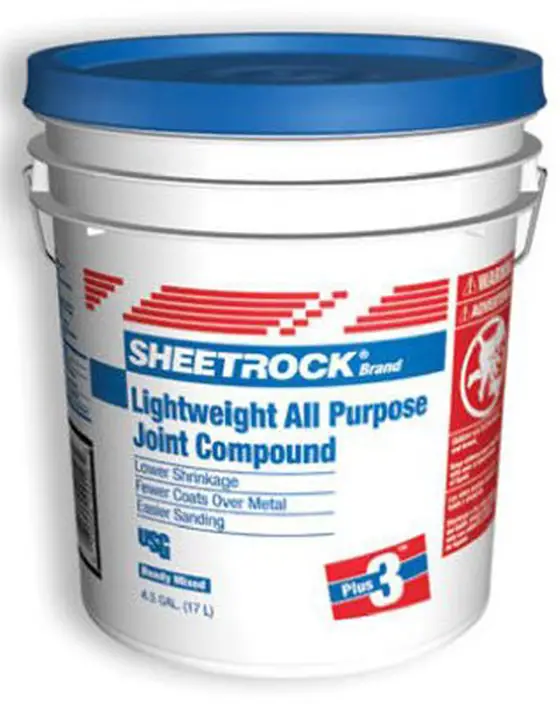
An essential part of finishing your repair on cracked plaster or drywall CLICK THE IMAGE to get All Purpose Joint Compound.
Patching Plaster Holes
If the lath board is still in place behind the hole, your repair is easy. Simply remove loose plaster and dust, wet the area to be repaired and fill with the setting joint compound. Do not use premixed joint compound for these repairs. These simply do not bond well to the sandy base plaster or wood lath.
If there is nothing behind the hole but air, you need to create a base for the plaster to stick to. There are many ways to do this. Let's say the hole is two inches in diameter. I would cut a one inch wide piece of wood that is six inches long. I would then tie a 16 inch long piece of string around the middle.
Apply a liberal amount of construction adhesive to each end of the stick. Smear the glue on the wide face. Insert the stick into the hole so that the glued side faces you. Position the stick so it spans the hole equally.
Pull on it with the string so that it comes into contact with the back of the wall that is being repaired. Use the string to hold it in place. The glue should readily stick. After several hours, you should be able to proceed with the patching process.
Manufacturers of Veneer Plaster Products
- Flexi-Wall Systems
- Georgia-Pacific Gypsum
- National Gypsum Company
- USG Corporation
Veneer Plaster Technical Information
If you would really like to find out more about the different veneer plaster systems which are available and which one might work best for you, contact USG Corporation (http://www.usg.com). They have an excellent book which is loaded with information about plaster and drywall systems. The book is actually geared to the construction industry, however, it is very understandable for the average homeowner. It is called the Gypsum Construction Handbook.
CLICK HERE to get FREE & FAST BIDS from local Contractors who can install your new plaster wall.
Column B38
Tim built custom homes and did ultra-custom remodeling for 20+ years before launching his Ask the Builder media presence. He was selected as one of the Big 50 by Remodeling magazine in 1993. This award gave birth to Ask the Builder in October 1993. Tim also operates https://DrawPlumbingPlans.com. His @askthebuilder YouTube channel was the first home improvement channel on YouTube.