Cupolas
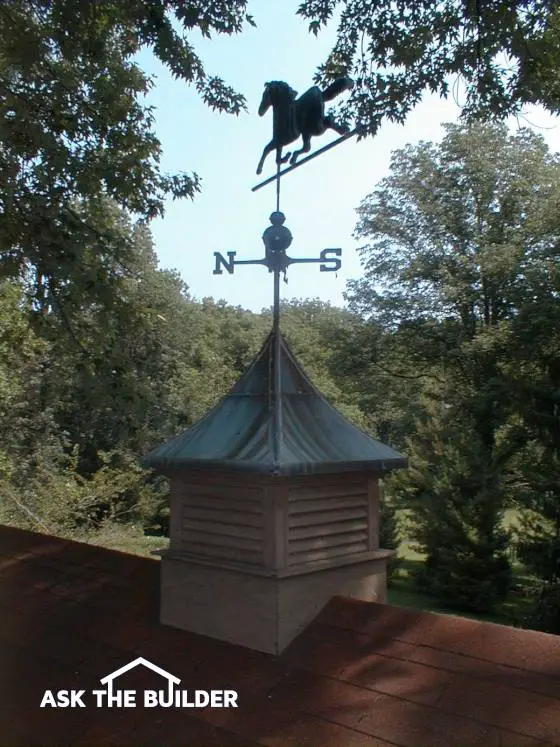
This cupola is on my own garage. The wind vane really works well.
Cupolas
DEAR TIM: I really want to put a cupola equipped with a functional weathervane on my garage roof. It seems like a straightforward job but I wonder how to cut the bottom of the cupola so that it will fit the roof angle correctly. What do you do to keep rain from leaking into the garage after you cut the hole for the cupola? How do you support the weathervane? My roof pitch is just 6 inches of rise in 12 inches of run so I can easily stand and work on it. Julie C., Green River, WY
DEAR JULIE: Since your garage roof is a medium pitch roof, you may be lucky and complete this job in just one day. If the roof had been steeply pitched, then this job would require some specialized rigging and an extra helper. Even though you feel comfortable on the roof, keep in mind that this is dangerous work. Stepping on a twig on a roof can cause you to slip and fall, so be careful and alert at all times.
The challenge of cutting the correct roof slope on the bottom of the cupola stumps many rookie carpenters as well as homeowners. Seasoned carpenters will simply use a framing square and a level to determine the particular roof pitch. Once the pitch is known, they can adjust the framing square on the bottom of the cupola and duplicate the roof angle. You can bypass all of this geometry and cut right to the chase using a level, a pencil and a square piece of cardboard that is 12 inches longer than the base of the cupola.
Set your ladder at the side of the roof. Extend it so the top of the ladder is just below the peak. Scale the ladder with your pencil, level and cardboard. Position the cardboard at the edge of the roof. Use the level to make sure the bottom of the cardboard is level. The top of the cardboard should be about 3 inches higher than the peak of the roof. Carefully reach around the cardboard and trace the roof line on the backside of the cardboard. Bingo, you now have a handy template.
Once you are back on the ground, use a razor knife and carefully cut away the top portion of the cardboard. Use the remainder of the cardboard to transfer the roof angle to the base of the cupola. Make sure the bottom of the template is parallel with the bottom of the cupola base or your cupola will be tilted once it is up on the roof!
Cupolas can be installed two ways. You can simply rest the cupola on the roof without cutting a hole in the roof or you can cut a hole so that the cupola actually acts as a decorative ventilation device. If you go with plan A, your chances of a roof leak are next to nothing. You simply need to caulk the heads of the long screws that you will use to penetrate through the sides of the cupola down into and through the roof covering.
If you decide to cut a hole in the roof so that the cupola works as a ventilator, then make sure the roof hole is about 6 inches less in width and length than the outer base of the cupola. This will allow you to install hidden blocks on the edges of the hole. Be sure the cupola can easily slide over these blocks after they are installed. Once the blocks are positioned and screwed to the roof sheathing, install traditional metal step flashing under each shingle that fits snugly against these hidden blocks. With the flashings in place, you drop the cupola down over the flashings and the blocks. To keep the cupola from blowing off the roof, simply screw through the bottom of the cupola into the hidden blocks.
The weather vane rod needs to rest on an internal flat 2x4 block that often needs to be installed inside the structure of the cupola. It is important that the block is centered within the cupola. With the center point marked on the block, drill a hole one half inch deep that is one eighth inch larger in diameter than the weathervane rod. When you slide the weather vane rod through the top of the cupola, it will fit solidly inside this hole. This will insure that the weathervane does not wobble or lean.
Companion Articles: Weathervane & Cupola Tips, Cupola Installation Tips, Weathervane & Cupola Manufacturers
Column 330
Tim built custom homes and did ultra-custom remodeling for 20+ years before launching his Ask the Builder media presence. He was selected as one of the Big 50 by Remodeling magazine in 1993. This award gave birth to Ask the Builder in October 1993. Tim also operates https://DrawPlumbingPlans.com. His @askthebuilder YouTube channel was the first home improvement channel on YouTube.