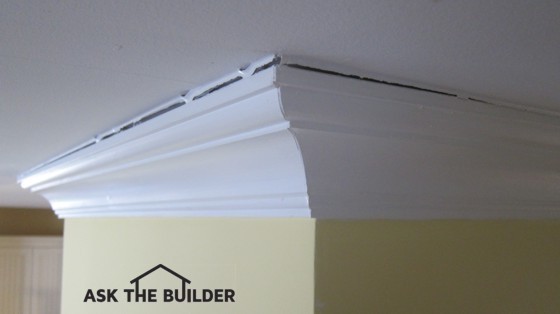
How To Caulk Ceiling Cracks
This crack has opened up once cold weather set it. Now’s the time to caulk the crack. Photo Credit: Tim Carter
Quick Column Summary:
- Large crack where ceiling meets wall
- Cracks develop when attic trusses lose moisture and bow
- Fix with inexpensive L-brackets
- Caulk to complete
DEAR TIM: I think my house might be falling down. In the past few weeks, a large crack has formed where the ceiling meets the walls in my home. We’ve had cold weather set in and I seem to recall this happening last year, but can’t remember. The cracks are worse in the center of my home than on the outside walls. In some areas I have crown molding, but others there is no molding. What’s happening, do I have a serious structural problem and can the cracks be easily repaired? John M., Crozet, VA
DEAR JOHN: Guess what? Houses move just like most people do each day. Some houses move more than others for a number of reasons. Houses built primarily from wood tend to move the most. Wood is a hygroscopic building material meaning it changes its size depending on how much water it contains. Your house is moving because the lumber is releasing water from the wood cells.
The good news is I doubt your home is falling down. The cracks you’re seeing are seasonal ones that are opening up now that winter’s here. They’ll get much smaller once we approach the baseball All-Star game in July! Right now Mother Nature is sucking out lots of the stored water in the framing lumber in your home. This is creating shrinkage and tension.
This tension exposes itself in the form of cracks where two structural elements connect. It’s very common for this to happen at the juncture of a wall and a ceiling. I’ve also seen cracks open up in the middle of a ceiling where a hidden beam connects to ceiling joists. The crack locations are much like flex points on our skin where wrinkles form and joints where two of your bones connect.
If your home’s roof is built using roofing trusses, these cracks are almost a certainty. Almost all trusses react to the seasonal changes in moisture content. Your attic in the summer is like a huge pressure cooker. The hot humid air is driven into the wood trusses like air into a balloon. In the winter months as the air becomes drier, the trusses release this stored moisture and the bottom flat part of the truss develops an upwards crown or bow. It’s referred to as truss uplift.
This truss uplift is worst at the center of the truss. This is exactly what you’re describing with the center walls of your home exhibiting the worst cracking. Many builders and drywall hangers are unaware of this characteristic of wood trusses. If they realized what the problem potential was, they could have minimized the cracking. All they had to do was not screw or nail the drywall to the bottom of the trusses where it ends near these center walls. You shouldn’t put a screw or nail within a foot or so of the wall.
Furthermore, if the carpenters nailed through the trusses at an angle down into the top plates of the walls, that’s contributing to the problem. They should have used inexpensive L-shaped steel brackets that connect the truss to the top of the walls. These brackets allow the trusses to move up and down floating across the top of the walls.
Some people complain of cracks where interior center walls meet the floor. This happens for the same reason as the trusses are lifting the entire wall up because the walls are nailed to the trusses! The tension is visible where the wall meets the floor.
You can install these brackets in your existing home, but it’s miserable work. Now’s the time to do it while the temperatures in the attic are tolerable. You just have to get up into the attic area and remove nails that are driven down through the trusses into the top plate of the walls. You then install the L-shaped brackets.
The bigger challenge is cutting through any nails or screws that hold the drywall to the truss near these walls. It can be done using a reciprocating saw outfitted with a metal blade. The saw blade must be positioned to slide under the truss and on top of the drywall cutting the shaft of the fastener near the wall. This job will lead to wailing and the gnashing of teeth.
Caulking the cracks inside the home is the easiest job. You just use a water-based caulk that’s paintable. There’s an art to caulking these cracks. In most situations, you want to fill the entire crack with caulk. In my opinion, that’s a mistake in this situation. You want to use a minimum of caulk so when the lumber expands in the summer, it compresses the small amount of caulk preventing the caulk from squeezing out from the crack.
Many water-based caulks will shrink as the water inside them evaporates. Some find this shrinkage objectionable. In your case, you want this to happen. You want to have the caulk develop a concave shape where it draws back into the crack. In the summer, when the crack becomes smaller, the caulk should compress and look pretty good.
When you caulk, be sure to use a damp sponge to wipe any and all excess caulk from the ceiling and wall. The best sponge is one used to grout ceramic tile. These sponges have rounded edges. Always squeeze all the water from the sponge before wiping the caulk joint. You’ll need to rinse the sponge frequently and change the rinse water too.
Column 1022
Tim built custom homes and did ultra-custom remodeling for 20+ years before launching his Ask the Builder media presence. He was selected as one of the Big 50 by Remodeling magazine in 1993. This award gave birth to Ask the Builder in October 1993. Tim also operates https://DrawPlumbingPlans.com. His @askthebuilder YouTube channel was the first home improvement channel on YouTube.
I'm seeing crack between wall and ceiling in one side of the room. They ceiling get lifted during the winter and down in summer. I can send you photos if you like. it is only happening in room.
any suggestion.
thanks in advance
What caulk do you recommend to use?