DEAR TIM: We are getting ready to build a new home. I've been disappointed with the performance of aluminum gutters in the past. Have there been any advancements? What can you tell me about seamless aluminum gutters? Some of my friends in the southeast and southwest don't use gutters. Is this a wise practice? I. T.
DEAR I. T.: As you might expect, there have been improvements in aluminum gutter systems in the past decade. These changes have affected both traditional and the so called seamless gutters. By the way, seamless gutters often have seams when they turn corners. Don't be fooled!
Your existing home probably has lighter weight aluminum gutters attached to the gutter or fascia board using long spikes and ferrules. Ferrules are metal tubes that the spikes pass through. They prevent the spikes from being driven too deep. This method of attachment is old technology. Normal expansion and contraction of the aluminum gutter is inhibited. It is not uncommon for the spikes to eventually loosen from repeated stress cycles.
You can purchase heavy gauge traditional aluminum gutters that attach to your roof system using a variety of hidden hangers. These hangers allow the gutters to expand and contract freely. The gutters are available in lengths up to 37 feet. This permits a seamless look on most houses. Two sizes are available: 5 inch and 6 inch. The 6 inch gutter is used when large volumes of rain water call for a greater capacity.
In need of gutters? Pick out the right ones with my Gutter & Downspout Installation / Repair Checklist. I offer a 100% Money Back Guarantee.
The thickness of the aluminum used to make the gutter is important. Long lasting, rigid aluminum gutters are often made using aluminum that measures .032 inch thick. Thinner material can sometimes bend or dent when a ladder is set against it.
If you choose to install a seamless style aluminum gutter, attempt to locate a design that uses a hidden attachment clip. Avoid the use of old fashioned spikes and ferrules. Also ask about the weight bearing capacity of the system. Some traditional systems can support up to 50 pounds per lineal foot.
Be sure to ask about the exterior painted finish of the gutter material. There can be big differences. The flat aluminum coil stock used to make seamless gutters does not always have as good a finish as the factory formed traditional gutters. Be sure to read the warranty, especially if you are looking for a long lasting gutter.
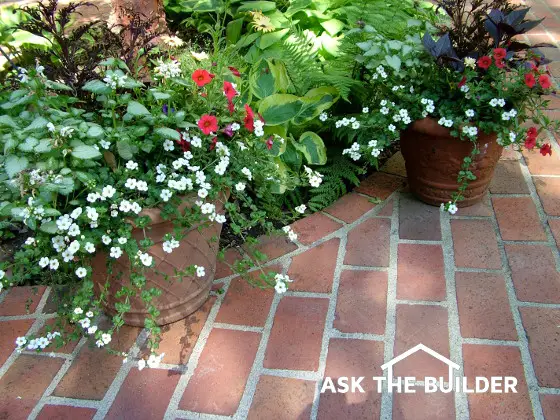
Your gutterless friends may want to rethink their situation. Some parts of the country have well drained soil that allows rain water to quickly dissipate. Other parts of the country get small amounts of rainfall. In either case, gutters can help control erosion, wood rot on the lower portions of houses, and work in conjunction with an underground irrigation setup.
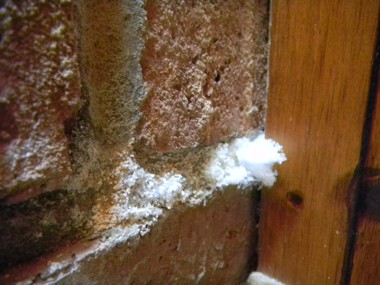
Efflorescence growing in the mortar of a brick fireplace. PHOTO CREDIT: Michael Hannum
Houses that do not have gutters can sometimes suffer from erosion problems in heavy rains. In addition, the constant splashing of water against wood siding or stucco can lead to wood rot or efflorescence on stucco. Water collected in gutters can be directed to plants and other vegetation using inexpensive plastic drain pipe. Why use city water when Mother Nature does it for free!


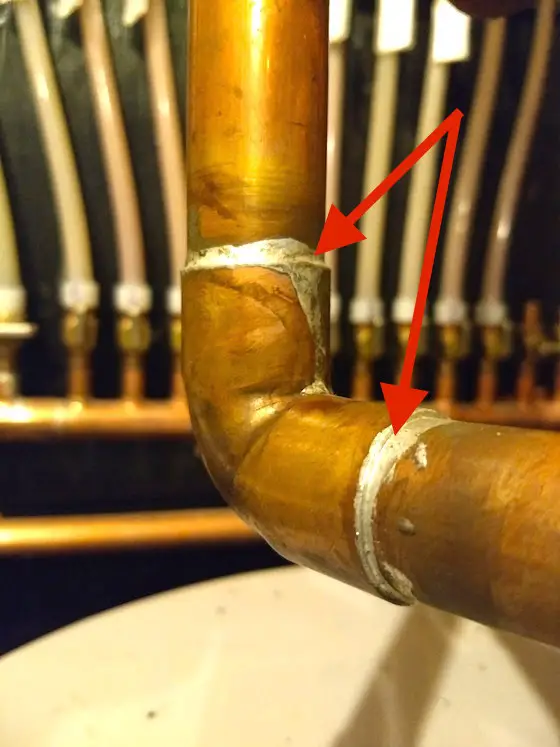 Open the flux container. You will see a gelatin like substance that usually contains zinc chloride, ammonium chloride, and paraffin. Stir the flux well to mix it, especially if it has been sitting in a hot area. Use a small flux brush to apply a coating to the areas of both the pipe and fitting you have cleaned. Don't get the flux in your eyes or mouth!
