The Walk Through Inspection – It’s Work!
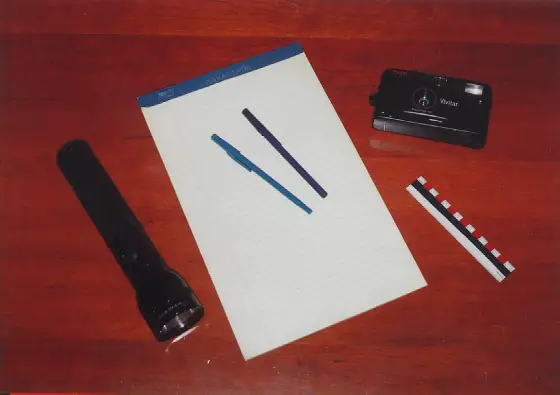
These are some of the tools you will need to do a good walk through inspection of your new home.
DEAR TIM: My mother's new residence will be completed soon. Prior to the transfer of title we must participate in a walk through inspection with the builder. It is our responsibility to point out any defects at this time. How important is this inspection if we have a strong warranty? What types of things should we look for? Bert - St. Cloud, MN
DEAR BERT: Yikes! Do not underestimate the enormity of this very important inspection. The walk through inspection is the benchmark by which all future problems will be judged. Without a complete and thorough written documentation of conditions at the time of the walk through inspection, you may find it difficult to prove if a problem persisted before your "strong" warranty expires. Be prepared to spend a minimum of 3 to 5 hours checking out your mother's new home. It is a wise investment of time. Don't hesitate to take photographs during this inspection. They may be worth their weight in gold at a later date.
The walk through inspection report can be a life saver if for some reason you become entangled in a dispute with your builder at a later time. The written report will demonstrate whether or not the builder addressed problems or defects that you pointed out at the time of the inspection. A thorough inspection may identify major structural problems in their infancy. A small foundation, wall or floor crack that gets progressively larger over a period of time can be mentioned in the report. If a crack is not visible, this should also be mentioned. The report allows you to quantitatively identify movement of structural members. If there is no mention in the report of any condition, it will be your word against the builder's - trust me on this one.
I would begin the inspection inside the residence. Do not become distracted by conversation with the builder or his agent. The inspection should proceed on a room by room basis. Walk over all areas of each room listening for floor squeaks, pops or other rubbing noises. Look for defects in the wall and paint finish. Identify cracks or the lack of cracks in all corners. Open and close all room and closet doors and windows. Be sure the doors and windows latch and lock correctly. Take a mirror with you to make sure the tops and bottoms of all doors and windows have been painted or sealed. Unsealed wood doors can loose their warranty and warp.
While in the bathrooms, operate all plumbing fixtures. Look for leaks under toilets or inside cabinets. Operate the stopper controls in sinks and tubs. Make sure water does not leak past the stoppers. Insure that toilet paper holders, towel bars, and other accessories are secure and in place. Operate all bath fans and heating devices. If you have a whirlpool tub, fill it first and turn it on.
While in the kitchen open and close every cabinet door and drawer. Pay attention to the fit and finish of all cabinet elements. Operate all of the appliances. Dishwashers have been known to leak because of faulty installation! Be sure that the refrigerator door swings the correct way. Check that the counter top is mounted securely by trying to lift it at various locations.
Locate the inspection certificates for the electrical, plumbing and mechanical inspections. Ask for a copy of the Certificate of Occupancy (CO) or its equivalent from the building department. Operate all of the security alarms and/or smoke detectors. Be sure that all of the electric circuit breakers are marked. Plug a tester into all electrical outlets. Operate all switches.
While inspecting outside, look for positive drainage. The ground surrounding the residence must slope away from the house. Six inches of foundation should exist between any soil and any siding materials such as wood, brick or stucco. Operate the garage door. Make sure the mailbox and house numbers are in place. Pay attention to humps in the roof or roofing materials. Identify any cracks or surface defects in sidewalks, patios and driveways.
How would you like a 200-plus item Walk Through Checklist that tells you what to look for as you perform your inspection? Would you be interested if I told you I developed this document and it comes with a 100% Satisfaction Guarantee? Oh, and would you like to have it in your hands less than 3 minutes from now? I can do that too!
Once the inspection is complete agree upon a time frame when all defects will be corrected. Note this on the report. Have the builder sign the inspection report. Provide him with a copy the next day. Withhold as much money as the law and your conscience will permit until all items are completed to your satisfaction. Do not destroy the walk through inspection report! Keep it in your safe deposit box. It may come in handy at a later date.
If, for some reason, you feel uncomfortable about performing this inspection, I suggest that you contact an experienced home inspector These people are used everyday by people who purchase pre-owned houses. They are fully capable of performing a detailed walk through inspection. A professional home inspector will have an up-to-date errors and omission insurance policy. Be sure to ask for a certificate of insurance before you hire your inspector.
Tim built custom homes and did ultra-custom remodeling for 20+ years before launching his Ask the Builder media presence. He was selected as one of the Big 50 by Remodeling magazine in 1993. This award gave birth to Ask the Builder in October 1993. Tim also operates https://DrawPlumbingPlans.com. His @askthebuilder YouTube channel was the first home improvement channel on YouTube.