Tub Drain Pipe Size
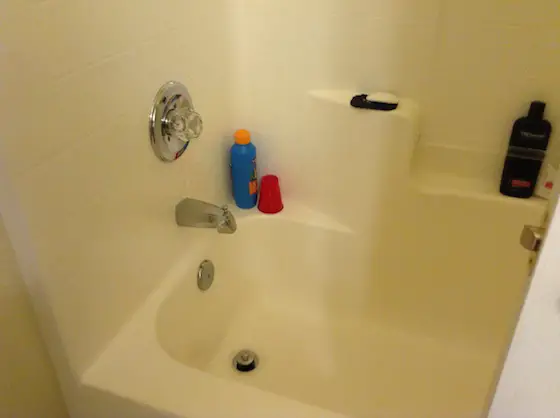
Tub Drain Pipe Size - This smaller tub is going to be replaced with a nice soaking tub. Photo credit: Kathy Rosevelt
DEAR TIM: My husband and I are doing a bathroom remodel. The biggest change is the bathtub. The builder put in a smallish tub and I’m now going with a luxurious soaking tub. Our house is on a slab.
Are the tub drain holes, the one at the bottom and the one higher up the same size on tubs? How can I be sure the new tub will line up with the old? What is the size of the tub drain pipe or is that not an issue? What else do I need to know about with respect to ensuring the new tub is installed correctly? Kathy R., Myrtle Beach, SC
DEAR KATHY: Well, you’ve come to the right place! I’ve been a master plumber, among other things, for about 35 years. As you might suspect, I’ve installed new tubs, relocated existing ones and repaired leaking ones more times than I care to remember. The good news is that if you’ve got a top-notch remodeler on board who uses a great plumber, you’ll have no issues.
I can understand your anxiety because if you’re like the average person, you’ve never seen the piping that’s connected to bathtubs. Many years ago it was common for the tub to back up to a closet wall in another room or even in a bathroom pantry where there was an inspection panel that could be removed to gain access to the tub and shower valve.
This panel also allowed for you to see the very fascinating waste and overflow pipes that connected to the bathtub drain and the overflow hole higher up on the tub. These pipes, if you just view them on their own, resemble the letter L with a tiny stub pipe that comes out of the bottom of the vertical pipe that is connected to the overflow hole high up on the tub.
These waste and overflow pipes are commonly 1 and one-half-inch diameter tubular piping. Many are made of solid brass, although less expensive PVC kits can be purchased. The kits are designed with compression nut fittings that allow the parts to fit a wide variety of tubs.
The pipes that connect to the tub drain hole and the overflow hole are male pipes and slide into slightly larger pipes that are slightly larger diameter female pipes. Think about how a trombone works with the musician making the slide go back and forth to create the different notes. There are two brass pipes on the instrument, one being slightly larger than the other. This same arrangement allows the plumber to adjust the pipes to fit the tub openings he’s working with.
The actual drain pipe that’s in the slab the plumber will connect to is probably 1 and one-half-inch diameter. That’s a common pipe size for tubs. Large stand-up shower stalls tend to have 2-inch pipes draining them. A p-trap is used below the tub waste and overflow piping to create the water seal needed to stop sewer gas and vermin from entering your bathroom.
There’s lots to know about making sure a bathtub is set properly. The first thing I would do if I were you would be to get the written installation instructions provided by the tub manufacturer. This used to be hard, but almost all instructions are now available at the manufacturers’ websites.
What’s important for all tubs is the floor they rest on must be solid. Since you’re on a concrete slab, this is not an issue. If the tub is cast iron, then you want to make sure the cast pegs and skirt along the front of the tub are all in contact with the slab once the tub is level side to side and front to back. You don’t want the tub to rock or move once you step into it. Use galvanized metal shims to support the tub as needed where the tub contacts the slab.
Acrylic or fiberglass tubs need special care as the bottom of the tub doesn’t contact the concrete slab. There’s a void space. Pay close attention to the instructions with respect to mixing up a waterproof compound like brick mortar, real plaster or whatever compound they recommend you set the tub into.
Failure to do this can cause the tub to form cracks over time as your body weight and the weight of the water creates too much stress, especially around the drain hole. The acrylic and fiberglass can oil can and this back and forth movement leads to cracks. The bottom of the tub must never ever flex so follow the instructions to ensure it doesn’t happen.
One thing I always did when I installed any bathtub was to insulate around it. This is very important in your situation since you’re purchasing a soaking tub that you may sit in for an hour or more. Without insulation around the tub, the heat from the water leaves quite rapidly. With insulation, you can relax for quite a long time as the water stays nice and toasty warm.
I placed unfaced pieces of fiberglass batts around the tub and filled all voids. Don’t pack it tight as fiberglass insulation works best when it expands naturally out of the wrapper. Take the time to do this and you’ll not regret one moment the effort you invested, especially the first time you’re soaking in the tub!
Column 1080
Watch this video to see how Tim SOLVED a problem in minutes!
Tim built custom homes and did ultra-custom remodeling for 20+ years before launching his Ask the Builder media presence. He was selected as one of the Big 50 by Remodeling magazine in 1993. This award gave birth to Ask the Builder in October 1993. Tim also operates https://DrawPlumbingPlans.com. His @askthebuilder YouTube channel was the first home improvement channel on YouTube.
Thank You so much. I understand the whole process much better now! Starting April 7th. I will send you a picture of finished job!
Thanks,Kathy
American Standard 55 inches by 36 inches Walk-In TUB has what for a drain hole = 1.5 iches or 2 inches ?