What's in This Newsletter?
Latest News
Wall-Mount Pocket Doors
DeWALT Editors Conference
ExpertToolTips.com
DIY Solar System and Magic Crystals
Replacement Parts
AsktheBuilder Facebook Fan Highlights
Summer's here in all it's glory. We're having some glorious weather here in New Hampshire. I hope the weather is superb where you are.A few days ago I had a very positive encounter with Officer Kimberly Shelley of the Burlington, VT police department. It's a very long story, but suffice it to say she made a phone call on my behalf to shake loose a security deposit that was not being returned to me by an unprofessional property manager.
I was told to call the police department after talking with another police officer, Lt. Rob Robillard. I've recently come to know Rob, and after hearing my story he was convinced the property manager was very likely committing fraud.
I bring all this up to simply point out that on many occasions great police work goes unnoticed. The moment that I get my hands on the deposit money, I'll be writing a letter to the police chief in Burlington, VT telling him about Officer Kimberly and how she worked with me on the phone to resolve the matter. The letter will include a scanned copy of the returned check. If you're the recipient of excellent police work, be sure to take the time to contact her/his chief so the officer gets the professional recognition she/he deserves.
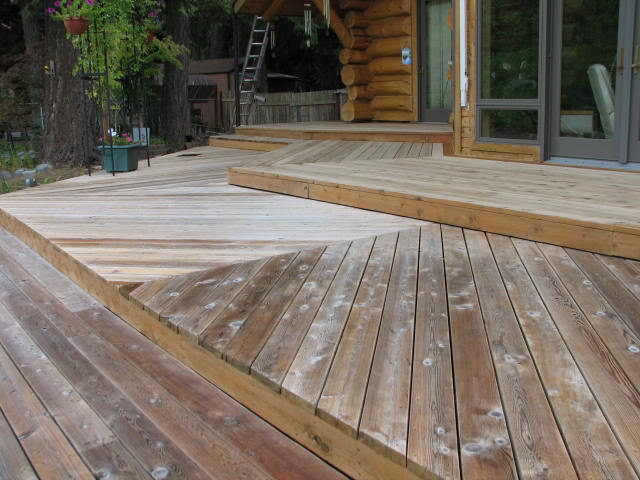
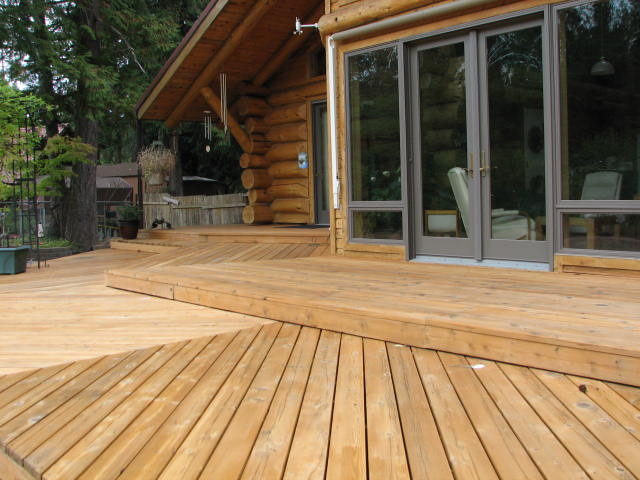
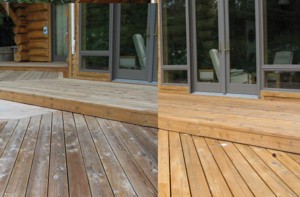
Wall-Mount Pocket Doors
 Many people want to get rid of a traditional hinged door and replace it with a sleek pocket door.
But they are terrified of what's behind the wall. Or they don't have the skills to do the demolition, framing and redrywalling you typically have to do.
What if I told you that you could have a pocket door in place of a hinged door start to finish in several hours instead of days with NO DEMOLITION?
Yes, I knew you'd be interested. If you can operate a simple impact driver or a drill and a socket wrench, then you can have a sweet pocket door installed in hours at your home.
This product works GREAT on regular open archways where you now want privacy between two rooms that used to be open to one another. You can use this solution to add a door in hours where just an opening was before. It's easy to do.
Go to the link below to discover all sorts of color photos and ideas for your new wall-mounted pocket door:
DeWALT Editors Conference
Last week I attended the Stanley Black and Decker University.
It was a fantastic experience where I was immersed in the new 20-volt cordless tool line that's now here. The other editors and I also got to see many new hand tools that will now sport the DeWALT name.
DeWALT primarily targets the professional market, but their tools are perfectly suited for you if you're either a serious DIY'er or you desire to have a tool that will last for decades.
Understand that when you purchase a high-quality tool you get durability, precision, and ease of use. These all contribute to a job well done.
Soon I'll begin my own field testing of the tools I saw at the event. You'll be the first to know about each review as it get's posted to my websites. Websites you say? Read the next item.
ExpertToolTips.com
About six years ago, I created ExpertToolTips.com, but then got distracted. The intention was to create a website where I could share my 35 years worth of hands-on experience with tools.
The good news is that I've started to add more content to that website and intend to load more and more content to it as well as helpful eguides that show you secrets of using tools. I believe you're going to really like this tools website once it starts to get populated with content.
DIY Solar System and Magic Crystals
Over the weekend, I got an email from David Gates who lives in Duncannon, PA. He wrote:
"We received an email saying the average person can build their own solar system and sell back excess power to the power company using materials from a hardware! Any information and advice would be appreciated!"
The instant after reading it, I had a flashback to the Napoleon Dynamite movie from six years ago. If you saw it, do you remember the crude time machine that Napoleon and Kip tried? It was made from parts one could get at a hardware store and of course all it did was shock Napoleon and endanger his ability to procreate. The magic crystals he inserted in the romex connector did nothing to transport Napoleon back in time.
As the economy continues to crater and people become desperate for money, you're going to see many more scams like this. There are always going to be scams, and the worst ones happen when people are desperate.
The bottom line is that you can't build a solar electricity generation system, including the all-important PV panels and the inverter, by visiting your local hardware store. Don't fall for scams like this. Always check with me first.
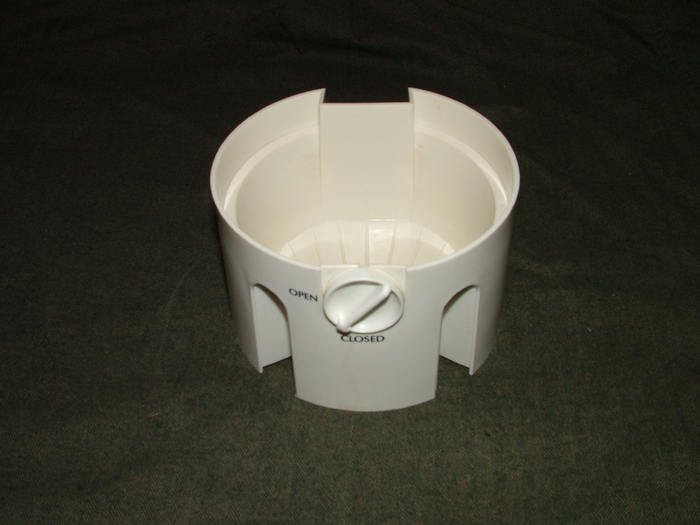
Replacement Parts
Greg, from Las Vegas, also emailed me over the weekend trying to locate a replacement circuit board for a sauna. He did an exhaustive Google search and it shows the manufacturer is out of business. He's tried everything to get a part, but is having no luck.
The message here is that in this day and age, it's very possible that hi-tech replacement parts can be tough to find. Margins are thin, and companies that make products can disappear overnight.
You have to really think ahead when you buy things now. Make sure you think about parts and consider going with companies that have a great track record. You want them to be around when you need them.
AsktheBuilder Facebook Fan Highlights
Last week on the AsktheBuilder Facebook Fan Page, I shared my thoughts about how to protect yourself from tornadoes while in your home.
Peggy asked how to install return air ducting and I gave her some advice.
I also suggested a great past column to read if you want to try to reduce the heat in a garage or an attic.
There's lots going on at Facebook. You should really be a fan. Facebook is free and you get automatic updates of everything I do there once you LIKE me. It's easy.