DEAR TIM: There is still some time left to paint my house before the weather turns. I have the time to do the job right and I would really like the paint job to last. I am interested in knowing any secret tips you have discovered that really make a difference. In other words, are there a few things I can do that will allow me to get the new paint job to last an additional five to seven years? Russell W., Riverside, CA
DEAR RUSSELL: There are several things you can do, all of them quite simple, that will extend the useful life of an exterior house painting job. Some of the tips you have heard before, but some may shock or surprise you. The ultimate exterior paint job, in my opinion, blends the best paint with attention to detail in all preparation steps before you even shake the can of paint and pop open its lid.
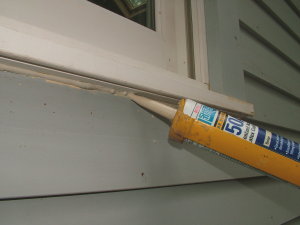
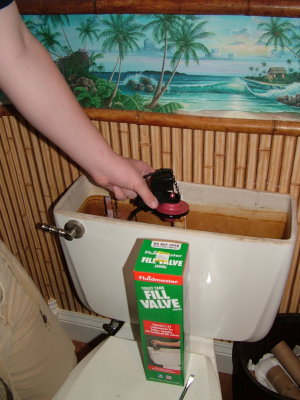
Caulk is a powerful weapon to stop water intrusion that can ruin a new house painting job. PHOTO CREDIT: Kathy Carter
How many homeowners do you think read the entire label on a paint can? If past emails I get are an accurate barometer, I would say less than 5 percent of the public truly reads and understands the instructions. Reading the label on the paint can is the first thing you should do. Pay particular attention to the advice given about compatible primers and the amount of time you must wait before you apply a second coat.
When you read the label, my guess is you will see language that tells you to apply the paint to a clean, dry surface. Unfortunately many people do not follow this critical advice. It is important to understand that paint is simply glue with color added to it. If you want glue to stick well to an object, it really helps if the surface is totally clean and is dust-free.
It is very tempting to use a pressure washer to rapidly clean the outside of your home. The trouble is, they don't always remove all of the dirt. You can prove this on your home or on a dirty car. Use a pressure washer and get the tip of it as close to the surface as you feel comfortable so as to avoid surface damage. Let the surface dry. Then come back and hand wash a section with soapy water using a sponge and/or mild scrub brush. I guarantee you will see a difference and the brush and sponge will remove dirt left behind by the pressure washer.
To make matters worse, these tools can inject water behind the exterior skin of your home and cause paint failure problems soon after the job is finished. Water that is driven deep into the structure will eventually make its way back out as a liquid or a gas and can cause bubbles, blisters and peeling in the brand-new paint.
Once all loose paint has been scraped off, look for cracks where water can enter the skin of your home. Caulk these cracks and wipe the water-based caulk with a damp sponge to produce a professional looking joint. Make sure the caulk tube says the caulk is paintable.
Priming new masonry surfaces or bare wood is very important. Even more important is covering the primer as soon as possible with the finish paint. If the primer says it can be top-coated with the finish paint in 24 hours or less, then do so immediately after the time has expired. The finish paint can actually bond both mechanically and chemically to the primer if you do not wait days and days to apply the finish paint. My advice is to only prime as much area as you can finish paint the following day.
If you are working with paint on an older home, be very cautious. Houses built on or before 1978 can be coated with paints that contain lead. It is estimated that there are tens of millions of homes that have lead paint on either their interior or exterior surfaces. Scraping, sanding and removing the paint can create lead dust which is very toxic and poisonous. The Environmental Protection Agency has very helpful tips at their website to help you deal with this hazard.
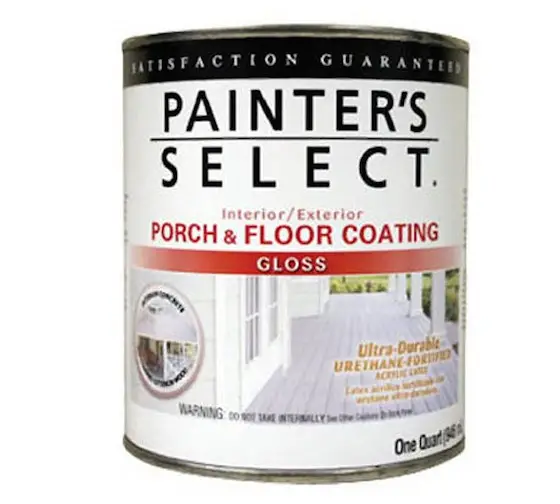
High-quality paint is easy to find. Look for products that have two important ingredients: urethane and acrylic resins. These two components are the glue part of the paint. Urethane is extremely sticky and once cured and dried, it acts much like epoxy. Paints that contain these resins can be found at national brand paint stores and at large retailers that have hardware and paint departments. Unfortunately I have not been able to locate these paints at home centers.
Avoid painting in direct sunlight and on windy days if possible. Direct sunlight can cause rapid drying which creates a skin over the freshly-applied paint. As the remaining water in the paint dries, the paint develops bubbles. Wind causes paint to dry too quickly and can stop some paints from achieving the best bond to the surface being painted.
Column 591