Loft Bed Accessories
So, you want to jazz up the loft bed? That is not a problem at all. Here are some different things you can do to enhance the bed:
Safety Tips
The ladder up to the loft is usually put at one end or the other of the bed, not the middle. To help get in and out of the loft safely, I have found that a large D shaped grab handle that is screwed to one of the 4x4 posts that extends above the mattress is a great idea. You can find these large handles at a really good hardware store.
If you think there are going to be wrestling matches up in the loft, you might want to include an X brace between the posts. All you do is screw or bolt a 2x4 from the bottom corner of one post to the top of the post just under the loft. Do this on the posts that are on the same long side of the bed. I do this on the legs that are up against the wall so that the braces don't get in the way of the empty space beneath the loft. You attach a brace to each corner so that once done, it looks like the letter X. You apply a 2x4 to each side of the 4x4 's so that they don't interfere with one another.
Decorative Tips:
If you really want to get some attention, pre-paint the loft bed the school colors. You can paint the loft part one color and the posts the secondary color. Once the paint dries, coat it with one or two coats of clear urethane to make it easy to clean.
The 4x4 posts that extend to or near the ceiling make a great place to hang short curtains. These curtains can be drawn at night or during the day for privacy, especially if the dorm room is shared by two people. The curtain also makes the loft very comfortable on cold winter nights.
Hooks can be screwed to the posts to hang towels, shirts, etc.
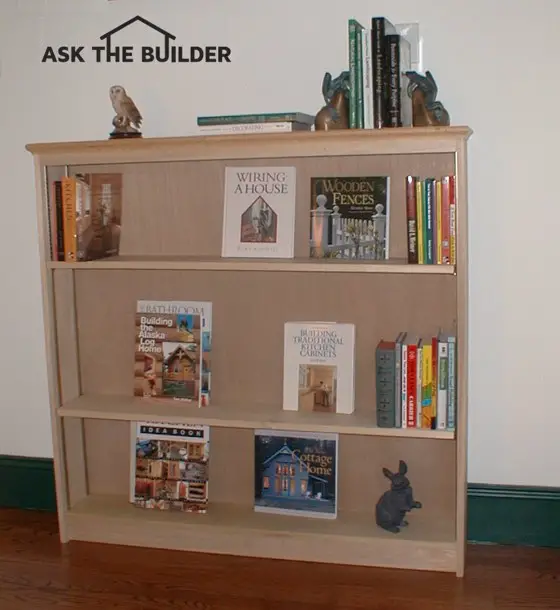
Adjustable shelf brackets can be installed at the head or foot of the bed so that the end of the loft acts as a giant, open bookcase. If you use 3/4 inch plywood as the shelving material, you will get minimal sag. Use your imagination!
Author's Notes:
Received these pictures and the following emails. The first one is from Dona Lopez, TX. The second is from Tom Koenig, PA.

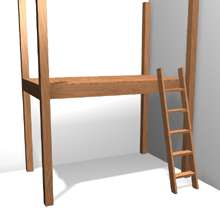
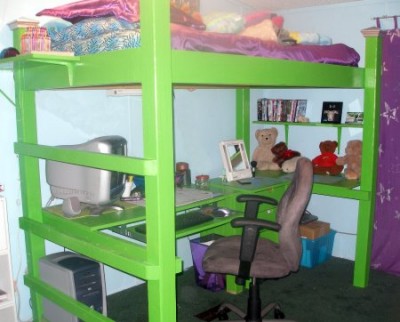
A surprise Christmas present built from these instructions by a mom for her daughter. Doubles as a computer desk. PHOTO CREDIT: Dona Lopez
"Well it's not really a question, I used your instructions for the loft bed for a "While you were out" style Christmas surprise for my daughter, and I wanted to share the results with you.
I customized it a bit with a desk and a different type of ladder system due to extremely limited floor space, her room is about 10 x 10.
I'm a mom with basic woodworking skills, did it all in three days with only my 20 month old son to help (he's a whiz with the cordless drill lol)!
Thanks so much for the instructions, my daughter was completely floored! By the way the green was her idea!
Thanks again,"
Dona Lopez
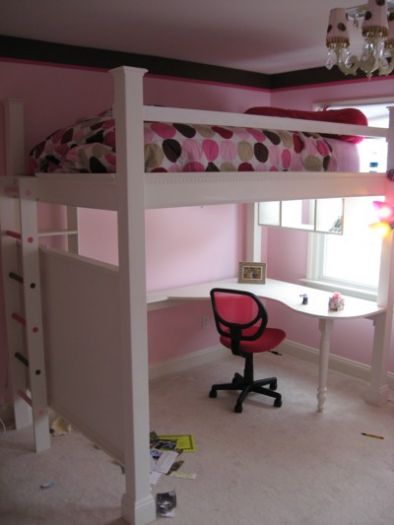
PHOTO CREDIT: Tom Koenig
"Just thought I would share a photo of the loft I just built. Your help was great. I used lots of molding to dress up the 2x lumber. Everything from Lowes, nothing fancy.
I also used rope lighting with remote control to light up the platform around the bed. I recessed the mattress as you suggested but used 1"x 4' angle iron." - Tom K.
Tom also posted this comment regarding his loft bed.
"When I made a loft for my 12 year old daughter this past Christmas I dressed up the 2x lumber with molding. I topped the 2x6 bed frame with a bullnose and cove molding and then put a small dental molding beneath that. I also used a small stop molding on the lower part of the 2x6 to give weight to the lower part of the beam. For the legs I used the same base molding on the bottom of the 4x4s as I have in the entire house. Then I put a small crown at the top of each post. It doesn't make it furniture grade, but it really steps it up from painted lumber."
Column B280