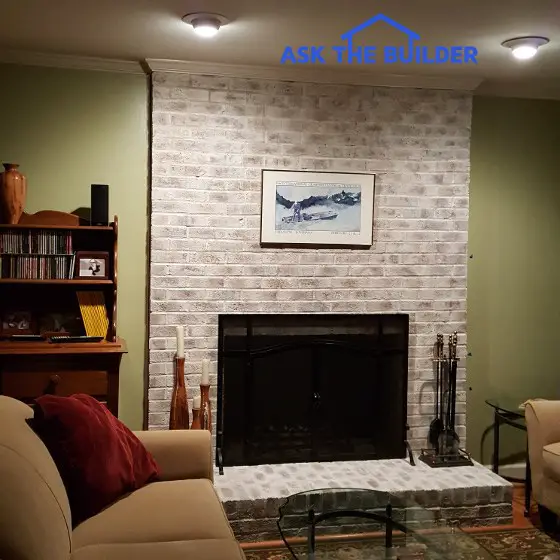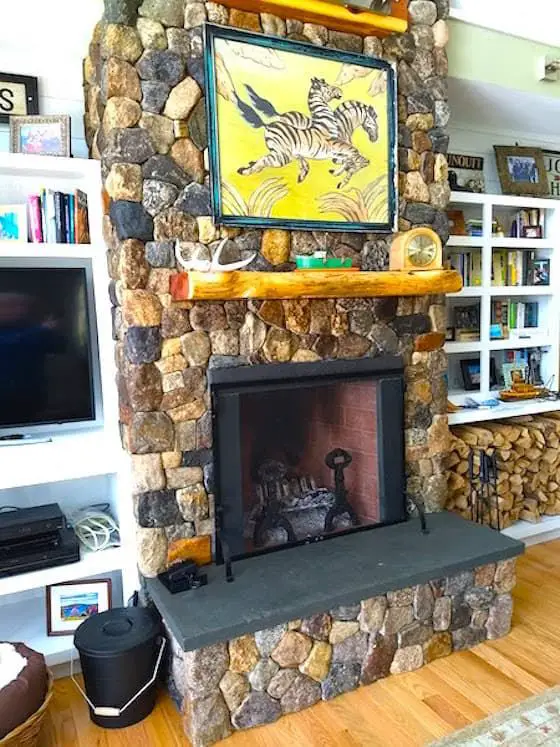
You can bet this wood-burning fireplace gets hot!
"Fireclay is perhaps the most fire-resistant mortar you can use in a fireplace combustion chamber."
This column was SO GOOD that I shared with the 31,000 subscribers who read my December 15, 2019 AsktheBuilder Newsletter.
DEAR TIM: The fireplace in my new home is a mess. Water is leaking into the fireplace and then into the basement. The interior firebricks are not level, some have gaps between them and where there is mortar the joints are one-half inch wide and sloppy. The builder says I should not be concerned as when a fire is built, the brick gets covered with soot and the defects will not be visible. What is an acceptable level of quality? How should the firebrick have been installed? Diane McC., St. Leon, IN
DEAR DIANE: Hypothetically speaking, I wonder what your builder would say to a truck salesman who sold him a shiny, new truck and then said to him, "Don't worry about all those scratches and dents in the body. After a week at the job site, mud and dirt will hide them."
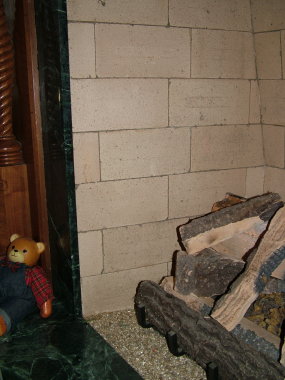
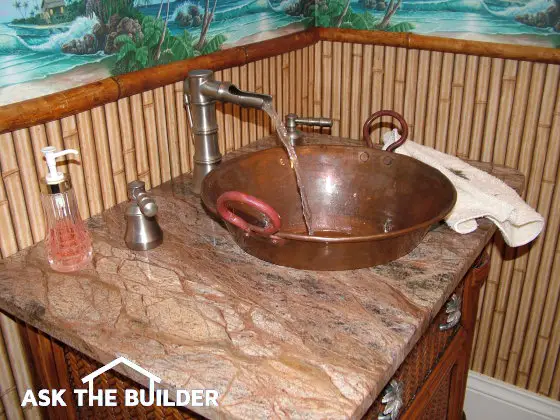
You are looking at real firebrick in a real wood-burning fireplace. But at this time, I use a vented set of natural gas logs in the fireplace. Look at how thin the mortar joints are. PHOTO CREDIT: Tim Carter
Fireplaces are one of many places in a new home where quality can't be compromised. Cracks in granite countertops, dents in new drywall, blemishes in ceramic tile do not present life safety issues. But a gap or crack in firebrick that's poorly installed can cause a house to burn to the ground. Death and serious injury are real possibilities.
How Hot Are Wood-Burning Fires?
The temperature inside a fireplace that contains a roaring fire might surprise you. It's not uncommon for temperatures to fluctuate between 1,200 - 1,500 F. The gases swirling inside the fireplace can seep through the tiniest cracks searching for another way to the atmosphere other than the chimney. If the mason was sloppy with the critical firebrick, imagine the level of quality in the body of the chimney masonry that you can't see. If other gaps and cracks exist, the blistering gases can ignite nearby wood framing in a matter of minutes.
How Wide Should Fireplace Mortar Joints Be?
Mortar joints between firebrick in a combustion chamber should never exceed 1/4 inch in width. In fact, a smaller joint is preferred. If traditional sandy mortar is used, it should be a high-lime content mortar that does contain some Portland cement. High-lime content mortars perform well when subjected to repeated episodes of high temperatures.
What is the Best Mortar to Use?
I prefer to use fireclay as the mortar between the high-temperature white refractory firebrick in my fireplaces. Fireclay is a powder that's mixed with water until you have a consistency like pancake batter. The edge of a firebrick is dipped in the fireclay batter and then the brick is set and tapped in place. The resulting joint is usually one-eighth inch or less in width. Fireclay is perhaps the most fire-resistant mortar you can use in a fireplace combustion chamber.
But keep in mind that the firebrick you see is but one part of a system. Behind the firebrick, one should find a minimum of 8 inches of solid masonry material. This concrete block or brick should be laid with precision making sure that all horizontal and vertical mortar joints are completely filled and solid. The smallest gap in the masonry can create a pathway for rogue, searing flue gases that are constantly trying to escape from the fireplace combustion chamber.
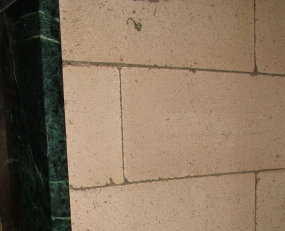
This is a close-up shot of the same firebrick. The joints average a little less than 1/8th inch in thickness. There is no sand in the mortar. It's fireclay. PHOTO CREDIT: Tim Carter
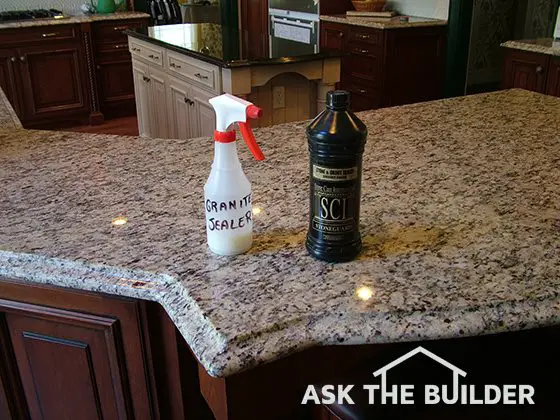
The water leaks you are experiencing may be from two sources. Rain falling down the chimney may roll off a poorly constructed smoke shelf that is not constructed to capture it. Or rainwater could enter the exterior of the fireplace masonry that is outside your home. The leaks often happen during moderate to severe wind-driven rainstorms. These exterior brick can be sealed with a clear brush-on sealant that can bridge cracks up to one-eighth inch. The best part is the sealant is breathable and allows water vapor produced by burning fires to escape from the brick back to the atmosphere.
Fireplace construction is a strict science. If you think you just start laying brick and everything will be fine, you're dreaming. The shape of the firebox, its internal dimensions, and the height and width of the opening are all extremely critical. If the fireplace is not shaped and sized right, the fire will not burn properly and smoke can easily roll out into the room.
The part of the fireplace you can't see unless you poke your head up into the chimney is even more important. The dynamics of the combustion gases as they leave the firebox and make their way to the actual chimney are just as important. This area of a fireplace/chimney is called the throat, and it must also be shaped and sized in accordance with the visible part of the fireplace you see from your family room. Professionals need to build masonry fireplaces. This is not a place for building technology experimentation.
Column 548