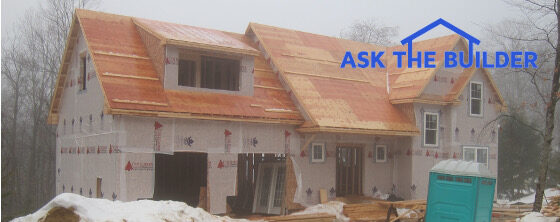
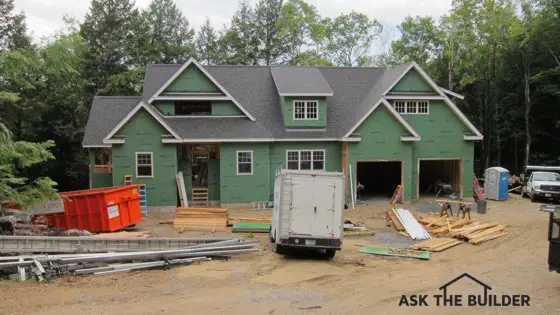
Wood vs. Poured Concrete Foundations
"I love wood and my house contains lots of it, but I refused to use it for my foundation."
DEAR TIM: Please shed some light on the advantages on a wood foundation or poured wall foundation. We plan to build and I want a poured wall, but my wife's boss has a new home with a wood foundation and he has convinced her it is the best option. I admit their finished basement is super without posts but question the strength and durability. We hope to start building in February. My son who is a framer agrees with her. William D. Caldwell, Oregon, OH
DEAR WILLIAM: The simple answer is why not have both and an additional insulation system thrown in at the same time? What would you say if I told you a poured concrete foundation that had integral wood framing as well as closed cell foam could be erected at your jobsite in just one day? Would you be impressed if your son started to work the next morning installing prefabricated floor trusses that could span 30, 40 even 50 feet with no center support beams? It is okay, you can get up off the floor now.
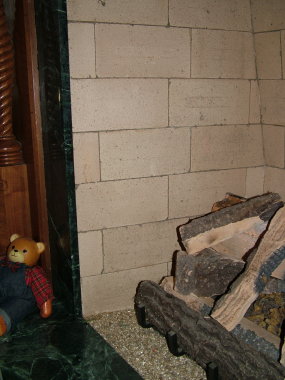
My college degree is in geology and I have a special interest in history. When I look back at the Seven Wonders of the World and see the ones still standing, they are not made of wood. I love wood and my house contains lots of it, but I refused to use it for my foundation. I know structural engineers can easily design a wood foundation that will withstand all of the static and dynamic loads thrust upon it by soil and even additional pressure from uphill soil sliding down towards a wood foundation. But I desire the permanence of steel reinforced concrete which is nothing more than artificial rock.

This CCA-treated-lumber post was rated for burial. That means it was protected against decay from wood rot and insects. As you can see, something went terribly wrong. The post was only in the ground for 15 years. Imagine if this happened to your wood foundation. PHOTO CREDIT: Tim Carter
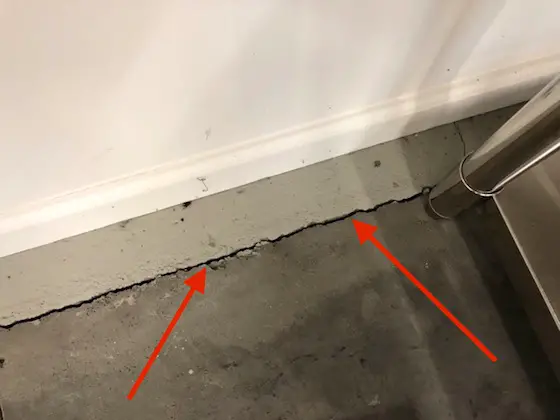
As for wood foundations, what happens if the day the lumber was scheduled for treatment the worker at the plant in charge of injecting the chemicals had a fight with his wife or his boss and had a severe head cold at the same time? Is it possible the wood might not get treated with enough chemicals? Sure it is possible. Is it likely with modern quality controls? Probably not. The same can be said for concrete. Your builder may order 3,500 PSI concrete, but the ready mix plant may ship a lower strength product.
But with concrete, an experienced concrete mason can actually look and work with concrete coming out of the truck and have a very good feeling as to the amount of cement in the mix. Higher strength concretes have a completely different look than low-strength mixes. You can't say that about treated lumber.
Precast Concrete Foundation Benefits
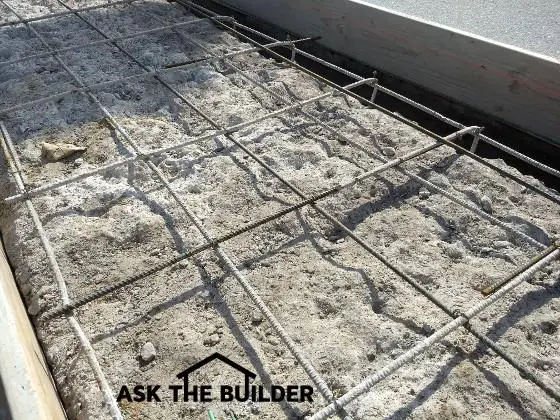
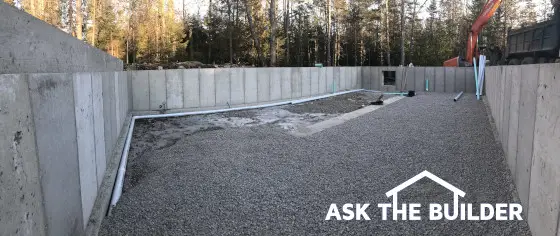
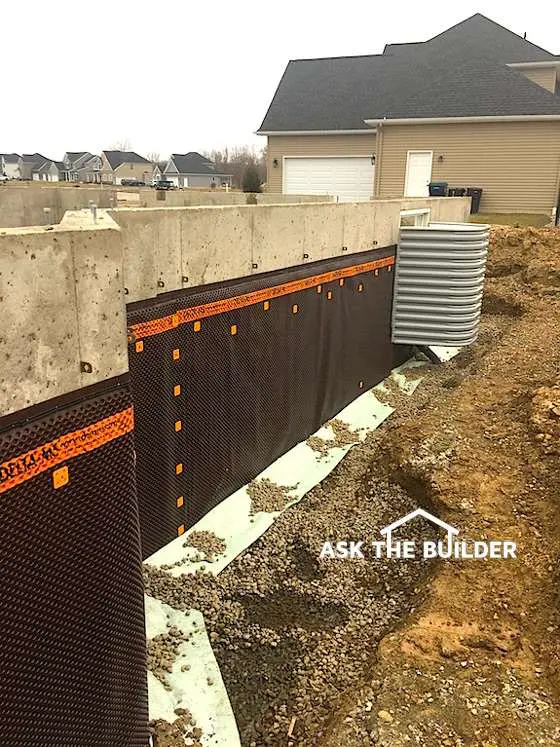
You are in luck as you have a precast concrete foundation plant within 35 miles of your home. These foundations are ideal for any number of reasons and the best part is they are poured in climate-controlled settings and then allowed to cure in rooms where the temperature does not drop below freezing. Once the panels are cured, they are trucked to the jobsite and dropped into position with a crane. Where two foundation panels meet, the seams are permanently sealed as each panel is bolted to the adjacent one. Once the complete foundation is set, the exterior is coated as any foundation would be with a true waterproofing compound.
CLICK or TAP HERE to get FREE QUOTES from local companies that can help you with your foundation.
Use floor trusses for no center beam basements
Talk to a good residential structural engineer about your floor system. Let this person design a superb subfloor system using floor trusses or possibly wood I joists. Wood Floor trusses and some wood I joists can be made to span incredible distances with no center beams or columns. What's more, if designed properly your floors will have no spring to them at all. They will be as stiff and hard as Chinese arithmetic!
Column N6


 A complete set of rules and guidelines were also posted on the bulletin board. Consider these a code of ethics for all of the people who work on the job. The builder was communicating to each subcontractor and their employees what was expected and what would not be tolerated. These rules are such a simple thing, yet I have rarely seen them on another jobsite.