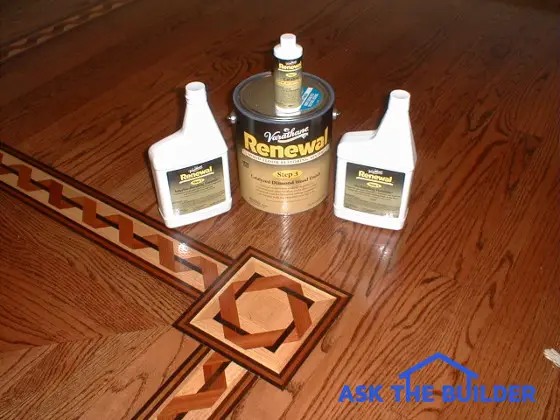
These simple liquids may save you time and money when restoring hardwood floors. They also extend the useful life of the wood floor. ©2017 Tim Carter
Restoring Hardwood Floors TIPS
- Two methods - traditional screening or multi-step DIY liquids
- Refinish before you wear through clear finishes to bare wood
- Deep gouges need a professional sander
- Change color of floor adding pigments to finish
- CLICK HERE to Get Tim's FREE & FUNNY Newsletter!
DEAR TIM: I have a significant amount of gorgeous hardwood flooring in a home I just purchased. Some of it is in perfect condition and other places that receive heavy foot traffic have some minor scratches and the finish is dull.
How can I make the floors look like new? Do they have to be sanded and refinished? Is there an easier way? I dread the thought of clouds of dust rolling through my home. Cathy F., Fort Worth, TX
DEAR CATHY: I absolutely understand why you want to restore the hardwood flooring.
Wood Is The Best
Wood flooring is one of my personal favorites. It is warm, durable, appealing to the eye and it adds value to your home. What's more, it is a very environmentally friendly building material. The hardwood tree forests are abundant and growing, and we actually have more trees today in North America than we did just 25 years ago!

CLICK HERE to get FREE & FAST BIDS from local hardwood floor refinishing companies.
Not Walking On Wood
When a hardwood floor is sanded and coated with layers of protective urethane or varnish, it can withstand a considerable amount of abuse. You actually walk on the clear finish, not the wood.
Dust & Grit = Bad
Dust and small dirt and grit particles are a floor finishes' worst enemy. As you walk across a hardwood floor that is slightly dirty your feet act as sanding pads. If the grit particles are large enough, you will actually scratch the finish.
Over time, normal foot traffic can and will erode the layers of clear finish exposing bare wood. This is to be avoided at all costs if possible.
DIY Restoration Possible
The good news is that you can restore the hardwood floor. The even better news is that dust can be kept to a minimum and possibly eliminated completely.
Because the clear finish on your floors has yet to wear through to the wood, you have two choices. The traditional method used for many years by professional hardwood floor refinishers is screening. You can also choose a no-sand method using simple DIY liquids.

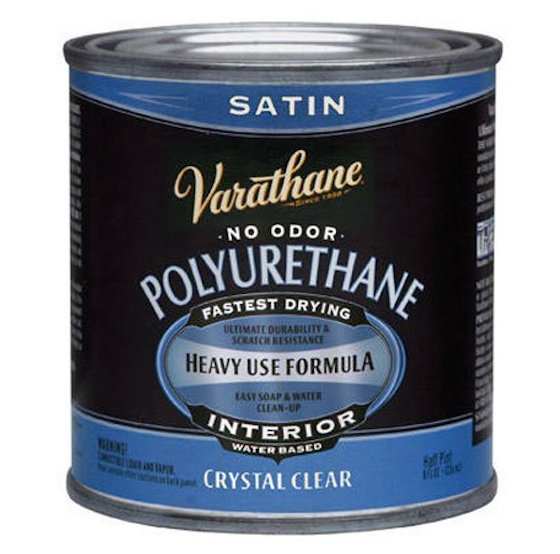
This is the wonderful DIY floor refinishing system. It's not hard to do. Just be sure the floor is CLEAN first. Use Stain Solver to clean the floor. CLICK THE IMAGE TO BUY this refinish system.
Low-Speed Buffer
A low speed buffing machine, equipped with a special pad, lightly scuffs the clear coat. The scuffing removes minor imperfections and prepares the floor so the new coat of urethane will adhere.
Once the floor is scuffed, the small amount of dust is vacuumed and any remaining dust is removed with a rag soaked in mineral spirits. The professional then applies a new coat of urethane with a lamb's wool pad or squeegee and you can walk on the floor the next day. After three to seven days, the new finish will have cured so that it can accept heavy traffic.
CLICK HERE to get FREE & FAST BIDS from local hardwood floor refinishing companies.
Special DIY Products Fast
The floor restoration industry has introduced some wonderful new products that allow a professional or a do-it-yourselfer to renew a hardwood floor finish without creating any dust. A three-part system allows you to use a liquid to chemically sand the existing finish. Once this step is complete you then apply a bonding formulation followed by an environmentally friendly water-based clear coat that can be walked on in just eight hours. An average size room that contains a little over 200 square feet of floor area can be completely restored using this dust-free method in less than three hours.
Here's the liquid system I'm talking about just below.
This is the wonderful DIY floor refinishing system. It's not hard to do. Just be sure the floor is CLEAN first. Use Stain Solver to clean the floor. CLICK THE IMAGE TO BUY this refinish system.
Restoration too tough? Install a new hardwood floor using my Hardwood Flooring Installation / Refinishing Checklist and avoid costly mistakes. I offer a 100% Money Back Guarantee.
Hire A Pro
If you have a professional come into your home to do a traditional screening or use the no-dust chemical method, expect to pay hundreds of dollars for an average-sized room. The cost can be higher or lower depending upon the size of the room or rooms to be restored.
DIY Possible With Practice
If you are inclined to try the job yourself, you can find the chemical system at some home centers or hardwood floor stores. With practice a semi-skilled homeowner can achieve nearly professional results. The biggest challenge is learning how to apply the final clear coat. Often the rookie will apply this too thinly.
Magic Color Trick
If you want to change the color tone of your floors it is sometimes possible without refinishing the floor. A light floor can be made slightly darker by adding color pigments to the clear urethane. Oil based urethane accepts nearly all pigments.
If you use water-based urethane, be sure that the pigments are compatible. If you decide to colorize the urethane keep in mind that a second coat with no pigment needs to be applied over the color coat. This extra step gives added protection to the wood and it is well worth it if you want to change the look of your gorgeous wood floors.
CLICK HERE to get FREE & FAST BIDS from local hardwood floor re-finishing companies.
An important reminder was given in the September 16, 2009 newsletter. Be sure to check it out.
Column 334