If you're a new, or newer, subscriber I want to welcome you!
This is going to be a slightly unusual newsletter because I've been absent for about two weeks.
Here's why.
Trip to Cincinnati, OH
Two weeks ago, I was packing and making last-minute preparations to drive to Cincinnati, OH, tugging my enclosed trailer behind my Ford F-250 Super Duty truck.
The trip was multi-purpose with the primary focus helping liquidate my in-laws estate. My truck and trailer was packed to the gills on the return trip bringing back some furniture and other heirloom items that used to belong to my mother and father-in-law.
I was also there on business that's directly related to you.
The Tornado
The first night I arrived, there was a huge cold-weather front passing through the Midwest. It spawned a small tornado as dawn was breaking. The twister churned and skipped across the ground just one-half mile from where I was asleep.
It passed just 500 feet from the brother of the person I was staying with. Many were fortunate and no one was injured.
The weather in Cincinnati went from balmy to bitter. I thought I was in New Hampshire as it was cold, rainy and windy for quite a few days.
The Old Building
I spent quite a bit of time with a close friend Nick Motz and his darling wife Mary Beth Wilker. Kathy and I attended their wedding years ago as I've known Nick since he was in high school.
Nick's an accomplished real estate broker and contractor. He's a key player in the revitalization of the East End along Riverside Drive.
Two days after arriving, he and I went on an adventure to the booming Over the Rhine district north of the core of downtown Cincinnati.
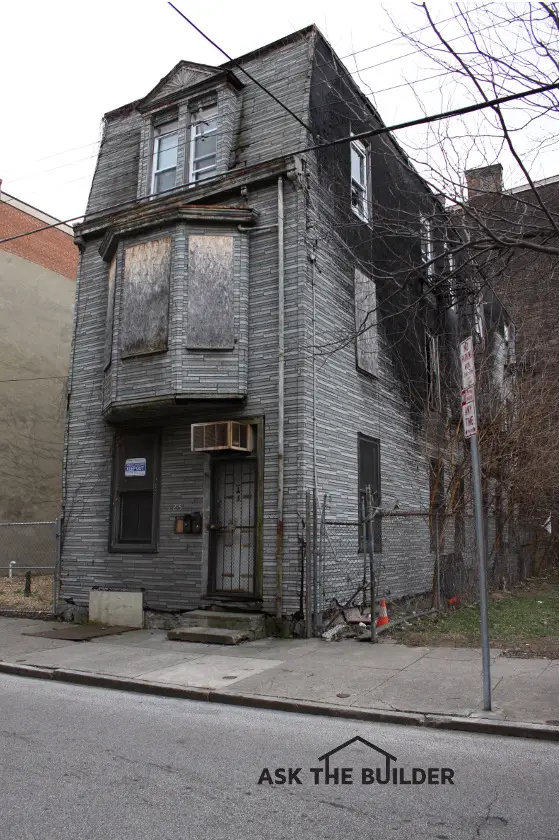
As we were driving around looking at all the progress, I spotted a building.
It wasn't just any old building.
"Nick, turn around. I need to get a photo of that building."
Within minutes, he went around the block and parked. I got out and started shooting with my Canon EOS 50D.
©2017 Tim Carter
You can see where the building next door had caught on fire and scorched the side of this relic.
But I didn't care so much about that. I was keenly interested on the outer covering of this row house.
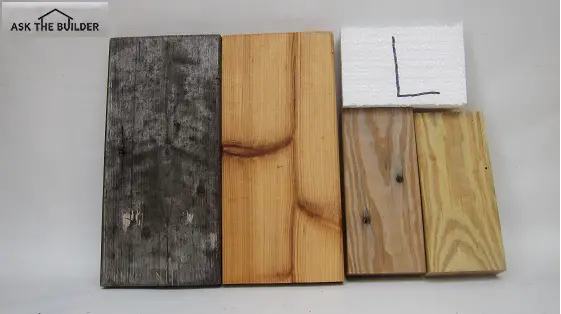
It was covered with Inselbric and it was in fantastic condition.
When I say fantastic condition, I mean as if it was just installed last month.
But it wasn't installed last month.
There's a very good chance it was installed eight years before the Japanese bombed Pearl Harbor.
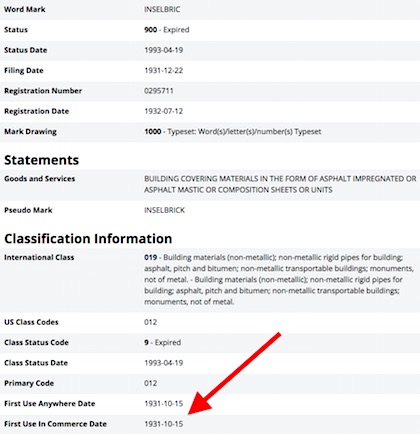
Look at the original trademark filing information below. Yes, that's October 15, 1931.
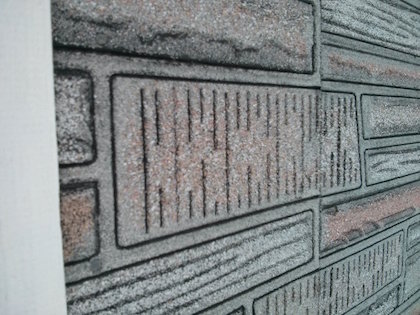
The above photo is a close up of the material.
What does it resemble to you? Can you see the different colored granules?
Did you guess asphalt shingles? Good for you.
Inselbric was made using the same materials as what's probably up on your own roof.
My Roofing Ripoff Book
I've been on a quest for the past year to get my hands on some of this material because it plays a key part in my Roofing Ripoff book that's now just days away from being ready for you.
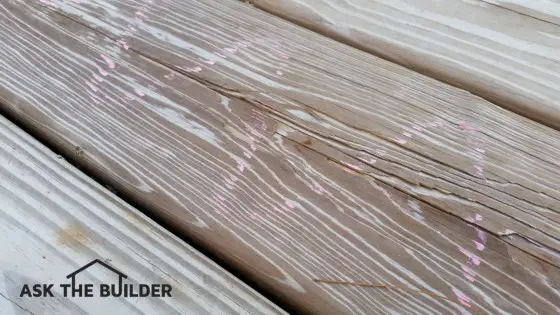
Twenty-one months ago, my own asphalt shingle roof was falling apart in front of my eyes.
My fifteen-year-old shingles that had a thirty-year warranty looked like they were fifty years old. They were delaminating and bare wood was exposed to the weather.
For the record, I didn't build or install the first roof on the house I live in here in central New Hampshire.
You may be wondering, "Tim, what in the world does Inselbric have to do with your old roof?"
Everything.
How is it that the Inselbric siding can look so good after being exposed to the elements for over eighty years and my asphalt shingles couldn't last ten years before they started to curl and loose granules faster than gravel tumbling from a dump truck?
Cracked the Code
I decided to find out why my asphalt shingles, and those of just about everyone else in the USA, were falling apart at such an alarming rate.
Not only did I expose what's going on in my upcoming book, I did one better.
I was the first person in the world to discover something very very simple you can do to make your asphalt roof last for decades and decades.
It's Just About Ready
Here's the cover for the book. If all goes well, you'll be reading an electronic version in just fourteen days or less.

Have you noticed that your own asphalt shingles are loosing granules?
Are your shingles starting to curl just a few years after they've been installed?
Then you'll want to read this book for sure.
Watch upcoming issues of this newsletter for the announcement when you can purchase a PDF version or one you can read on your Kindle.
I guarantee you'll be shocked at what I discovered.
New Revised Columns For You
While I was in Cincinnati, I was able to revise some of my old columns. I don't think any of the following are repeats that I've shared two weeks ago.
Remember, the columns contain:
- New content
- Videos when available
- Great product links
- Enlarged photos
- Links to contractors in your town you can hire
I'd scan all these just to see what's in them:
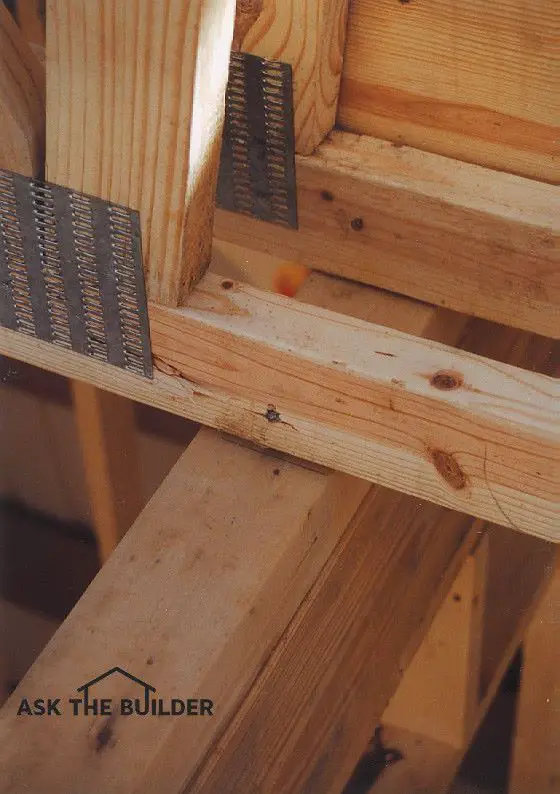
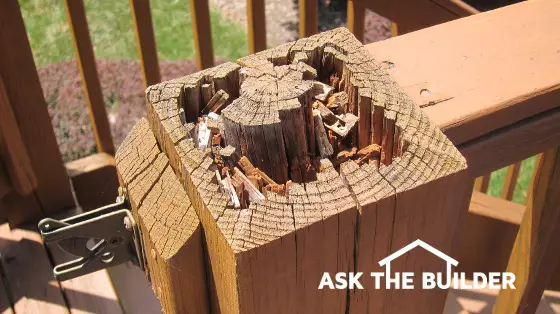
Truss Uplift and Ceiling Cracks
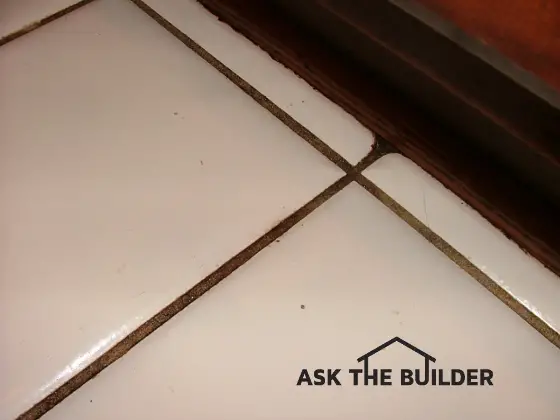
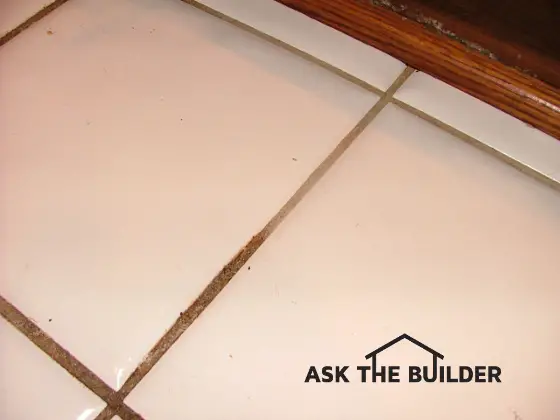
Remove Grout From Ceramic Tile
GREAT Outdoor Wood Furniture Sealer
Okay, that's enough for today. I need to put the final touches on the Roofing Ripoff book. I'll be very busy this week.
Tim Carter
Founder - www.AsktheBuilder.com
Do It Right, Not Over!