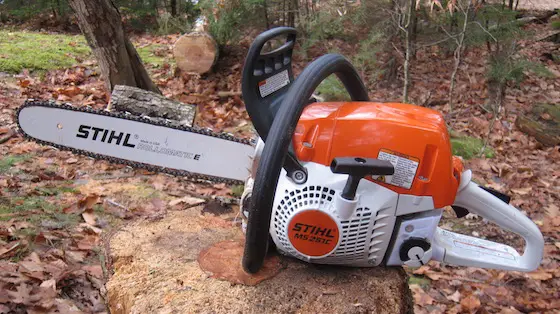
Here's the modern version of the saw I used all those years ago. This is the handsome MS 251 C. I'll say! (C) Copyright 2016 Tim Carter
Stihl MS 251 Chainsaw
What would you say if I told you the first chainsaw I ever used was a STIHL?
That might not impress you, but the year might. It was September of 1974, I had just gotten married and was back from my honeymoon.
It's now December of 2106 and my bride has never changed the front door locks on me. I'm a survivor, or should I say she is?!
Click here to read about my visit to the STIHL Editors Conference and see a photo of me carving their logo with a chainsaw!!
All those years ago, I was rehabbing a house in Mt. Adams, an up-and-coming residential district immediately adjacent to downtown Cincinnati, OH.
The saw was a work horse. Even though I was a strong young buck of 22, I got tired but the STIHL saw just wanted to keep on working.
I then started to use my father-in-law's STIHL 18-inch chainsaw to cut cherry trees on a huge tract of land he owned. Same story, different day. The saw never failed me and it wore me out!
Fast forward forty-two years, but before we do...
Know Your Reviewer
I hope you do realize that many of the current tool reviewers out there, and I'm talking late 2016, are individuals who have never been on a real job site, never have worked in construction as a full-time job, and most definitely do not have decades of real field experience.
Always be sure to visit the About Us page on a tool review website and look at the qualifications of the person writing the review before you put much faith in their opinion of the tool.
Some reviewers write a review without even using the tool. They open it up and take some photos or shoot a video in their workshop. I take the tool and USE IT to see how it performs. But I digress!
My Test
I've had years of experience using chainsaws, but recently had the honor of attending the first-ever STIHL Editors Conference.
There I got expert instruction on all the safety steps you need to perform to work SAFELY with a chainsaw. I urge you to read all instructions in the STIHL owners manual and watch any videos they produce about how to hold, stand and work with a chainsaw.
Be sure to always wear all protective gear including, but not limited to, chaps, heavy gloves, safety glasses, ear muffs, hard hat with visor, etc.
If you want all the technical specs on the saw I used in this review, CLICK HERE.
I decided to use the MS 251 C to cut down a dead tree on my lot. The trunk diameter was 20 inches or so about two feet above the soil, so this would be a great test.
The saw had no issues at all making the cuts. As you'd expect, the saw was perfectly balanced and very powerful.
I think it helps that STIHL makes their own chains. Not all chainsaw manufacturers do!!!
Starting the saw was a breeze because of the newer spring-loaded starting rope system.
You just pull the cord slowly almost all the way out and it loads a spring with potential energy. When you release the pull cord, the spring rotates the piston starting the engine. It's a delight to use!
I really loved the toolless fuel and oil caps. The saw I had before this one required you to use a large screwdriver or flat tool to twist open the fuel and oil caps. I hated using that bar and it gouged the caps. Those days are gone forever with the toolless caps.
Adjusting the chain tension is the same. There are no tools required as well. What a nice change!
I discovered at the conference that if you want the saw to start each and every time you need it, it's very important to keep the fuel tank filled when the saw is stored. The fuel needs to have stabilizer and use the best gasoline you can buy to make your mix.
Pay attention to the owners manual about the recommended octane rating of the gasoline. Many small engines LOVE to have higher octane gasoline, yet you may be one that always pushes the 87 octane button. Filling a gas can with 93 octane for your small engines may only cost you an extra dollar!
You can also purchase and use STIHL's premixed and stabilized fuel in handy cans.
Read the owners manual to discover the best gasoline to use. It's all about octane.
Here are some photos of the saw and a few of its features:
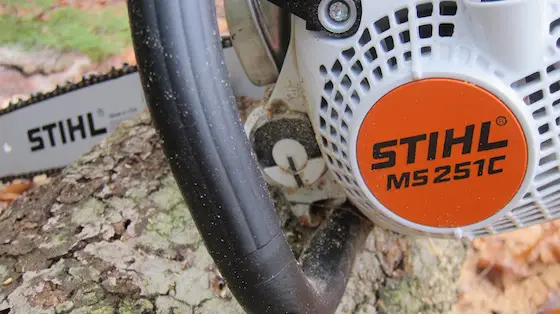
The distinctive orange color screams "QUALITY". (C) Copyright 2016 Tim Carter
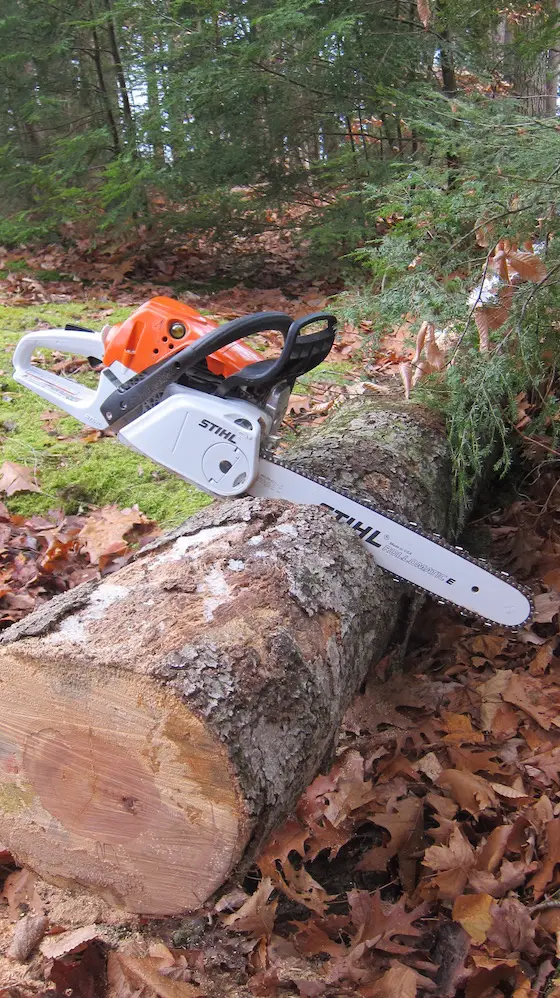
Here's the bad boy cutting into the downed tree. (C) Copyright 2016 Tim Carter
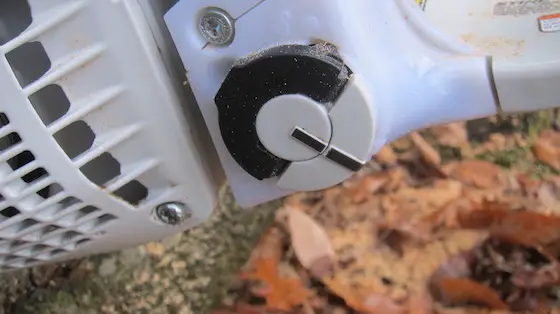
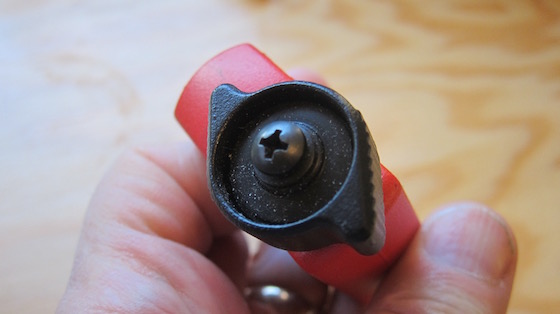
You're looking at the toolless fuel filler. Flip that black lever up, twist and fill. (C) Copyright 2016 Tim Carter
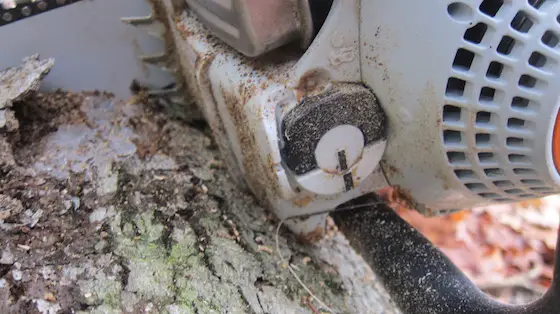
This is where you put in the oil that lubricates the chain. The saw sips this oil and doesn't waste a drop. (C) Copyright 2016 Tim Carter