DEAR TIM: My husband and I are determined to build our new home. Because the economy is so bad and money is tight, we plan to do this job ourselves. We're convinced we can do this as we've done lots of tough DIY jobs in our past homes. Is it realistic to assume we can complete this project? What are the challenges? What are the pitfalls? Can you help us achieve our dream? Sandi H., Kennewick, WA
DEAR SANDI: My oldest daughter has a nickname for me: dream crusher. I have a habit of being far too pragmatic when she passes an idea by me. I tend to tell the truth and point out all the obstacles so that she can decide if she wants to move forward. So far she has made me proud charging ahead climbing over the barriers and bursting through any obstructions.
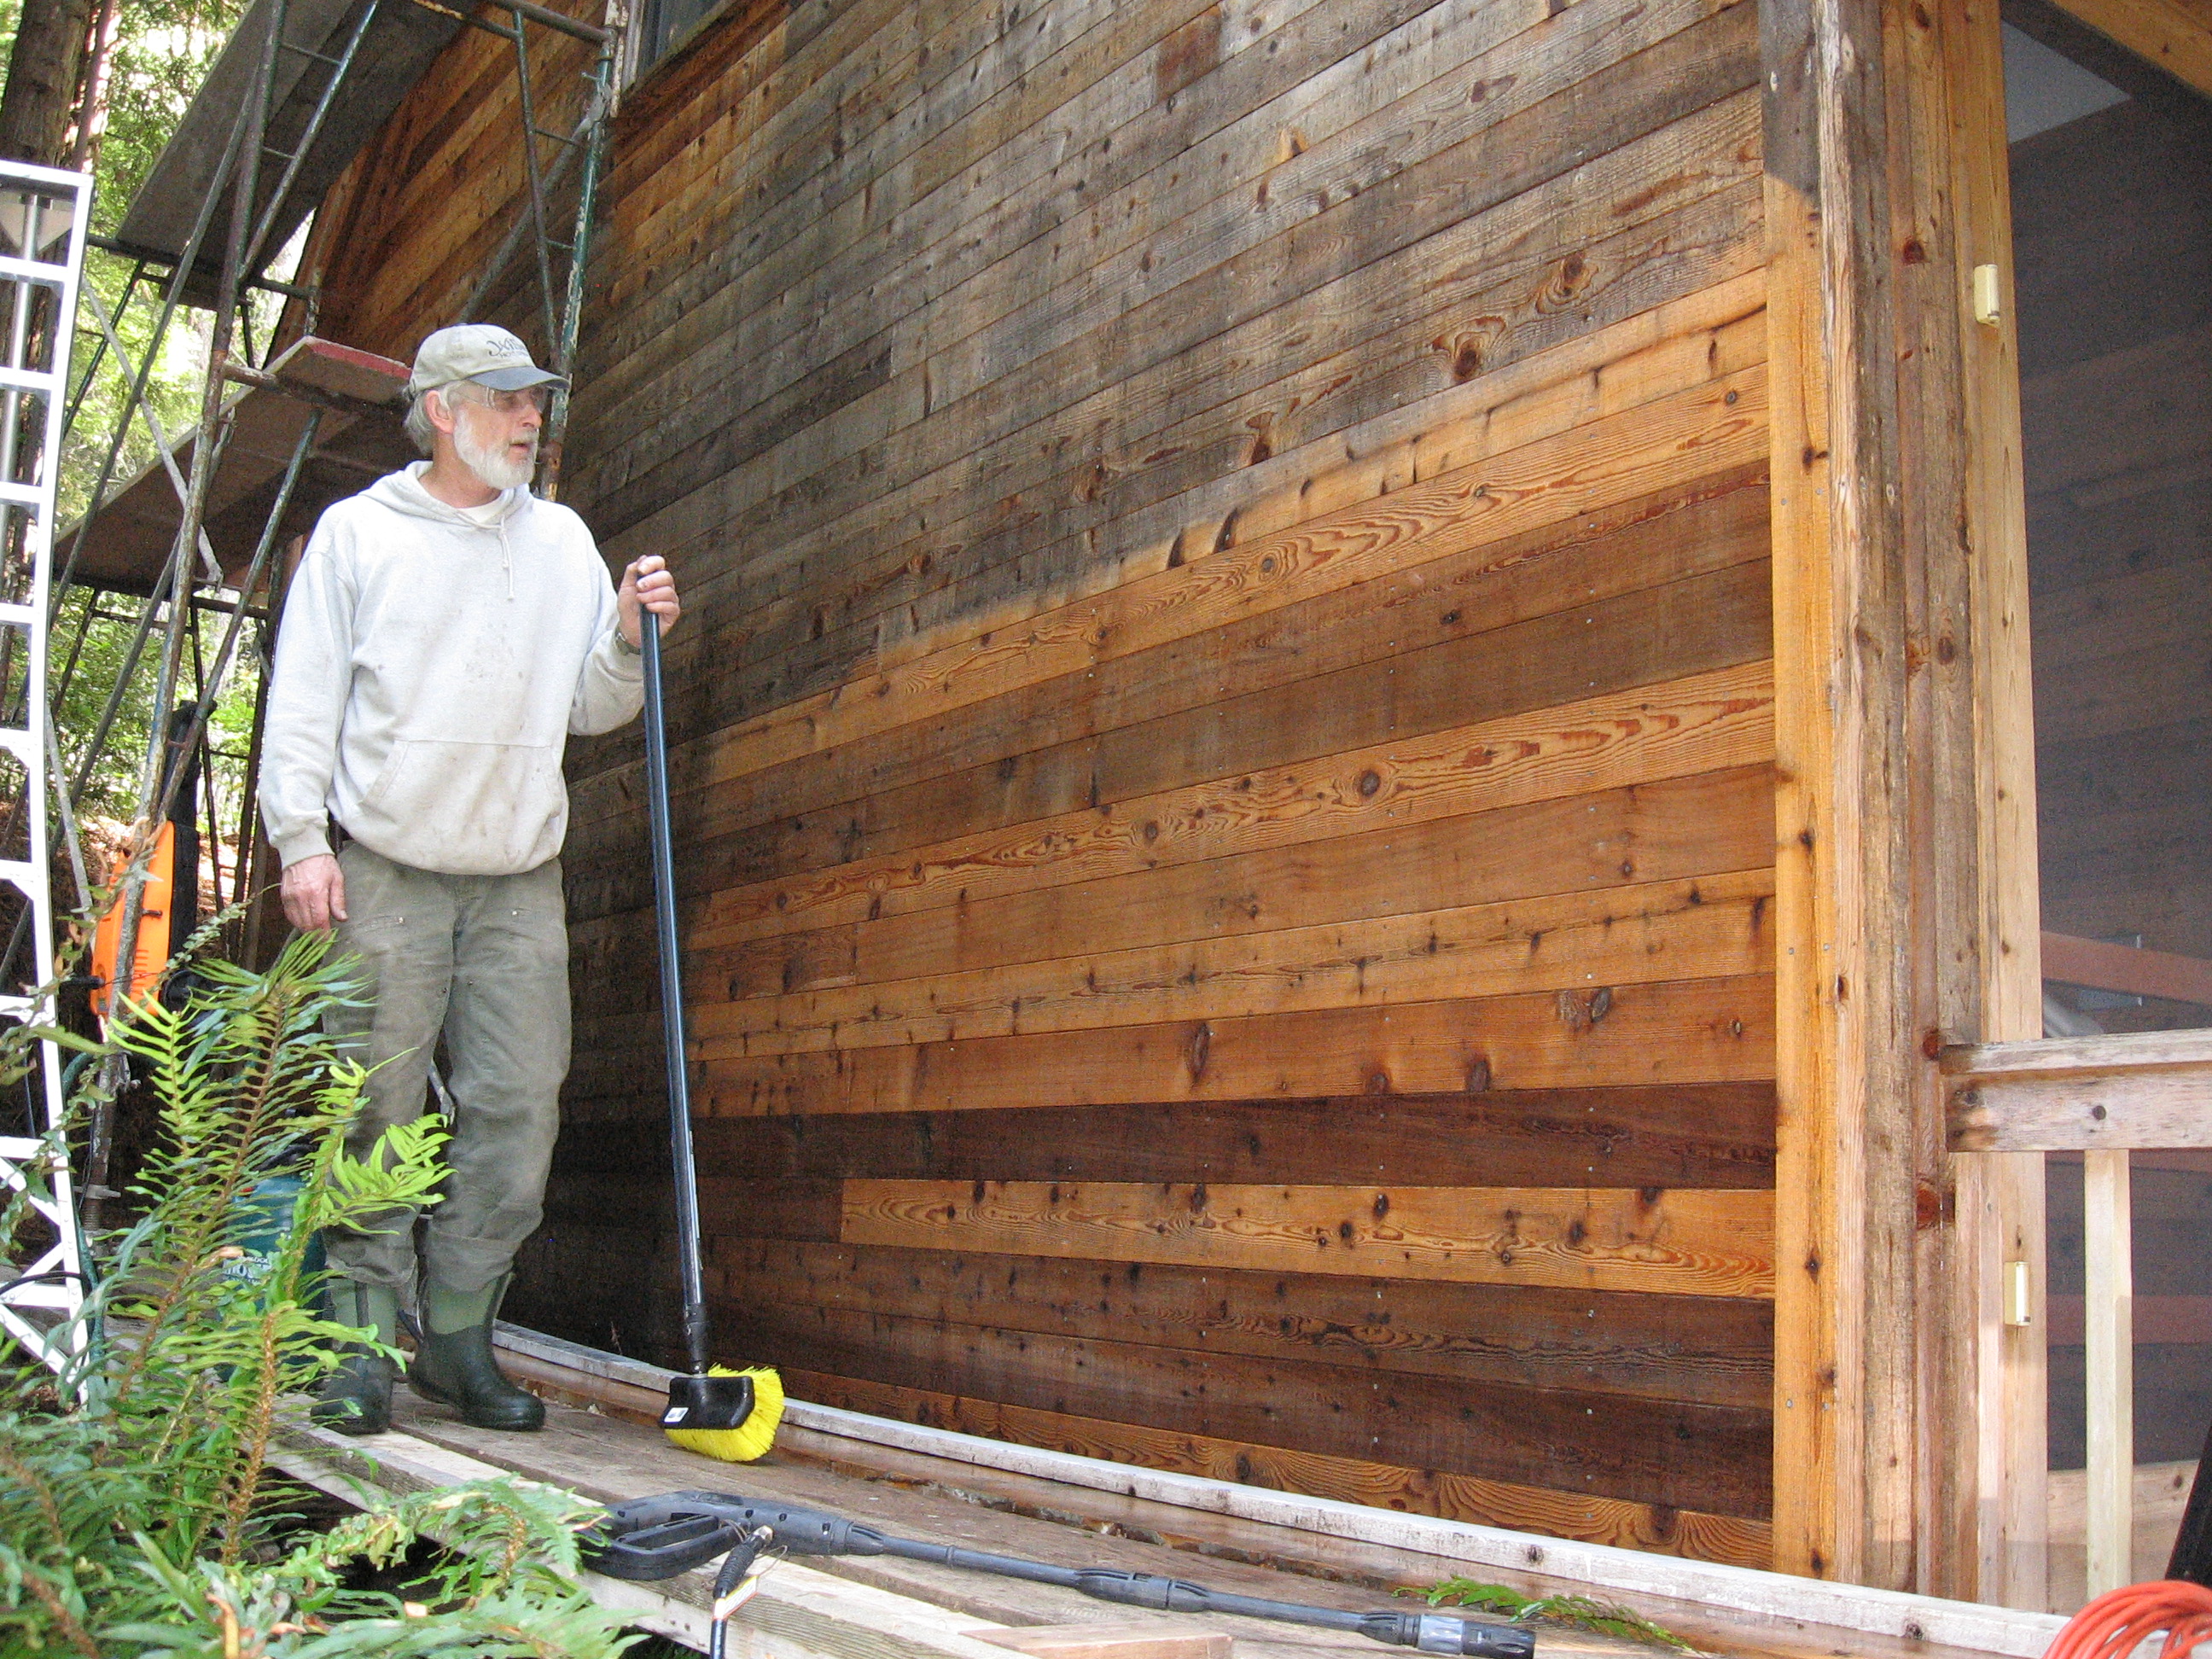
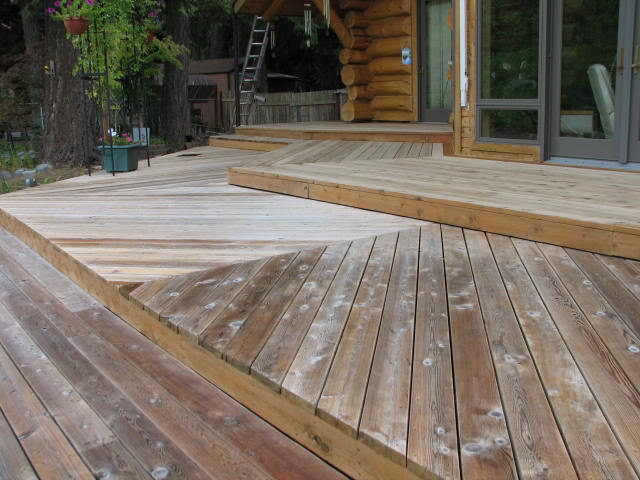
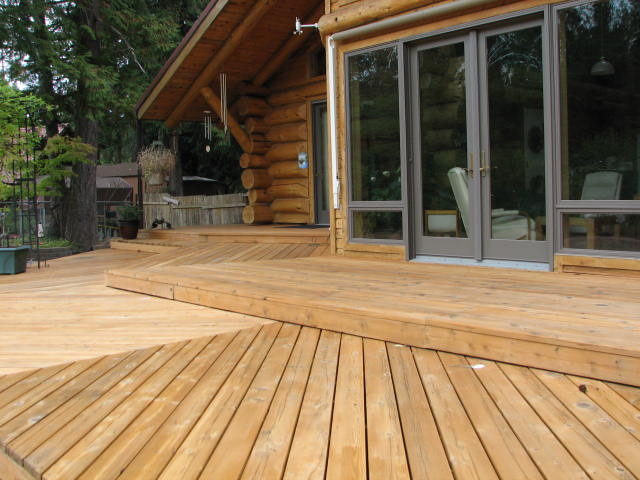
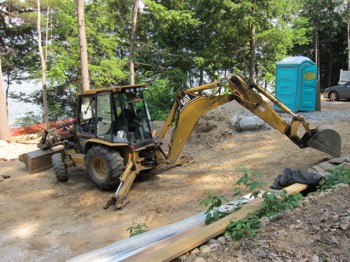
This unfinished house has sat for over three years with no activity. The owners ran into any number of difficulties. PHOTO CREDIT: Tim Carter
The reality of building a new home from scratch with you doing much of the work or even subcontracting out some aspects is one filled with hourly challenges. You can't imagine how complex it is to build a new home making sure you follow all the best practices much less the minimum standards represented by the building code.
I don't have any statistics as to how many DIY home-building projects end up a total success, but my gut tells me it's in the single digits. To get an idea of what you're up against, break down the entire job into modules and start to add up the total hours required. This is just one way to get a dose of reality. You'll quickly discover the total time required in man/woman hours to build a home will approach ten thousand hours, if not more.
In all my years of watching do-it-yourselfers attempt to build a home, what I've discovered is they want to get to the glory work as fast as possible. They throw up the shell of the house and make it somewhat waterproof so they can get to work inside. If you happen to be plagued with attention deficit disorder, you'll pay dearly for jumping ahead and not finishing critical weatherproofing details outside.
There are countless challenges. Some of the most significant ones that come to mind are: financing issues, incomplete plans and specifications, poor budgeting, lack of needed tools, poor grasp of scheduling, subcontractors that don't show up, price inflation issues because of the extended building schedule, and delays in obtaining materials because of shortages and just-in-time manufacturing issues.
To help you achieve your dream, I suggest that you spend lots of time up front long before you do one thing at the lot. You need to break the job down into each separate task, there are hundreds of them, and get accurate pricing information for each thing you need. Far too many DIYr's just put in an allowance or guess only to discover the real materials cost far more.
You can use a detailed checklist that helps you determine what you need. There are some incomplete free ones you may discover online, but there are highly detailed ones that are priced below $20. You can make sure you get the right pricing by doing the actual selection of everything you want in the home before you start. Price out things like towel bars, mirrors, shower doors, window treatments, etc. Think of everything you have in your existing home that you'll need to have when you move in.
Once you have the pricing information for everything that's required, get multiple bids for things where you'll need a subcontractor. Be sure to write out exactly what you want the sub to do and what materials he needs to supply. Include a section in the bid where the sub spells out what he'll not be doing. That's very important. Be sure to add a cost for what he'll not be doing.
Finally, try to estimate the hours it will take you to do the tasks you'll attempt. Whatever number you come up with for each task, multiply it by 1.5 or 2, especially for all the finish work. At the end of the project you'll be tired and not as productive, unless you employ artificial stimulation.
I believe you'll discover the number of hours of work will be staggering. At this point, you need to plug those hours into your calendar to see when you can work. Keep in mind that building a new home is a full-time occupation for actual builders and subcontractors.
If you think you'll get the same results doing the work on weekends, after your day job responsibilities and accrued vacation time, you need to pinch yourself. It will take you years to complete the house doing it this way. Also, don't forget about weather considerations and the diminished daylight in winter months. Bad weather can put regular builders weeks behind. It may cause you to lose months of time.
Running out of money and energy are the two biggest issues the average DIY'r will face when trying to build their own home. Many construction loans have expiration dates where they have to be converted to permanent financing. If borrowing rates increase and you pass the expiration date, you could be faced with overpowering monthly payments.
As the project end approaches, it can take many hours to finish the last 15 percent of the job. Finish work, done properly, takes lots of time. Interior painting is a great example. On existing houses, you may repaint a bedroom in one day. In new work, that same room could take three days with all the needed spackling, caulking, sanding and priming. Typically you don't need to do all those things in an existing room.
Column 892

 Two weeks ago, I attended the Bosch Editors Tool Conference. It was a fantastic event where we got to test all sorts of new cordless drills, reciprocating saws, multi-tools, jobsite table saws, etc. We even got to see a cordless drill dropped 500 feet into a grass field. It still worked after that fall!