DEAR TIM: I woke up to frozen pipes this morning. When I investigated the location, I found the frozen pipes to be in my water heater/furnace room. The builders of the home installed a fresh-air intake in the furnace room, and the water pipes travel right in front of the 9-inch intake pipe. It's about 6 degrees F outside, so the only way to prevent the pipes from freezing is to block the fresh-air intake. What do you suggest I do? Kathryn G., Saratoga Springs, UT
DEAR KATHRYN: I know you get cold weather in Utah, but it can get bone-chilling cold even in places like Florida and Arizona. Phoenix, AZ just recently had snow falling!
I suggest you take steps to prevent frozen pipes, but for now, we need to get water flowing again in those pipes. There are many methods to try, but you need to act quickly now to try to minimize the growth of ice in the pipes to prevent the expansion from splitting them.
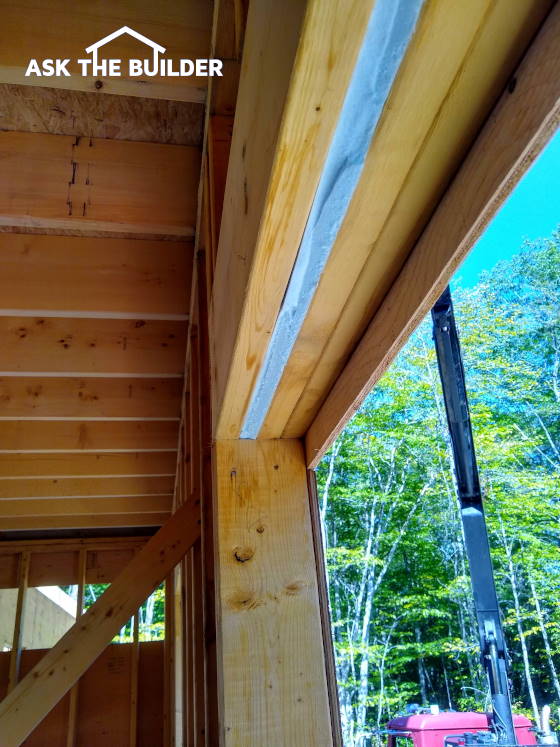
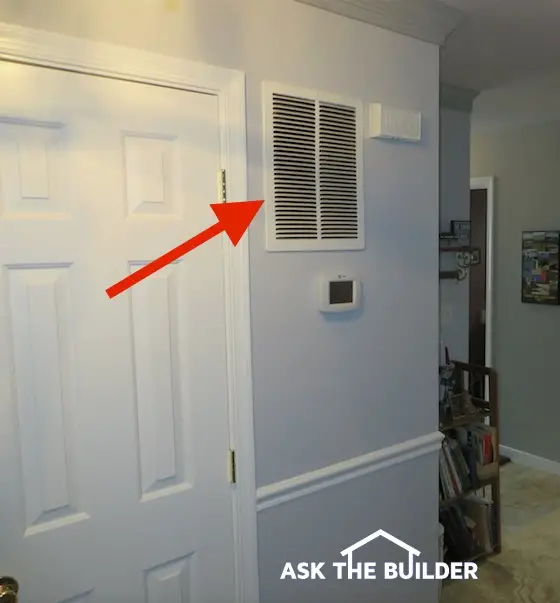
This harmless looking fresh-air intake vent can cause massive frozen pipe problems inside a home. PHOTO CREDIT: Tim Carter
First, you need to make sure you know where the main water shut off valve is in case the pipes burst and you have a mess on your hands. Then you should have a phone number for a plumber that can come out and assist you if you develop a leak.
I would then move anything that’s valuable in the immediate area where the frozen pipes are. If the pipes burst, you don’t want the spraying water to ruin valuable possessions.
If at all possible the next thing I would do is direct the air blast from this fresh-air intake down to the floor. This will stop the water in the pipes from further freezing.
I doubt you have spare 9-inch pipe laying around with the needed fittings. Perhaps you can fashion some type of crude temporary tube from plastic or cardboard be it round or rectangular to connect the end of the pipe. If you can’t do this, at least put in some type of cardboard deflector between the pipes and the intake pipe so that the frigid air is not hitting the pipes directly.
Be very careful if you use a flammable temporary material to create a crude tube. Flames from nearby furnaces, boilers, water heaters, etc. can ignite it. If possible, send a helper to a hardware store or home center to get metal pipe to do this job correctly.
You can now start to thaw the frozen pipes. I would not use a torch. You can put damp towels in a microwave oven and heat them up just like flight attendants do for all those pampered passengers who fly first class on airplanes. Wrap the pipes with these steaming hot towels to start thawing the frozen pipes. It will probably take repeated heatings in the microwave for the towels to thaw the pipes.
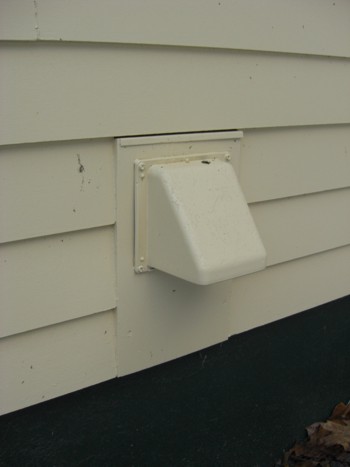
Extending the fresh-air intake pipe is not as hard as you might imagine. I’m hoping that you can easily attach a 90-degree bend to the pipe that will allow you to aim the pipe down. Use self-tapping sheet metal screws to connect the fitting to the pipe.
You then do the exact same procedure to connect sections of the metal pipe to the 90-degree bend. Note that sheet metal piping like this typically has a male and female end to it. The male end has crimps in it.
These pieces of round metal pipe usually are sold flat. There is a seam you have to create by sliding one edge of the pipe into the other. It’s caveman simple. Wear light leather gloves to avoid hand or finger cuts from the sharp metal.
As you connect the sections of pipe together, use the self-tapping screws to ensure the pipes don’t fall apart. Your biggest challenge will be securing the pipe so it doesn’t flail about hanging from the ceiling.
If the pipe is near or against a wall, you’ll be able to attach it to the wall using large straps that you can screw to the foundation or outside wall.
This fresh-air intake pipe is mission critical in today’s newer homes. It provides makeup air for ventilation fans, combustion air for some appliances, and it may be providing air for a traditional masonry fireplace.
Without a make-up air or fresh-air intake, you can have dangerous backdrafting of exhaust gases from your fuel-burning appliances. Whatever you do, don’t block this mission-critical pipe.
Column 864