What’s in This Issue?
Happy Spring
Painting Vinyl Siding
Ask Me, but ...
Deck Cleaning
Pressure Washing
Travel News
Latest Columns
Tim Carter’s Fire Pit
I do product reviews frequently. Please read my Disclosure Policy to understand the relationship between me and the companies that make the products or offer the services I review.
FOLLOW ME ON TWITTER
Friendly Question Reminder!
If you have a question for me, don't hit the Reply button just yet. Go immediately to my web site and type in the keywords about your problem into my Search engine. The search box is at the top of every page of my web site. You could have your answer in seconds if you do this! Please pay attention to all links you see at my web site. The exact products and services you often need are right in front of you, and you might be ignoring them.
Happy Spring!
It's official, Spring is here and now's the time to start thinking of all those projects you'll be doing this year. I'm here to help as best I can. The next few issues of this newsletter will focus on things that I hear about in the spring: deck cleaning, pressure washing and, believe it or not, gutter guards.
Painting Vinyl Siding
Bill Hutchin from Flemington, NJ wrote:
I've read your article about painting vinyl siding. My question is: Should the siding be brush painted or sprayer painted?
Bill, you can do it either way. If you decide to spray it, you better work on a calm day. You'll also spend lots of time covering all the things you don't want paint on like windows, doors, etc.
If you've never used a sprayer before, be sure you practice with it until you get the paint consistency correct and the proper technique of using the tool. Once you master it, they do a great job.
Be sure you use a paint that has a combination of urethane and acrylic resins. These will bond best to the vinyl. Sears Weatherbeater ULTRA and Sherwin Williams Duration both contain these the last time I checked. Finally, you really need to clean the siding well. Liquid dish soap and water with a scrub brush or great sponge should do well. Don't try to do this with a pressure washer as you can easily get water behind the siding.
Ask Me, but ...
You might have a misconception about Ask the Builder. Let me tell you what happened last week to me. A few days after a subscriber got my newsletter, he hit "Reply" and asked me a series of questions that would have required me to type a response perhaps 10,000 or even 20,000 words.
The project he needed help with was enormous and he pretty much expected me to guide him through it because, after all, I'm Ask the Builder. When I told him that I didn't offer that platinum service, he was pretty upset.
As you might expect, no one has that kind of time, well, at least I don't. I do get many, many questions each day, but most can be answered in one sentence - or the answers are already at the website in a past column or video of mine. Please always take your time to scour the website before you ask a question.
I know you may not believe this, but the ads you will undoubtedly see at my website often are the exact solution to your problems. Why? Because they are contextual. This means that the ads match almost identically to the products I describe in my columns and videos. Ignoring those ads can cost you hundreds, if not thousands, of dollars.
Deck Cleaning
Ten days ago, I gave four talks at the Cincinnati Home and Garden show. It was loads of fun and the last one was packed. The audience even clapped when it was over. That made me feel like it was worth it to come 1,000 miles to give the talks.
I promised JoAnn Kirchgessner that I'd mention her. She attended the show with two friends. JoAnn is the hair stylist that cut my hair a few years ago. She owns "A Little Off the Top" on Harrison Avenue in Cincinnati. JoAnn, there's less and less to take off the top lately, especially near the back!
One of the things I talked about on one of the days was the issue with BAD information out there. You can get bad home-improvement information on the radio, TV, magazines, and newspaper columns (not mine!).
The day of my first talk, The Cincinnati Enquirer had a column in it from Martha Stewart about cleaning decks. It's syndicated like mine, but I had no idea this diva had any knowledge of how to properly clean a deck. After all, she's a cook right? Oh, and she knows how to do extravagant decorations.
Well, I was right. She has no idea. I read part of her column at one of the presentations. In it she, actually her ghost writer, said to mix chlorine bleach with water to clean the deck. WRONG! Chlorine bleach is toxic to all surrounding plants and trees, will take the color out of the wood, and it destroys the lignin that holds wood fibers together. It's also corrosive.
You want to use Oxygen Bleach instead. Oxygen bleach will not hurt plants, restores the wood to it's original color and will not accelerate corrosion of any fasteners or structural framing connectors - yes, chlorine bleach will do that.
Where do you get oxygen bleach? I happen to sell the most powerful in the USA and in a week I'll be announcing the huge annual Spring Sale. Watch for that next week. You do not want to miss this sale. Why? Because we only do it once a year.
Pressure Washing
I can't tell you how many wood decks I've seen ruined by pressure washers. I've even taped a video about this. It's a little corny, as it was taped to play on the local ABC-TV affiliate in Cincinnati about nine years ago. They wanted me to be as entertaining as possible when I taped with them, thus the wardrobe you'll see.
Pressure washers are great machines. In fact, I'm about to begin testing a great one from Campbell Hausfeld. I'll have that review for you next week.
But a pressure washer can cause severe damage to wood - if used improperly. The concentrated stream of water will easily erode the soft spring wood that's between the darker bands of hard summer wood.
Be very, very careful if you decide to use a pressure washer on a wood surface. Start with as wide a tip as you can and don't use anything less than a 25-degree tip.
Travel News
When I travel, I try to carve out time to visit with you. I'll be in Albuquerque, NM, from April 12-16th. I'll be at the Hyatt Tamaya resort for a conference. If you're a golfer, you can play with me on Tuesday and Friday if you choose. There are four of us playing on Tuesday, but only two of us on Friday. If you don't care to chase white balls, then we can possibly meet one night for liquid refreshments at the resort and soak in the hot tub. Email me soon so I can adjust my calendar.
Latest Columns
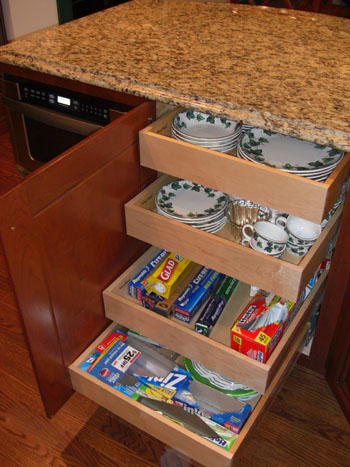
Need to Clean Tile Grout? Yes, you need Stain Solver.
Steel Beams are Strong as Can Be!
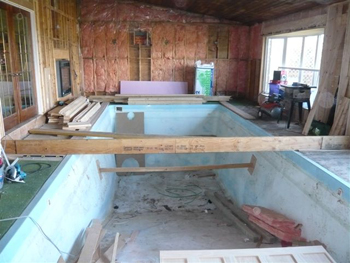
Hiding an Indoor Pool
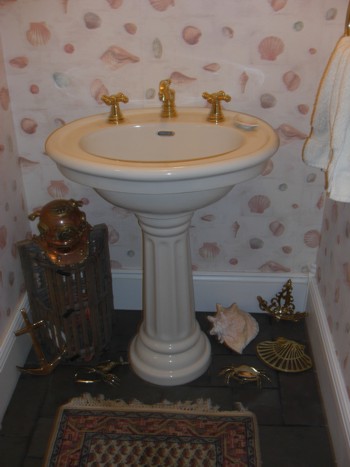
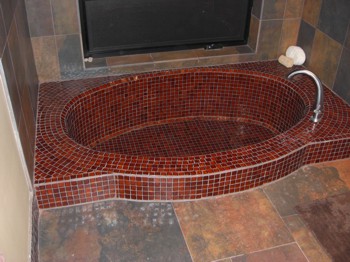
Bathroom Tubs - Lots of Choices
Tim Carter's Fire Pit
If you're a new subscriber, I have a secondary website that might be of interest to you. It has nothing to do with home improvement, and everything to do with improving our great nation.
The best part is that it doesn't make any difference how you feel, as you can voice your opinion on any of the topics discussed there. Just leave a comment.
I hope you stop by my Fire Pit and share your point of view.
AsktheBuilder.com