Weather & Tar and Chip Driveways
Weather conditions are very important when it comes to these surfaces and their installation. Hot, dry early summer weather almost always offers the best conditions. The liquid asphalt sticks best to warm dry surfaces. It also sticks to falling leaves and flower petals! This means that you don't want these things around when you are installing a tar and chip surface.
CLICK or TAP HERE for a FULL TRANSCRIPT of the above video.
Air and surface temperature are critical. It is important that once the hot liquid asphalt is sprayed that it does not chill or cool before the loose chips are scattered across the asphalt. In fact, in most applications, the chips are usually installed within 1 to 2 minutes. The faster the chips are installed, the better chance they have of sticking to the liquid asphalt cement.
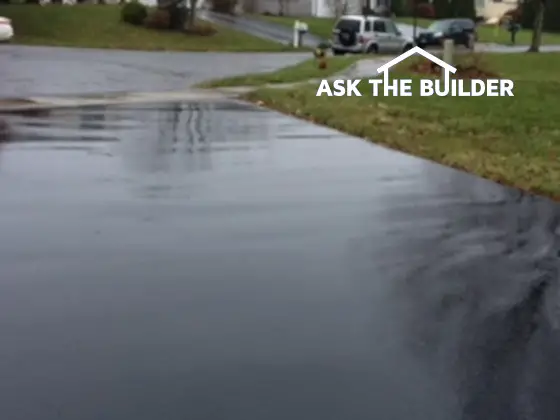
If you have to use an emulsified asphalt, be careful of rain. If it rains before the emulsifying agent evaporates, your asphalt can wash away!
Leaves, Grass & Snow
If you have an obsessive compulsive behavioral disorder, tar and chip may not be for you! If you choose tar and chip and the beautiful loose chip covering, you will not be able to hose down your driveway. You'll blast away the chips! However, grass clippings, fallen leaves and paper can be easily removed with a standard air blower or a lawn mower. That is how I remove these items from my driveway.
Get the best-looking Tar and Chip Driveway around! Use my Asphalt/Blacktop/Tar & Chip Installation & Repair Checklist and learn what to ask your contractor. I offer a 100% Money Back Guarantee.
Snow removal is also a challenge. Hand shoveling is tough. You need to skim just above the chips. However, plowing is possible if you just set the blade up one inch. If you have no loose stones on your tar and chip surface, plowing is no different than a blacktop or concrete driveway.
Cost
The cost of a tar and chip driveway is almost always less expensive than standard blacktop. The cost rises if you choose an expensive colored stone. Maintenance is virtually non-existent. Remember, you don't have to deal with those messy sealers every other year. That saves time and money as well.
Do's and Don'ts of Tar and Chip Driveways
Do's . . .
Do use a contractor who has experience with this surface. Ask for references and go and visit the driveways.
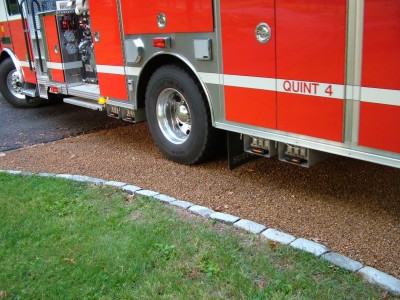
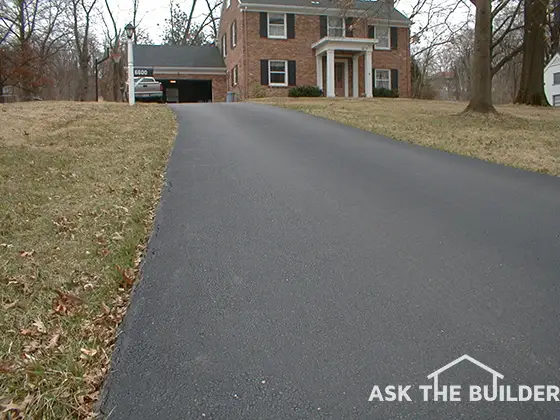
With proper installation, your home tar and chip driveway can stand up to the weight of a fire engine. PHOTO CREDIT: Tim Carter
Do make sure that the contractor plans to spray a sufficient amount of liquid asphalt. One half gallon per square yard is the minimum amount that should be applied. Applying too much can also be a problem. The tar may bleed through the chips in hot weather!
Do make sure that the base or surface to be coated is sufficiently strong enough to handle the heaviest trucks! The tar and chip coating is NOT structural. It is merely a wear layer.
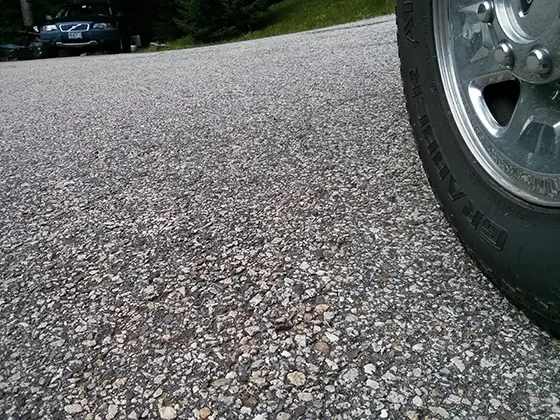
Do make sure that the chips you use are uniform in size as much as possible. Flat, thin chips are not too good. Cubical chips, similar in shape to rock salt are superb.
Do a good job of blending stone chips if you decide to use two different colors.
 Click here to watch a video on Tar and Chip Driveways.
Don'ts . . .
Don't consider using loose chips if your driveway is steep. The loose chips may cause tires to spin. Steep drives can only be coated with embedded chips.
Don't drive on a new tar and chip surface for a minimum of 24 hours. The surface is tender, just like fresh blacktop. Avoid spinning tires or turning wheels in place for at least two weeks.
Don't allow a cutback asphalt to be applied to a damp or wet blacktop or gravel base. These surfaces MUST be dry! Emulsified asphalts can be applied to a damp surface.
Don't apply an emulsified asphalt if rain is in the forecast.
Don't apply asphalt if the air temperature is less than 50 degrees F. The temperature should be rising though the process. The surface temperature of the gravel or blacktop to be coated should be at least 70 degrees F.
Column B127