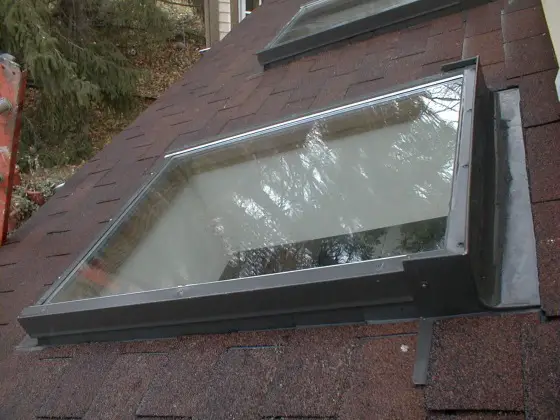
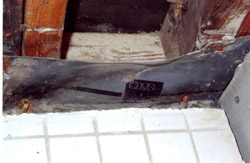
The head flashing is on the right side of this photo. It extends up another 7 inches under the shingles farther up the roof.
Skylight Repair
DEAR TIM: Currently I have a problem with skylights in my home. They are leaking and are very old. I want to replace them with larger units that will not leak. Is that possible? Finding a roofer or contractor to do this has been very frustrating. What kind of contractor do I hire to do this and just how does one find a really good contractor? Do I need a divining rod? George C.,Orlando, FL
DEAR GEORGE: I can feel your pain. You have double trouble because your problem involves a roof leak. Since you already have plenty of water in your house from the leak you can throw away the divining rod. Get rid of your tarot cards and Ouija board too. It can be hard to find a qualified contractor or roofer, but trust me, there is usually one or two in every city or town. You simply need to look in the right places.
Let's solve the roof leak problem first. The vast majority of roof leaks can usually be found where things pop up through a roof. Skylights, plumbing vent pipes, heating vent pipes, chimneys, second story sidewalls, etc. can all abut or penetrate a roof. These non-roof items are connected to roof materials by using flashings. Flashings are simply transitional roofing materials. They can be made from tin, copper, aluminum, lead or even modified asphalt materials. My guess is that your skylight flashings are the source of your trouble.
Many skylights that are sold require a roofer to fabricate some of the flashings while he is up on the roof. This process requires experience and attention to detail. Not all roofers are qualified to do this. The best skylights, in my opinion, are those that include complete factory built flashing materials in the box. They are virtually idiot proof. All the roofer has to do is follow a few easy steps and the hardest wind driven rain will not create a waterfall inside your home.
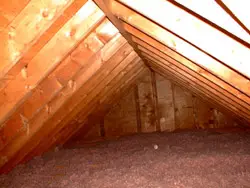
If you are enlarging the skylight opening by making it longer, then the modifications to the roof structure will probably be very minor. Major structural changes are necessary when you decide to widen a skylight opening. In these instances extra full sized rafters need to be added on either side of the skylight opening. These extra framing members help carry the roof load that used to be supported by the rafters that were cut to make the new opening wider than it is now.
Finding a reliable, competent, and skilled roofer or remodeling contractor that can do all of the work will take some time but it is by no means impossible. If you understand some of the basic principles by which these people work, the task is not as mystical as it may seem. Quality contractors are proud of their work. They want it to be perfect or nearly so and they do not want any call-back or warranty problems. To achieve trouble free results they know that high quality materials are an integral part of each project. Real professionals know that problems are public relations nightmares and drain profits.
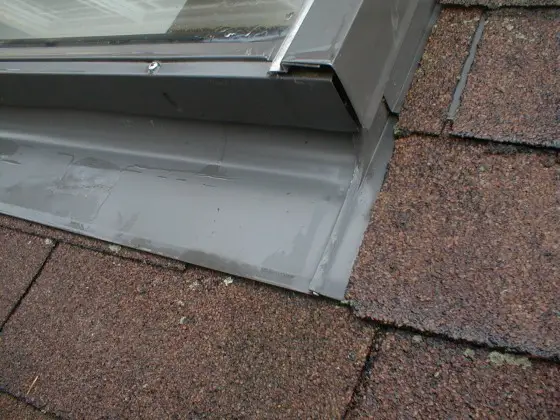
This is the sill flashing at the base of the skylight. It covers shingles that extend up under the flashing. You can also see step flashing on the side of the skylight that is laced into and under the shingles that abut the side of the skylight.
Knowing this you start your search for contractors by visiting the businesses that supply quality materials to these individuals. You might be surprised to find out that these businesses are often places that you have never heard of. In your instance I would open the Yellow Pages and look under the heading Roofing Supplies. Many of the listings under this heading will be businesses that cater primarily to roofing contractors and not consumers like you. Visit two or three of these places if possible. Try to do this in the middle of the morning or the mid-afternoon. Never go early in the morning, at lunch or the end of the business day. These are busy times when contractors are picking up supplies.
Once there ask to speak with the manager or possibly the owner. Briefly describe your job to this person. Ask for a customer who has been buying for 15 or more years, one that routinely buys the highest quality materials, and who pays his monthly bill on time. If the business manager obliges you, you will have a list of high quality candidates. The final question to ask, if possible, would be names of contractors that this person would use to work on his or her own home.
If the manager will not release names, then go to Plan B. Do a stakeout of the business in the early morning and get business cards from the contractors who are buying supplies. Look for ones who are driving well kept vehicles that project a look of professionalism. You will still need to do more detective work, but your chances of hiring a pro are quite good.
Column 338

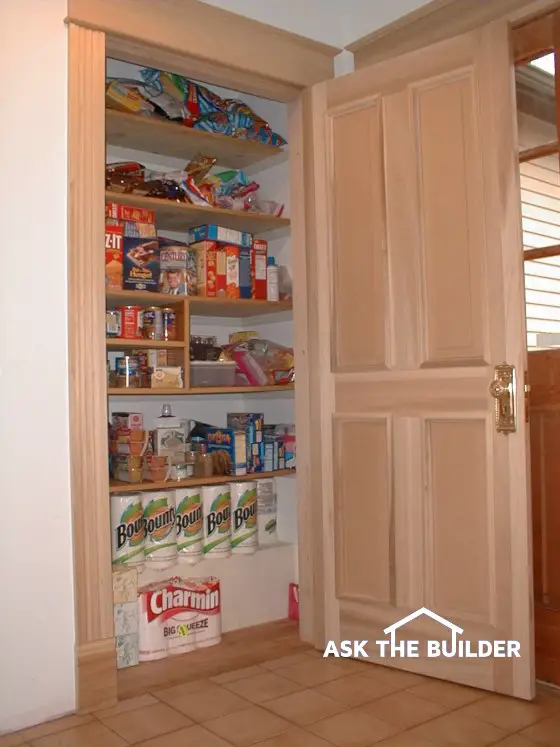
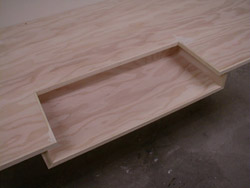
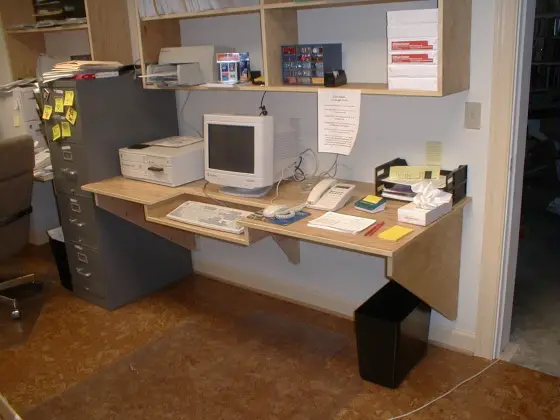 Small Home Office Space
 The first thing to do is to put on the brakes before you go any farther. Those innocent looking horizontal ceiling joists are very likely critical structural components. If you cut these out to create the vaulted look your roof may start to sag and possibly collapse. The first person you need to contact is an seasoned rough carpenter or a residential structural engineer. A structural engineer can do a quick field visit to your home and produce a small drawing and instructions that will allow you to move forward without compromising the roof structure. I should also mention that you have entered the realm of the building department and building permit process.