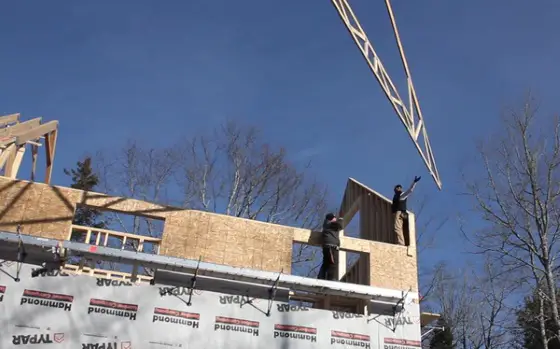
Small Greenhouse Foundations
Question #1: Hello Tim! My guess is you’re not a gardener, but I do need your help. I’m about to purchase a small greenhouse kit and wonder if there are any special foundation requirements. The manufacturer doesn’t have much to say about this. What’s the best thing to do so I preserve my investment as the small structure costs several thousand dollars? Linda S., Folsom, CA
Linda must have hacked into my floodlight camera that can be viewed from an Internet connection. No doubt she watched my pathetic attempt at growing tomatoes along the edge of my driveway. The gardener in my family is my wife as she has hundreds of orchids spread out in just about every room of our home. She’s mastered the art of getting the many different varieties to bloom, bloom and re-bloom with her tender loving care.
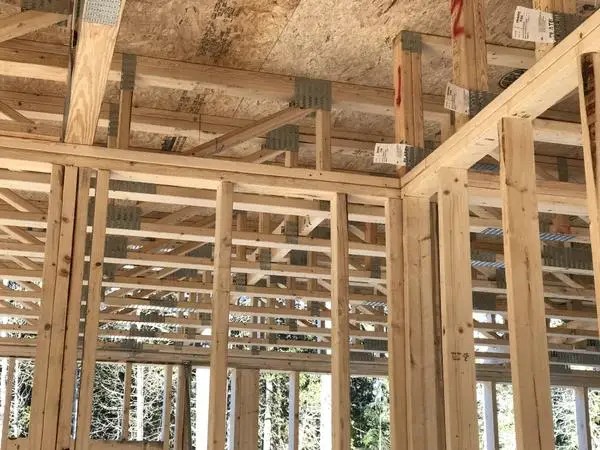
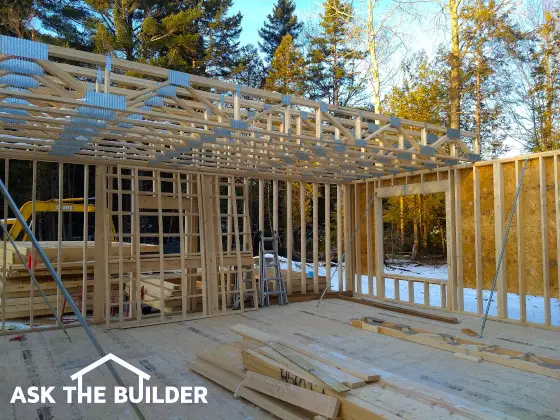
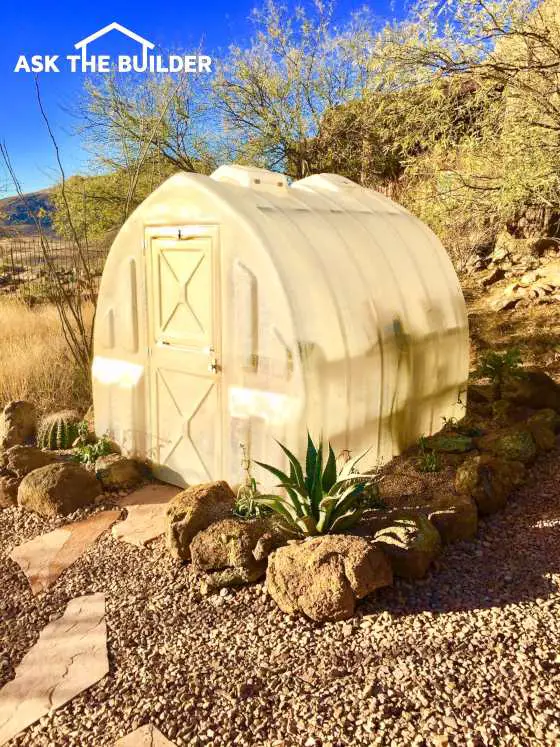
I’m aware of many small greenhouse kits as my wife has had me look at them. There are quite a few designs and they range from simple aluminum-tube frames covered with plastic to small exquisite structures that resemble real greenhouses made with aluminum frames.
While it’s always best to defer to the manufacturer about exactly how to install a product, you’ll never go wrong adding a liberal dose of common sense. The greenhouses that have lots of parts to put together will react much differently to ground movement than the one-piece molded fiberglass or plastic units that are astonishingly stable.
Frost heave is the biggest threat to these small greenhouse kits or even any small pre-fabricated shed you might buy from a home center or dealer. If you live in an area where frost doesn’t penetrate into the soil, you’ve got little to worry about.
Frost heave in the soil can be uneven and that’s where the trouble begins. One side of your new greenhouse kit may lift up 2 inches, or more, and the other side experiences little lift. The structure starts to get twisted and parts may break. The biggest issue with uneven lift is ill-fitting doors and windows or vents that might not open or close properly.
Your local building and zoning code may regulate what you have to do, but often the codes exempt structures that are under a certain square footage. Be sure to check to ensure you’re complying with your local regulations.
At the very least, you may want to construct a simple foundation for the kit using treated lumber that’s allowed to be in contact with the soil. I’d remove the topsoil down about 12 or 18 inches and fill the trench with crushed stone that’s about the size of a grape. Level this gravel and place a treated lumber 4x6 frame on it that the kit will rest upon. Create simple overlap joints at the four corners and use through bolts to interlock the four pieces that make up the square or rectangle.
You need to also be very concerned about wind. Strong winds can blow over one of these kits. Pay very close attention to the instructions about how to tie down the greenhouse or shed so it doesn’t tumble across your yard during the next violent windstorm.
Pipes That Pop
Question #2: Oh Tim, I need your help! Some remodeling was done in my older apartment building and I think it’s going to fall down! Lots of work was done including installing new plumbing drain pipes. The old ones were black metal but the new ones are white plastic. Every morning and night I hear these loud pops and cracks in the walls that never used to happen. It only happens when my neighbor above me is taking a shower or bath. Is the tub and shower going to come crashing down on me? Beth C., Staten Island, NY
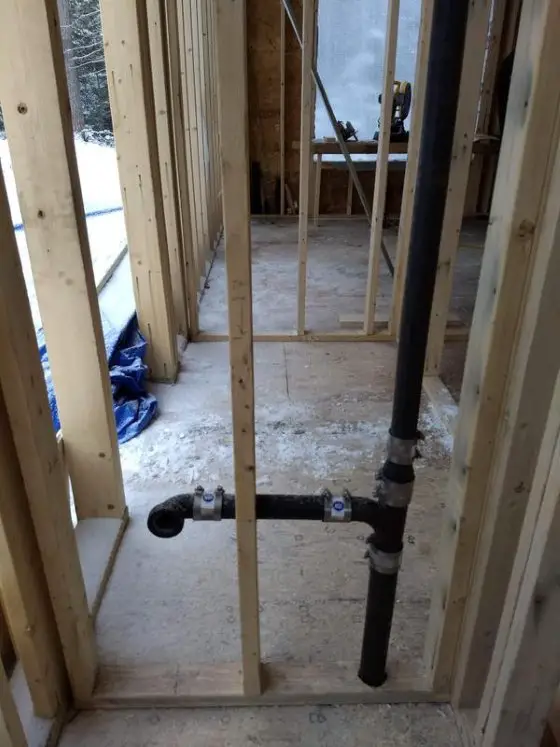
Beth’s situation reminds me of what happened at the second house I remodeled forty-four years ago. I removed cast iron drain pipes to a second-floor bathroom and replaced them with new state-of-the-art plastic PVC pipes. I thought I was doing myself a favor.
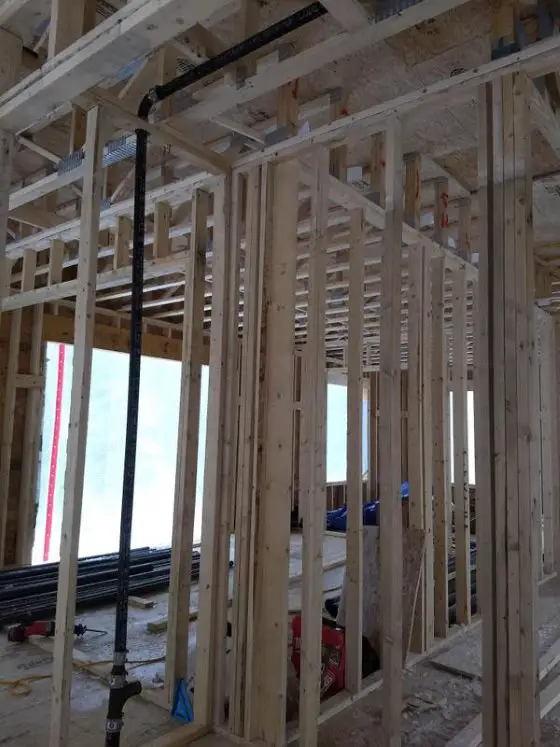
Being a wet-behind-the-ears builder remodeler I had no idea that the PVC pipes reacted violently to hot water. As soon as anyone started to run hot water in a sink or the shower/tub, I’d hear popping and cracking as the PVC expanded and rubbed against the framing lumber.
After a few minutes, the popping would stop as the PVC pipe reached the same temperature as the water. But after the water stopped flowing, the annoying cracking and popping would return as the PVC pipe cooled back down to the ambient room temperature.
I also started to notice that each time someone flushed a toilet it sounded like there was a waterfall in my wall. Ugh! The noises never happened with the cast iron drains. This is why I’m installing cast iron drain lines in my daughter’s new home. I want her to have a quiet house as does she.
Column 1285