DEAR TIM: I was getting ready to paint my home and noticed several pieces of wood trim that is rotting. What can I do to prevent this from happening in the future and what can I do to repair the wood that is now defective? Are there safe chemicals to use to prevent wood rot? What have you done in the past to combat this problem? Marty B., Redlands, CA
DEAR MARTY: Wood rot has been on the rise for quite some time when it comes to wood trim on homes. There are several reasons for this, some of them poor building practices, but another one, in my opinion, has to do with the wood itself.
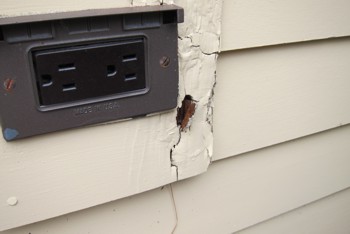
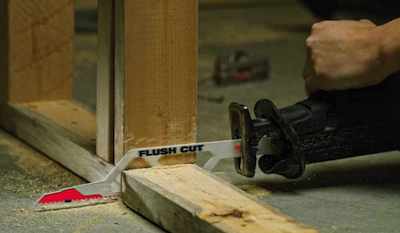
Rot is attacking this piece of wood. Keeping wood dry is the number one way to prevent rot. PHOTO CREDIT: Tim Carter
First, much of the wood used today for trim on homes comes from hybridized trees that grow fast. The wood that’s added to a tree in the spring has a much less dense structure than the wood added in late summer as growth slows. This spring wood is the light band of color you see at the cut end of a long board or a log. The dark band is called summer wood. The two bands add up to a year’s worth of growth.
Cut into a piece of trim wood on an older home that’s not succumbed to rot and look at the end grain. I’m pretty sure you’ll often see that the dark grain accounts for nearly 50 percent of the wood mass. In today's lumber, it can be less that 25 percent. The fungi that eat wood feast on the easier-to-eat light-colored spring wood. That means the hybridized trees simply can be consumed faster and easier by rot. That's why many owners of newer homes are seeing an explosion of wood rot.
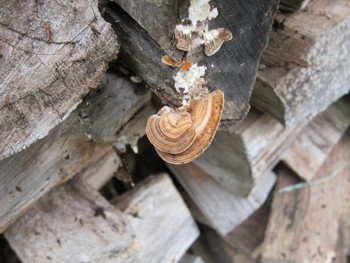
Keeping wood dry is the number one way to prevent rot. PHOTO CREDIT: Tim Carter
The easiest way to prevent wood rot is to keep wood dry. Wood rot is like mold growth and fire. It's a triangle. With fire, you need fuel, oxygen and heat. With mold, you need mold spores, food and water. Wood rot is the same, all you need is wood, water and fungi spores. Fungus and fungi spores are just about everywhere. Build a house in the Atacama Desert and you'll not have to worry about rot. It rarely rains there.
But rain is a problem in most areas of the USA. Since you can't stop the rain, you have to resort to making the wood think it's dry. One way, and this is where poor building practices come in, is to paint the wood on all surfaces and edges. This effectively puts a defense shield up so that water can't touch the wood. It takes more time and effort to paint wood in this way, and most builders and carpenters will scoff at you, but it does help.
You can also pretreat raw wood that's dry with water-soluble borate chemicals. Boron is a very effective wood-rot prevention chemical. It's safe for humans and mammals, but the fungi that cause wood rot find it distasteful and poisonous.
These borate powders readily dissolve in water. You can spray the solution onto lumber, but it's best to soak each piece in a trough of heated solution for a minute or so allowing the borate chemicals to soak into the end grain like a milk shake going up a straw.
Once the lumber is treated with the borates, allow it to dry. It's best to do this in the shade and be sure to separate the pieces of lumber with thin strips of wood so air gets to all the surfaces.
After it's dry, then you can prime it on all surfaces and edges. Then you paint all surfaces with the finish paint. If you cut the lumber to fit, the cut edge needs to be painted before it's installed. You can see this is very time consuming, but it absolutely works.
If the wood rot has not progressed too far, it can often be repaired with long-lasting epoxies. There are some wood repair products that act something like the borate chemicals. Rotted wood that you might cut away can sometimes be saved with a stabilizer that's brushed or poured onto the wood. These chemicals soak into the wood giving it new life.
Great building practices also can help prevent wood rot. There are many things that could be on the following list. Here are some that are time tested:
- Generous roof overhangs
- Keeping at least 12 inches of separation between wood and the soil at grade
- Use of gutters and downspouts to prevent splashing of water onto the sides of a house
- Use felt paper or an approved equivalent to make sure water never touches wood framing or sheathing
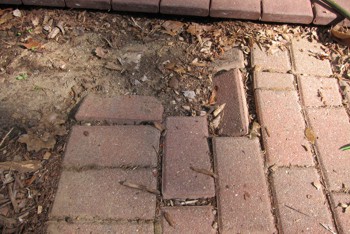
- Don't allow masonry to come into direct contact with wood. Leave a separation of at least a half inch to allow for air to dry the wood
- Use flashings to direct water away from wood and to get water outside where it belongs
Column 895