Newsletter #1165 (I think...)
My my my. I'm so glad you're here. This might be your first issue. This one is pretty standard, although I've added a few subtle changes.
You, though, might have started our friendship back with issue #874. It doesn't matter. That's a sentence I've been using quite a bit lately on my LIVE video streams! More on that just below.
California Civil Attorney
Are you a CA attorney that specializes in civil lawsuits? I'd like to write a column and need some help. Please reach out to me. Thanks!
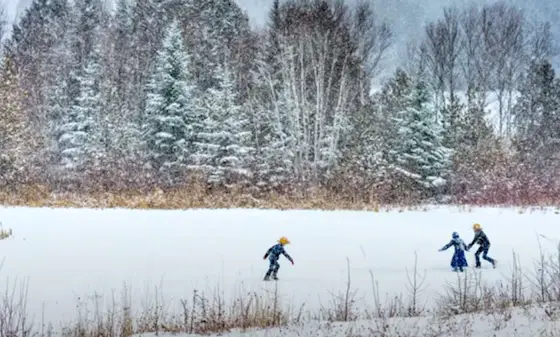
Ice In!

Lake (Loch) Winnisquam froze over sometime early Wednesday morning under the cover of darkness. It's epic ice. It's clear as glass and just as smooth. I went down to the lake today and drilled it to see how thick it was. Can you guess? The answer is in a photograph you can see in a moment.
I'm not a big fan of going out on ice. It's one of my phobias. As always, I just ventured out to where I know the water is 30 inches deep. If I were to crash through, I'd discover what penguins feel like when they take a bath.
CLICK or TAP HERE to watch four short videos of me going down to check it out within HOURS of it freezing over on Wednesday morning. I was really curious as to how thick the ice was after just ten, or so, hours of transforming from liquid water to solid ice.
This is the first time I went down to the lake just after the ice formed. Normally, I'd go down a week or two later.
I also uploaded to that album the photos I shot when I went down just hours ago.
It's a damn shame that a monster snow storm will hit here on Sunday night and cover the ice with a foot of snow. When the ice stays uncovered and is SMOOTH like this, the ice sail-boaters show up. I've only seen it happen one winter in the past thirteen. The ice sailboats streak across the ice like jet airplanes!
Phooey!
Not a Good Look On You
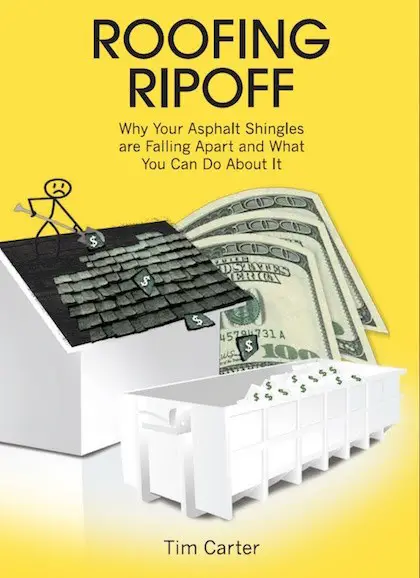
Over the past two weeks, I've been giving away eight free items worth over $110.00. The top one is my Roofing Ripoff expose' book.
By the way, if you're on a TIGHT FIXED BUDGET you can get my entire digital library for just $29.99. Seriously, that price is just for people who no longer are earning a living.
Rick took advantage of this offer and wrote to me:
"Tim Thank you oh so very much for offering this bundle for us older folks. I retired just over a year ago and I'm finding it's not as easy as I anticipated. So, your offer sure makes obtaining knowledge a whole lot easier."
That low insane price vaporizes in 13 hours at 6:01 PM Eastern time today January 16, 2022. After that, you'll pay $49.99.
What I'm about to share is a teaching moment. It's NOT an attempt to belittle or shame anyone. The only way I know how to do it is to share what happened.
The 60+ newspapers across the great fruited plain that publish my weekly column are promoting this free giveaway. Three days ago, I received an angry email from a woman. Here's what she wrote:
"Ok Tim,
I followed your instructions to get your free pdf copy of your ebook. Had to sign up for your newsletter first. Ok, but never saw this free pdf or any of the other things you were offering for the new year to help out consumers. Just a 40% deal. Nice Tim, really nice. Never thought you would be a bait and switch kind of guy. Also your website is so full of adds and gimmicks to buy things, it really is kind of horrible. Thanks for nothing really."
Here was my reply:
Dear Named Withheld by Tim Carter,
"I hate to tell you this, but I'm reasonably sure you didn't follow the instructions. You most likely typed in the URL wrong failing to put in the all-important go. before askthebuilder.com in the URL published by your paper.
Had you done that, you would have arrived at the following page and NEVER seen the 40% offer regular people see who stumble on my website by accident.
Tell me, does this page look familiar?
Once you filled out the form and then clicked the Confirmation link in your email you would have been taken to this page as were thousands of others over the past few days:
And you can clearly see the link to the free download.
So, tell me, am I the evil bait-and-switch guy or did you do something wrong?"
I have a feeling this woman was having a bad day, might have lots of stress in her life, or ?????.
BOTTOM LINE: Please don't lash out at people like this. She could have written:
"Dear Tim,
Thanks for your offer of the free PDF files. I may have done something wrong because I don't see the link to them. Instead I saw an offer for 40% off. Can I still get the free files? If so, how?
Thanks, Polite Woman"
BTW, the woman never responded to me offering up an apology. When you make a mistake and it's brought to your attention, apologize. This is what used to be taught in schools.
But what do I know????? I used to each lunch sitting on overturned empty drywall mud buckets for 20+ years...
What You've Been Missing
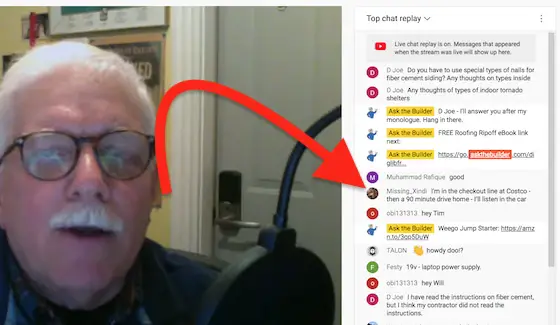
It's a shame you've not been tuning into my LIVE video streams each M-F at 4 PM Eastern Time on my YouTube channel.
Here's what Will, Steve, Shannon, Lorene, Andrew, Jack, Nala, Jason, and a bunch of others discovered during my wide-ranging discussions in just the past few days:
- my hat size
- my top three phobias
- photos of our two great cats
- a favorite liquid-refreshment of mine
- a possible AsktheBuilder parachute drop
- a spring golf outing with a LIVE streaming fan
- a recent food craving
The point is, the LIVE streams are NOT some long-winded boring LECTURE about a home improvement topic! I bloviate about a bunch of things that have NOTHING to do with home improvement.
It's TONS of fun!
You get to send me chat messages during the stream. Your comments and questions chart the course of what we talk about!
WE GO to Town!
This past week it's been very cold in NH. A week ago on Monday morning, it was a bone-chilling -6F. My giant F-250 Super Duty Ford truck sat unused and lonely for about five days during this bitter-cold spell.
The big V8 engine was damn cold. The oil was probably the consistency of dehydrated maple syrup.
On Thursday, it was time to go to town to run a bunch of errands. I opened the creaking cold door, jumped onto the block-of-ice seat, turned the key and then: (slow) RRR RRR rrr rr r (rapid clicking noise)
Darn it! (I actually said something else. :-O )
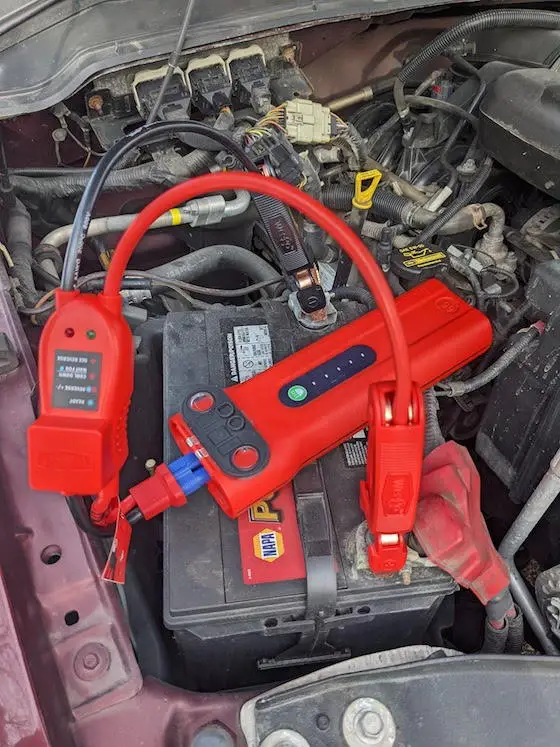
CLICK or TAP HERE to read the rest of the short saga.
I GUARANTEE you'll laugh out loud.
That's enough for a Sunday.
Remember, mind your manners. Don't lash out at people.
Tim Carter
Founder - www.AsktheBuilder.com
Hilton Hotels is BUYING! - www.StainSolver.com
Morse-Muff Time - www.W3ATB.com
Do It Right, Not Over!
P.S. How much heat is your home LOSING? It's easy to calculate!! CLICK or TAP HERE to discover how.