Hold on right there! Why of course I know why you're hanging out with Kay, Jeanne, Andy, Ed, Maritza, Dawn, and Billy. This is your first issue! Welcome! Thanks for subscribing. This is not a normal newsletter, so wait until next Sunday to pass judgment.
MDI
This past week, I spent three days on Mt. Desert (some locals pronounce it dessert) Island (MDI) in DownEast Maine. My oldest daughter lives there with her husband and my only grandchild.
Just a few years ago, I helped build their new home. My son-in-law and I installed all the plumbing - we used cast iron drain pipes, all the radiant heating tubing - we used Uponor, the Noritz mini-combi boiler, and we wired the entire house - we used nothing but 12-gauge wire for the normal branch circuits.
The house came out great as you might suspect, it just took three times longer to get it done because the builder, it wasn't me, is lacking in organizational skills.
Swinging and Hiking
The trips up there are always an immersive exercise. If you have grown children who don't live close to you, then you know how difficult it is to not see them each week to catch up. It's been months since we had been up there and my granddaughter has grown so much. It's magical to hear her talk and to see how perceptive she is.
Fortunately, everyone loves to hike and my granddaughter loves to swing. We tried to get as much of both in as possible in the three days I was up there with my wife Kathy and my youngest daughter.
Here's a photo of what I saw while on the Ship Harbor Trail in the southwest part of MDI. There's a reason mariners call it the Deep Blue Sea. It was a diamond day as you can see with the glittering sunlight on the small waves.
![]()
George Dorr's Old Farm
The last morning we were there, we visited a place I had driven by countless times but had no idea it existed! It was the abandoned 58-acre Old Farm estate of George B. Dorr. He was the first park superintendent of Acadia National Park.

George came from money. His mother and father, Charles and Mary, made a fortune in the textile business. I'm sure they were exporting lots of woolen things back to Europe as back in the mid-to-late 1800s the USA was the China of the world spewing out countless exports to countries that had a higher standard of living and possibly depleted their resources. The products being made by hard-working Americans were highly prized back in Europe.
In 1878, George's parents broke ground and built a humble (throat-clearing noise) 30-room summer cottage.
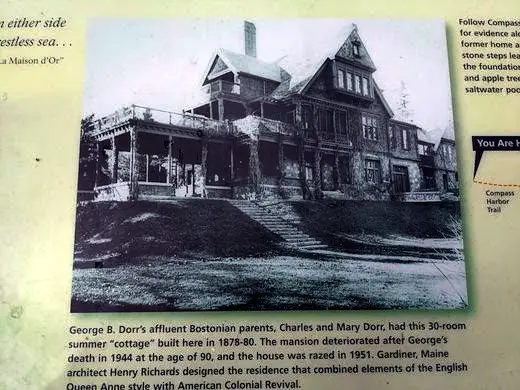
George lived in this house until his death in 1944. He was 90 years old when the folks of Bar Harbor sent him back up to Heaven.
My guess is even though he had scads of money, he probably let the house deteriorate in his later years.
As painful as this sounds, the house was demolished in 1951. It was a very unusual time with the USA just coming off the painful and costly great WW II. It would take years for the industrial complex to switch back to making consumer goods instead of war supplies.
My guess is the people of Bar Harbor weren't much interested in trying to preserve or restore the Dorr house for the future. Who knows what the story is, but it's a darn shame it was leveled.
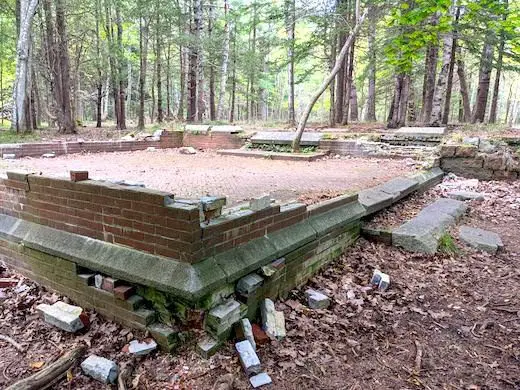
All But the Slab and Foundation
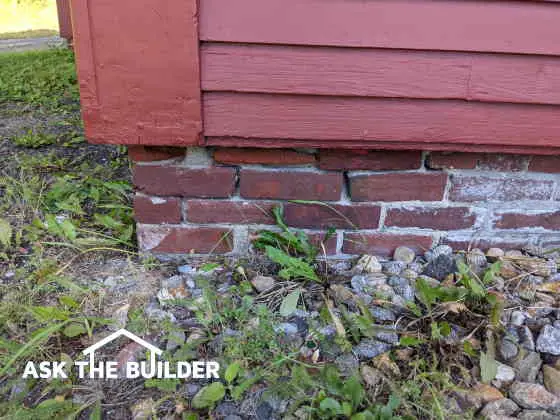
The floor and foundation of George's house still remain. But Mother Nature is doing her best to reclaim her land. Trees now grow up in the center of the house. Unless the people or National Park Service intervene, what is there now will disappear.
Because the floor and foundation are not covered by a roof, rainwater is seeping into the walls and under the floor. It freezes in the harsh Maine winter. Water expands by 9 percent when it freezes. This force is blasting apart what remains of the house. It's a darn shame.
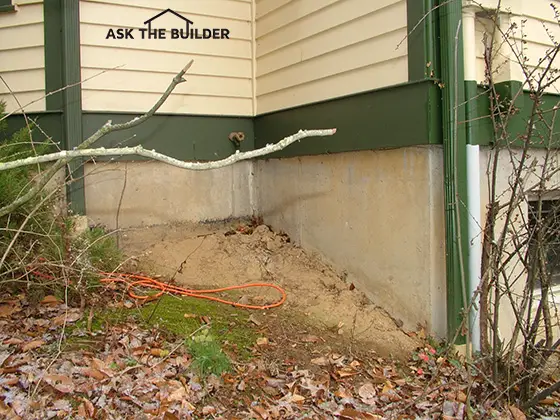
The picture above is the floor of the stunning screened porch you see to the left in the house photo above. The floor is made from paving brick laid in a herringbone pattern. It's stunning up close.
The craftsmen who installed the brick, and it makes up the floors in other rooms too, were experts. You simply can't believe how level and smooth the brick is. Think about that. It was 1878-80 when the house was built. There were no laser levels back then!
It appears to me the brick was installed on top of a concrete slab. This would be one of the first uses of concrete as it was a new building product back then.
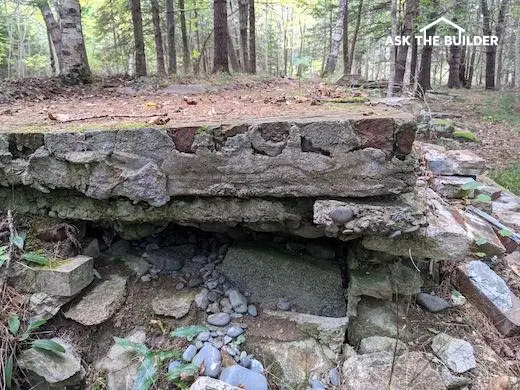
I tried to capture the section of what the floors look like in the above photo. See the conglomerate material to the right under the brick? That looks like crude concrete to me.
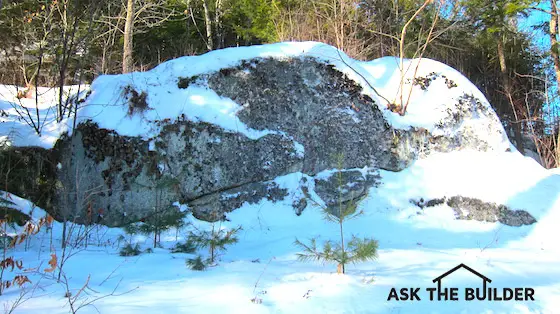
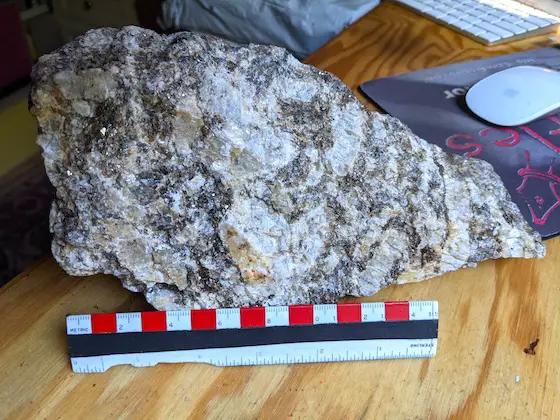
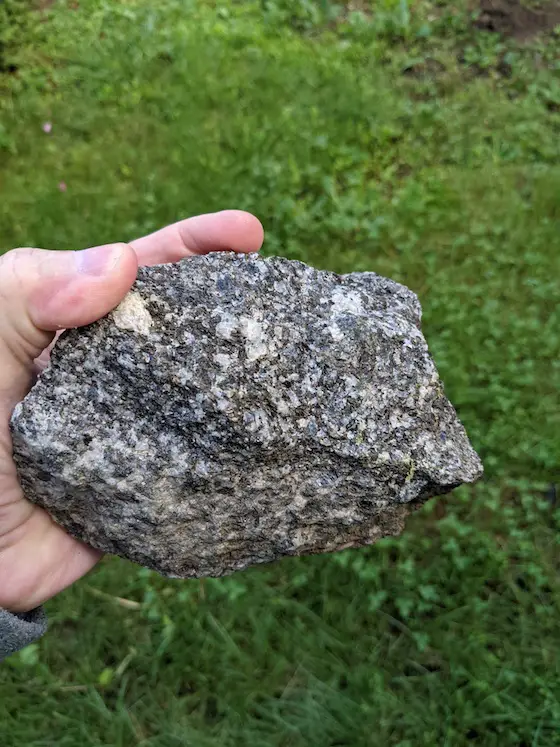
The house foundation was made of interlocking pieces of local red granite. The stone cutters incorporated the popular ashlar pattern in the stonework.
The Ocean Swimming Pool
The Dorr's must have been hearty folk. George or his parents decided to build a large swimming pool in the ocean out of massive blocks of bedrock. The ocean water in DownEast Maine is barely tolerable even on a hot July or August day.
The pool would fill with fresh seawater every twelve hours with the incoming tide. CLICK or TAP HERE to watch a short video of this magical pool. Fortunately, I was there at low tide so you can see how it would work.
EDITOR'S NOTE:
I should have figured it would happen.
You may be one of the many this morning that have already emailed me wanting to see ALL of my photos and the video of the ocean swimming pool from my visit to George Dorr's Old Farm estate.
CLICK or TAP HERE and enjoy them! Feel free to leave COMMENTS with the photos if you know more about what's in the photo.
Your Takeaway
As I hiked around the 58 acres, I thought about amazing buildings that have so much character and are still standing. Most were built decades ago. I can think of quite a few in Cincinnati in the older neighborhoods like Clifton. Several of the houses there are so unique you simply can't believe them.
Can you even think of a modern house you feel would be worth it to save for posterity? I can't think of too many myself! Most new homes built today are humdrum to say the least.
Grand houses back a 100+ years ago were built with tremendous amounts of love and pride - both by the owners and the craftsmen who labored to create them. I know in many older cities here in the USA that there are amazing houses that still are standing that deserve to be preserved.
If you feel the same way, perhaps you might start up a group of other like-minded people and do what it takes to preserve this history for others.
Don't let it come to a photo of a cottage and the remains of a foundation being ruined by ice and snow each year as is happening with George's house.
Get involved. Make a project like this part of your legacy!
That's enough for a Sunday.
Tim Carter
Founder- www.AsktheBuilder.com
BEST Organic Cleaner - www.StainSolver.com
Telegrapher Tim - www.W3ATB.com
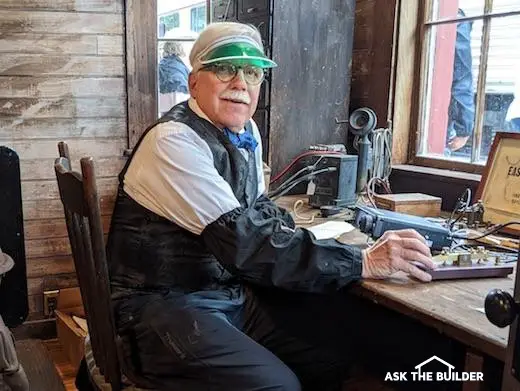
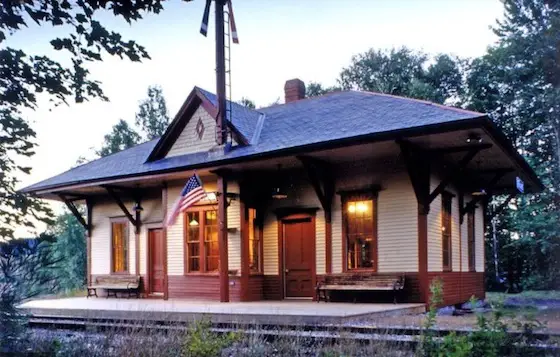
P.S. I told you I'd share a photo of me in the black paisley vest you might have helped my find. Here's a photo taken of me just two days ago in the Ashland Railroad Station - yes, it was preserved and not torn down!!! Do you know why telegraphers, draftsmen, bank tellers, etc. wore visors like mine? Do you like the sleeve socks? Why were those worn?