Efflorescence damage concrete? It's almost never a problem. You just need to brush off the white powder. But, the salt that causes the efflorescence CAN cause damage to concrete. READ BELOW. Copyright 2018 Tim Carter
Efflorescence Damage Concrete - Not Usually a Problem
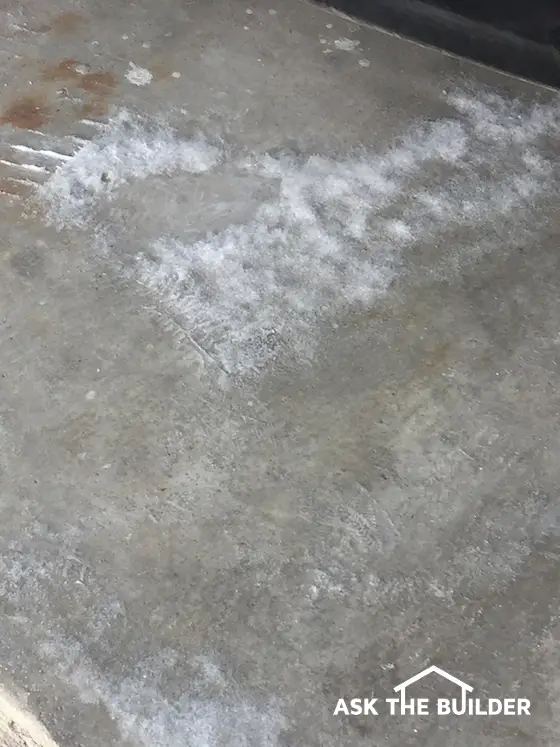
Efflorescence is a white powder created when saltwater evaporates from a masonry surface like concrete. It's a very common problem in cold climates on garage floors. Rarely will it cause a problem inside of your garage.
The first thing to remember is cars carry in snow and ice slush on the underside of the car body. Most cities and towns treat roads with salt. This salt mixes with the snow on the roads and becomes an unwanted parasite under the wheel wells of your car or pickup truck.
Concrete Absorbs the Saltwater Brine
When the salty slush melts, it coats your garage floor with a salty brine. Concrete absorbs this brew like a paper towel. The saltwater brine readily soaks into the concrete, even that which is smooth.
Another key point is the water will evaporate into the air later, but it leaves the salt behind sitting on the surface of your garage floor. That white powder you see is just fine crystals of salt.
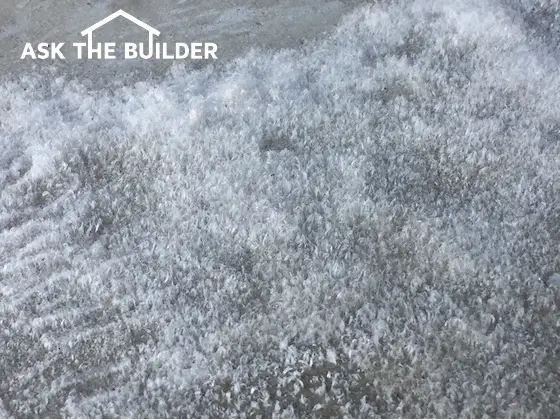
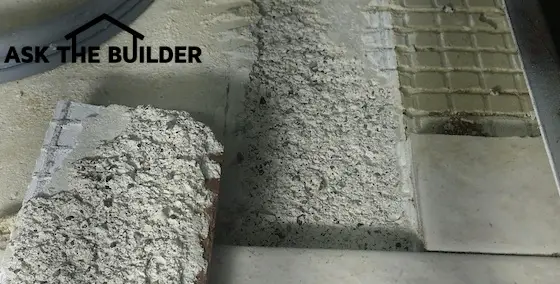
This is a closeup shot of efflorescence. The width of the area you see id about 5 inches or so. The efflorescence looks like Just sweep it away. Copyright 2018 Tim Carter
Wet the tip of your finger, touch the powder and taste it. It's just regular salt mixed with some road dirt. You ate some dirt when you were a kid, right?
Related Links
Long Lasting Concrete is Easy to Make
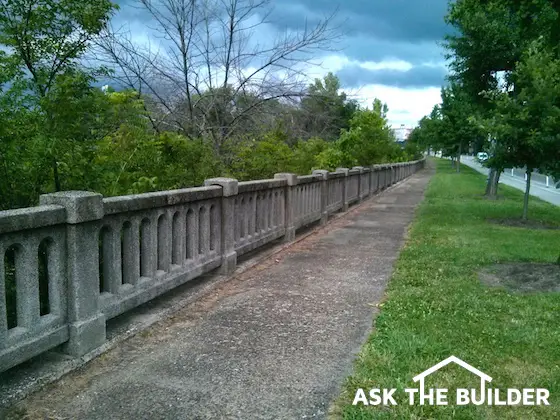
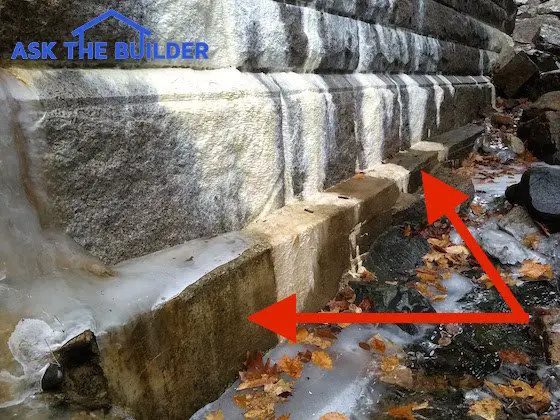
Salt Damage To Concrete Happens More Outside Than In Garages
It's Not Mold
You may think the white powder is mold. It's not. It's just salt. Mold can grow on your garage floor, but mold usually would tend to flourish in the warm months of summer.
Efflorescence Video - Super Easy To Clean
Watch me and the efflorescence in my own garage:
How to Clean Efflorescence
Do NOT clean up the white powder with water. That just causes the salt to be driven back into the concrete. When the garage floor dries again, the efflorescence will come back.
It's best to just use a broom to sweep it away. It can take many sweepings until the salt is all drawn up out of the concrete.
You may notice the white powder months later after the snow and ice is gone and you've decided to spring clean your garage. You wet the garage floor, scrub it with Stain Solver oxygen bleach and the next day the white powder is back!
Not to worry. That just means there's still salt in the slab and less and less white powder will form as you continue to just brush it outdoors.