How to Repair Chipped Tile TIPS
- Use Stain Solver to clean the chipped tile
- Paint with high-gloss paint to match tile
- WATCH tile repair video below
- Fill depression with clear epoxy
- CLICK HERE to Get Tim's FREE & FUNNY Newsletter!
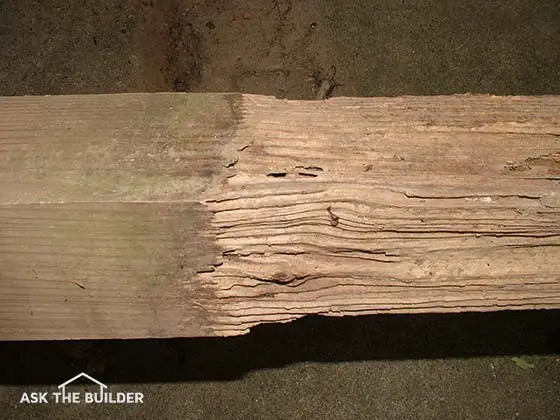
DEAR TIM: I dropped a glass on our new tile and put a chip in one of the tiles. The chipped tile is part way under the refrigerator and we don't want to put in a new tile.
The inside of the tile is very dark, but the top glazed surface on all of the other tile is a white/tan color. Is there anyway we can fill the chipped place and do some kind of repair job? Ann A., Estero, FL
DEAR ANN: It's absolutely possible to repair this chipped tile.
If you're patient and have some decent hand-eye coordination, you can very possibly accomplish a repair that will fool everyone unless you draw their attention to the exact spot of the accident.
CLICK HERE to get FREE & FAST BIDS from local handymen who can repair your chipped tile.
Simple Materials
The first step is to gather the needed materials for the job. You'll need the following:
- Stain Solver oxygen bleach
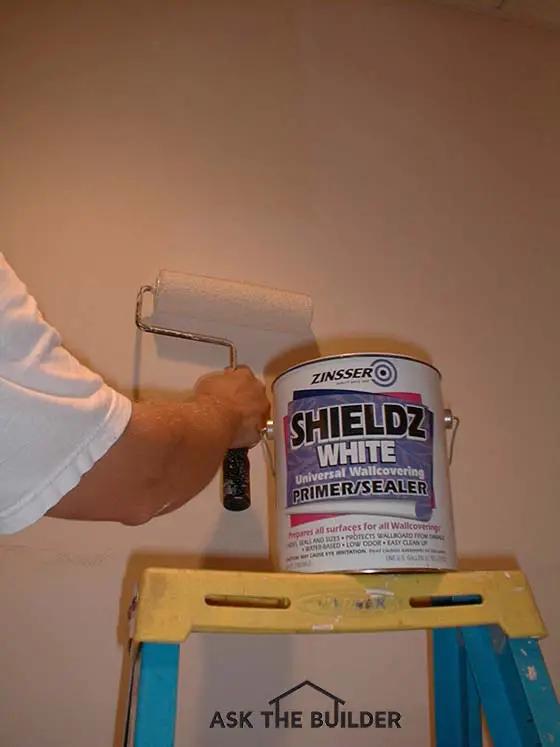
- primer/sealer paint
- high gloss oil paint
- two-part clear epoxy
CLICK HERE to get a wonderful primer / sealer that's easy to use and dries fast.

This clear primer sealer is perfect to seal the absorbent inner core of the chipped tile. CLICK THE IMAGE NOW TO ORDER SOME.
You'll get the finish paint at a top-quality local paint store. Your challenge will be to get a great color match. This may take a few attempts.
Hopefully you have a piece of spare tile you can take with you to the paint store. If not, you'll have to use the color chip samples and get as close as possible.
CLICK HERE to get a great two-part quick-setting epoxy I've used for years. It's a great product.

I use this brand of clear epoxy all the time. It's a great product and will work well on your chipped tile. CLICK THE IMAGE NOW TO ORDER IT.
Clean Tile

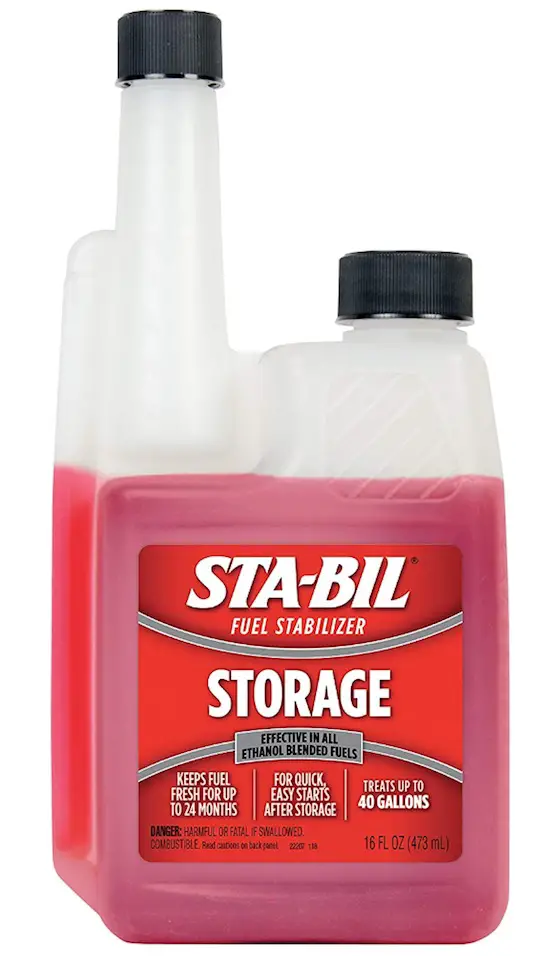
Stain Solver is MADE in the USA with USA ingredients that are food-grade quality. CLICK THE IMAGE to order some NOW.
I prefer to use Stain Solver to clean tile and grout. It's a deep cleaner that's certified organic.
You mix Stain Solver with warm tap water and stir. Apply some of the solution to the chipped area of the tile and allow it to soak.
After 15 minutes, scrub the tile and chipped area and rinse. Use a hair dryer for several minutes to ensure the tile is completely dry.
Even when you think it is dry, continue to blow warm air over the chipped area for 15 minutes. The exposed tile can soak up lots of water and it may take a while to wick out all of the moisture from the tile. It's best to wait 24 hours before proceeding.
You need the tile and chipped area perfectly clean so the next materials bond permanently to the tile.
Seal Porous Tile
Once the tile is dry, use a very small brush and carefully apply some of the primer/sealer to just the chipped area of the tile. Don't get any on the upper glazed surface immediately adjacent to the chipped depression.
Don't apply so much that you end up with a puddle of paint in the chipped area.
The primer / sealer is going to allow you to make sure you get a perfect color match with the glossy paint you'll be using.
CLICK HERE to get FREE & FAST BIDS from local handymen who can repair your chipped tile.
Finish Paint
Wait an hour and then apply a coat of finish paint in the same manner as you applied the primer/sealer. Once again do not get any on the glazed surface of the tile and don't apply any excess paint so it puddles in the chipped area.
The purpose of this step is to see if you've got a perfect color match. You don't want to discover at the final step the paint doesn't match.
Wait for the paint to dry and check the color against the adjacent tile that's not chipped.
Be sure to check the color in different light, both night and day. If the color is off, do what you need to do to get the paint to match.
Epoxy
Once you have a great color match it's time to install the epoxy. The epoxy is going to be built up so the depression created by the chip is filled in.
Carefully squirt out equal amounts of each part of the epoxy onto a scrap of cardboard and mix it very well. I prefer to use a toothpick for this task. Be sure the chipped tile area is lighted very well so that you can see what you're doing.
Tile Repair Video
I taped this video a few years before refined my method of repairing chipped tiles. That means what you see in the video will not match exactly what you read here. Follow the steps you read here for perfection, but still watch the video.
The video shows you how to use the Stain Solver and how easy it is to use the clear epoxy. It's worth watching.
Precision Work
Apply the epoxy with the tip of a toothpick being very careful to only get it in the chipped area. Carefully dab a small amount of epoxy at a time and add just enough so the top of the epoxy is level with the top of the tile. It usually takes an hour for the epoxy to fully set.
You may need to apply two layers of epoxy to get the surface to match the adjacent tile. You can apply the second layer in just 30 minutes.
Final Paint
Allow the epoxy to set for about eight hours. Paint the epoxy patch and sit back and pat yourself on the back for a job well done!
CLICK HERE to get FREE & FAST BIDS from local handymen who can repair your chipped tile.
Column EM0007