Bruce asked me the following question:
"When water and ice is installed, should it be adhesive backed and should it be on the bare sheathing?"
At first I was going to give my standard response, but I thought this would be an excellent teaching moment. I say this because each day I get many similar emails about what to do when installing all sorts of things.
Before I share the answer I gave Bruce, let's think this through. I can help with a story about my late father-in-law. He was a brilliant man.
Just after getting married, I used to hike with him on a large tract of land he owned. One day, we were talking about making decisions and then what happens when something goes wrong.
"Often the secondary reaction creates a problem much worse than the primary one." It took me a while to fully understand what he was trying to say, but I eventually got it.
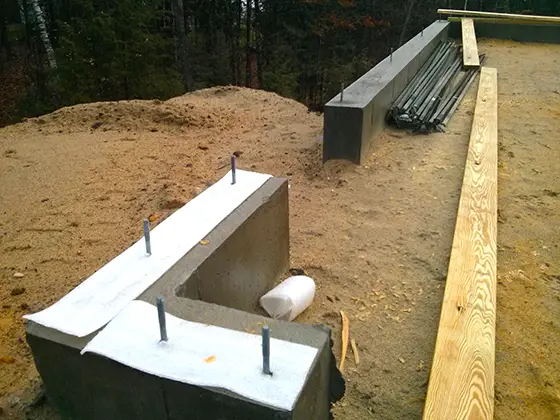
How does this apply to Bruce's situation? First and foremost, there's more than one different type of ice and water shield product that you apply under roofing! The instructions for each one may be different.
The information you may discover out on the Internet is rife with errors and mistakes. Many home improvement columns are written by people that have never worked full time at a paying customer's home.
The Secondary Reaction
Here's how my father-in-law's advice applies to Bruce. Bruce did the right thing asking for help. He came to AsktheBuilder.com for advice thinking that he was dealing with an expert. He lucked out because I do know lots about ice and water shield and even have testified about it as an expert witness in a case in Antigua where the wrong type was used on the Brazilian ambassador's home. But I digress.
So the PRIMARY reaction Bruce would get would be my answer. If he had landed on the website of some person who's never installed ice and water shield, all bets are off as to the quality of the advice he'd get.
The SECONDARY reaction is what happens if the advice is wrong. In the case of Bruce, he could have a leak months or years later that causes thousands of dollars in damage. An additional reaction is that he could VOID the warranty of the product because he *trusted* the advice he got and acted on it in good faith.
Big Mistake
You never want to put a product warranty in jeopardy. This is why you must read product installation instructions and understand them even if a contractor is doing the work. You need to know the work is being done correctly.
Is this hard? You bet it is. Do most people want the Easy Button answer? Absolutely.
Here's the answer I gave Bruce. When you have a question about how to install something, there's only ONE PLACE you should get the answer.
The company that made the product. PERIOD.
NEVER EVER trust a contractor or some other person's answer as being the end all and be all. You may ask me or someone else and we give the correct answer, but we do NOT BACK THE PRODUCT WARRANTY.
Only the manufacturer backs the warranty.
The Best Ice and Water Shield
The best products are adhesive backed and come with a puncture-proof guarantee. In other words, the nails used to attach the roofing do not puncture the product. The best ice and water shield products come with a SBS co-polymer in them that makes them very sticky so they bond permanently to the wood roof sheathing once the sun heats them up.