Walk-Through Inspection Checklist
Tips & Suggestions
As I write this, I am currently testifying as an expert witness in a major lawsuit. A homeowner has numerous claims pending against a builder. Fortunately the homeowner took his time when he walked through his new home. He made countless observations and wrote them all down. If something was OK or perfect, he noted that. Obvious mistakes or flaws were also noted. These notes are being entered as key evidence in the court.
Many of the defects pointed out in the original walk through inspection were never addressed by the builder. This will help the homeowner. He has proof that the builder has been unresponsive. The detailed notes also show that the defects were there long before the one year warranty expired. As you might imagine, the notes are worth their weight in gold.
Serious Business
Can you remember the last time you bought a new car? You go to the dealership to pick it up. All you see is this gleaming assembly of steel, glass, rubber and fabric. The new car aroma is intoxicating. You are proud and can't wait to drive it away. Tiny flaws and defects often seem invisible.
These same feelings happen with new homes as well. The moving van is coming. You are totally stressed out. You are late for work or an appointment. You must resist the temptation and set your happy feelings and stress aside for several hours. You have a serious job to complete - the walk through inspection.
Be Prepared
You are going to need several things for the inspection: a pad of paper, pens, pencils, camera and film, a small compact or dental mirror, colored sticky dots, your detailed checklist, and a lot of patience. Block out at least 2 - 4 hours of time as well.
The walk through inspection is vitally important to you. It becomes the benchmark against which warranty claims will be judged. If you fail to point out a defect during the inspection, your builder may argue a year later that the defect may not be a defect! In other words, you may have caused the damage or, "...it was like that when we built it." How will you explain this to the judge? How will you prove your claim(s) unless you have clear, concise evidence that shows the defect was, in fact, not there six months ago?
The inspection needs to proceed in an orderly fashion. Start inside and work to the outside. Don't be distracted. Don't listen to comments or accept excuses from the builder. If a builder feels that you are a pushover, he might explain away every defect! You might hear something like, "Well, there was eclipse the night before we poured that slab. The gravitational pull of the moon caused the concrete to weaken...." Believe me, you may hear similar excuses!
Write Down Promises
As you proceed with the inspection, stop and write down any and all promises that the builder might make. Do not underestimate the importance of this! The written record of these promises will be a powerful lever when push comes to shove. What's more, when the builder signs your inspection form and notes that you have completed during the course of the inspection, they will almost be a contract. Be sure to date the inspection form and your notes as well.
If the builder takes a stance and argues that something is not a defect, WRITE down his comments about this item. These comments may help you at a later date should a disagreement occur or you find out from another source that the builder is misinformed.
Check Things That Operate
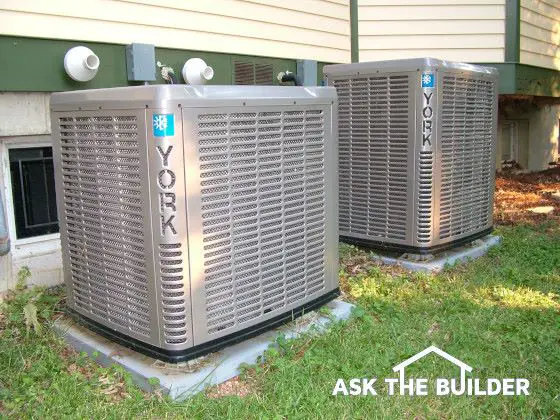
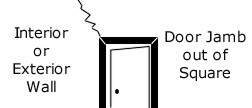
One of the reasons that the inspection will take some time is that you need to verify if everything works. Every single thing that is mechanical must operate. If not, you may be inconvenienced when you move in. Your life will be in mass confusion after you move in. The last thing you need are service people getting in your way fixing the disposal! Check sump pumps, appliances, windows, faucets, fans, etc.
Show Me The Money!
Money is a powerful motivator. If you pay the builder all his money and there are still defects to fix, you will have lost your leverage. The only motivation the builder will have is his honor. Based upon letters and email I receive on a daily basis, it seems that honor is on the endangered species list when it comes to builders.
You must do whatever you can to delay the closing or set aside a significant escrow to protect your interests. It may cause an argument. If it does, this is a sure sign that the builder may not have honest intentions. A professional builder will not hesitate to fix the defects before the closing or set aside money.
Walk - Through Inspection Checklist
The items shown in my Walk-Through Inspection Checklist are very important for you to look at when you do your walk-through inspection. In addition to this checklist, carry a legal pad to write extra notes. If you write a note, check the box in the checklist - this will remind you to look at your notes. In your notes, reference your entry by the using numbered item on the checklist. Things that are perfect are just as important as things that are not. Don't hesitate to include extra items that I have overlooked or failed to mention. Your walk through inspection is the basis by which all future complaints will be judged. Give a copy of the signed (by you and the builder) checklist and notes to the builder as soon as possible!
Don't try to do your own walk through inspection unless you are armed to the teeth with my 100% Satisfaction Guaranteed Walk Through Inspection Checklist!
Home-Inspection Associations
American Society of Home Inspectors (ASHI)
Top inspectors join this group - tough entry standards and continuing education are required ... 800-743-2744
National Association of Home Inspectors (NAHI)
Loose membership requirements ... 800-448-3942
National Association of Certified Home Inspectors (NACHI)
Large international organization – members must pass examinations before acceptance … 303-502-6214
Housing Inspection Federation
Send them $165 and your dog's name and I think they will send it a certificate ... 602-998-4422
Column B277