DEAR TIM: Do you think I can do my own heating installation? The price of heating systems with installation takes my breath away. My central heating installation job doesn't appear to look that difficult. All I need to do is switch out the furnace and reconnect the black-iron gas line. What am I missing? Gordon N., Perry, IA
DEAR GORDON: I am at a significant disadvantage since I don't know you personally, but because you had to ask me about your skill level, I am 100 percent convinced you can't successfully complete the heating installation job. The task is so complex, especially if you purchase state-of-the-art high-efficiency equipment, that many high-quality furnace manufacturers will not sell you their products. They only want trained professionals to install these highly-complex machines.
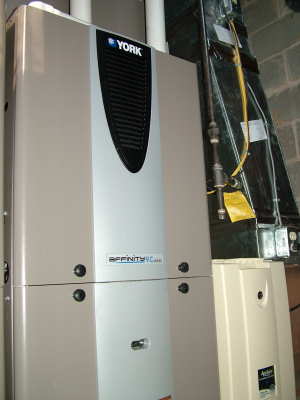
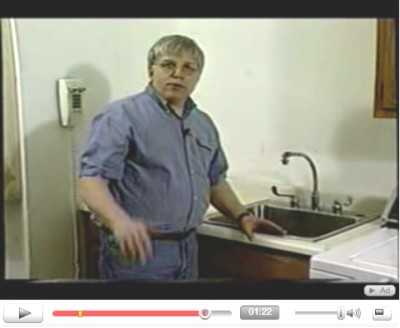
This new high-efficiency gas furnace took several days to install. Each step took skill, an assortment of special tools and years of experience. PHOTO CREDIT: Tim Carter
The reason you are suffering from sticker shock on the installed price is simple. Heating installation is hard work, it is dirty, it requires a variety of great skills and a boatload of specialized tools. You couldn't have picked a more complicated task in your home, unless of course, there is a central air conditioner that is also part of the system. Heating and cooling systems are by far the most complex mechanical systems found in the average residential home. And much like automobiles, they are getting more complex each year as internal computers and circuit boards operate these machines.
This past summer, I witnessed this job on a very personal level. Both of my gas furnaces were replaced with super high-efficiency furnaces that have gas modulating valves. I knew I could not do this job myself, so I hired my heating and air conditioning installer to do it. This person happens to be my best friend, and he allowed me to assist him on several parts of the job.
The removal of the old furnaces was miserable, dirty work. Rust, dirt and grime were everywhere. Rather than lift the old, heavy furnaces up from the basement, we disassembled them in the furnace room. It took hours to get the mess cleaned up, and all of the parts out to the driveway.
My new furnaces are smaller than the 20-year-old ones we replaced. This may not seem like a big deal, but it makes a huge difference with respect to the extended plenum metal ductwork that sits on top of a standard updraft furnace. That ordinary-looking metal box is often anything but ordinary. They are almost always custom-made by a sheet-metal fabricator. You may have to have a new extended plenum made, and even then, you may have difficulty making the transition between it and the ductwork it connects to.
Sizing the new furnace might also be an issue. Keep in mind that furnaces come in different sizes, and you need to ensure the new furnace has a heat output that is slightly greater than the heat loss of your home. Professionals know how to do the necessary calculations to determine both heat loss and heat gain.
The exhaust and incoming combustion-air piping can also be very complicated. The length of the piping runs, the amount of turns and the slope are all very important. You must follow manufacturers' recommendations to the letter, or your furnace may not work correctly. What's more, if you install the exhaust piping incorrectly, you may create a life-safety hazard as exhaust gases can contain deadly carbon monoxide.
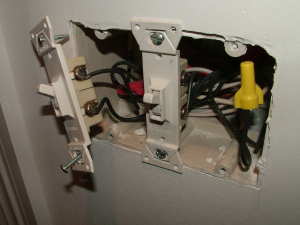
You may not think connecting a black-iron pipe gas line is hard, but if you do not have access to tools that allow you to thread pipe, you may be in for a surprise. If you have not been trained properly to thread pipe, you can ruin the threading dies quickly or thread the pipe incorrectly. I know it looks simple, but it is not.
Heating installation contractors are worth every penny, so long as you deal with a real professional. The heating and cooling system in a home creates an artificial environment, one that you want to be comfortable. The real pros will give you a dollar's worth of value for every dollar you spend.
There is a possibility your existing heating system has some flaws. Perhaps one room is hotter or colder than you desire. There may be defects in the original ductwork design that a professional can fix with some ease. Be sure to bring these defects to the attention of any professional that might be bidding your job.
Be aware that modern high-efficiency gas furnaces produce ample amounts of condensate water. This water needs to be directed to a floor drain or be pumped to a sink. The condensate water is a byproduct of the combustion of the natural gas or propane. The condensate is also acidic, so don't drink it, give it to pets or use it to water plants.
Column 647