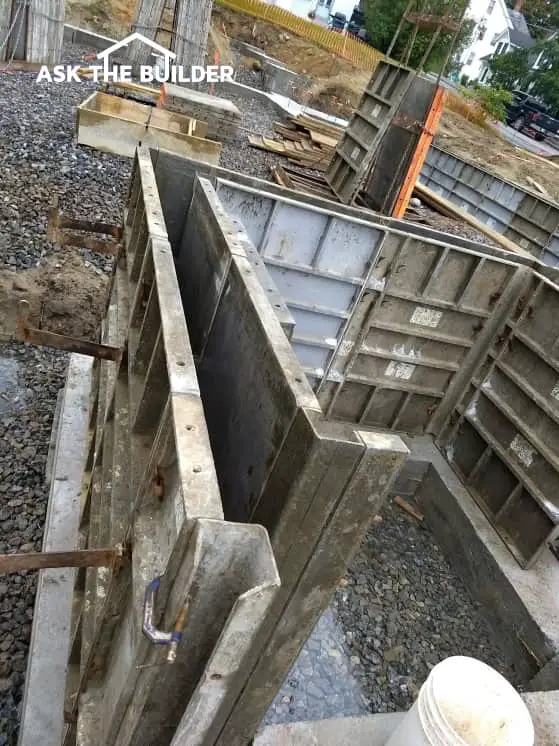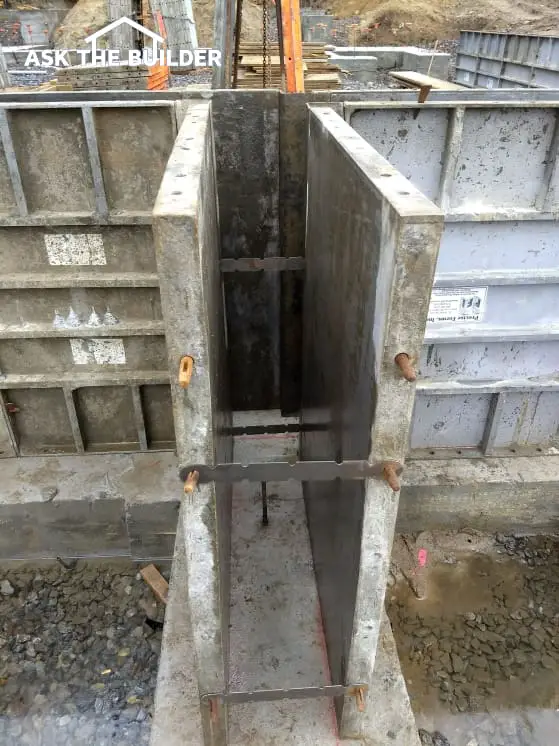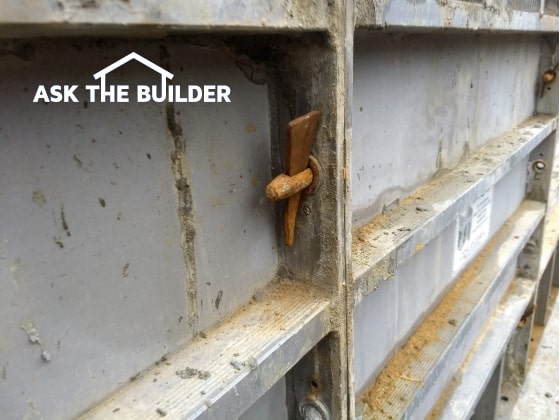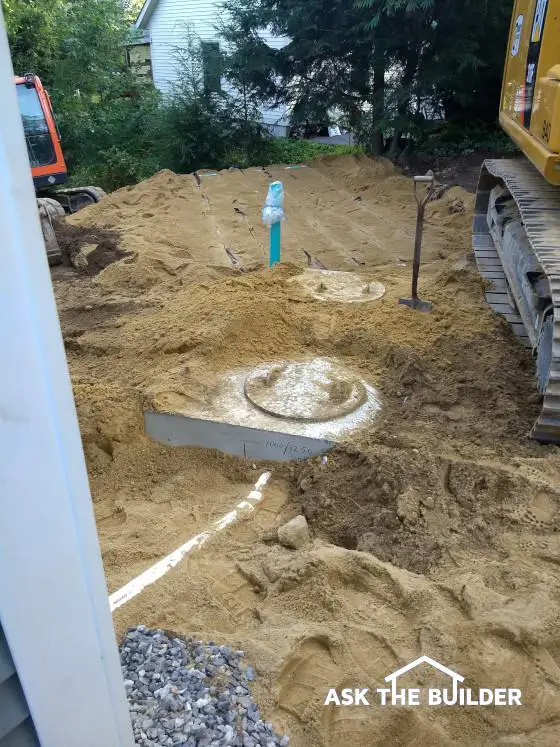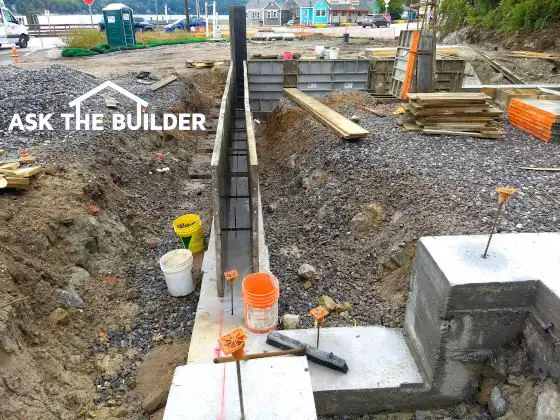
These forms are being used to create a poured concrete foundation. Concrete block is a viable building material if installed correctly. (C) Copyright 2018 Tim Carter
Concrete Block
QUESTION #1: I’ve been researching foundation types for both new homes and room additions. I’ve narrowed it down to either poured concrete or concrete block. Many websites thump their chests saying poured concrete is better than concrete block. What’s your opinion, Tim? Have you worked with both materials? Carol Ann S., Richmond, VA
You may be wondering about the relative merits of poured concrete vs. concrete block foundations just like Carol Ann. The two methods dominate the residential construction industry here in the USA.
I’ve built buildings using both materials. The last home I built for my family had a giant poured concrete foundation but in the backyard, I used concrete block to construct a magical serpentine retaining wall that looks as good as the day I built it decades ago.
Reinforcing Steel Makes The Difference
Here’s the truth. You can build a poured concrete foundation that can crack and cave in within a year and you can build a concrete block foundation that can last for hundreds of years with no failure whatsoever. Reinforcing steel is what determines the winner of the battle between the foundation walls and Mother Nature.
It’s important to realize if you want a super-strong concrete block foundation you need to include both horizontal steel reinforcing wire and the cores must have vertical reinforcing steel that extends up from the concrete footing. The cores of the concrete block need to be filled solid with strong concrete that has small pea-sized aggregate.
Poured concrete foundations also require reinforcing steel if you want the walls to resist the horizontal forces of wet soil. Another key point to remember is that foundation walls buried in the ground are nothing more than retaining walls. They stop the soil from cascading into your basement.
Modern poured concrete foundation forms have revolutionized foundation construction. An experienced foreman with a small team of semi-skilled laborers can set poured concrete foundation forms in the morning and the concrete can be poured in the afternoon. The next day the forms can be stripped off and carpenters can get to work.
It would take a small army of masons to achieve the same results building with concrete block. Poured concrete is a huge time saver. Be sure you use lots of steel no matter what material you decide to choose.
I’ve created a page at my website that has numerous videos and photos of poured concrete and concrete block foundation installation. Go to: pouredorblock
Flood Plains
QUESTION #2: Tim, I’m desperate. My 1972 house was built in a floodplain. Twice in the last nine years, it’s had two feet of water in it, most recently from Hurricane Florence. I’m desperate to sell the house but I doubt anyone will buy this turkey, nor should they. I didn’t understand what I was buying at the time. Can you help? What are my options? Ann L., Chapel Hill, NC
Countless people have the same problem as Ann. Perhaps you’re one or you know someone. Watch the news after each natural disaster and you see images of destroyed or flooded homes. Just last week I saw nothing but concrete slabs next to the shoreline of the Gulf of Mexico along the Florida panhandle. Hurricane Michael’s storm surge ground up the houses like a blender purees vegetables.
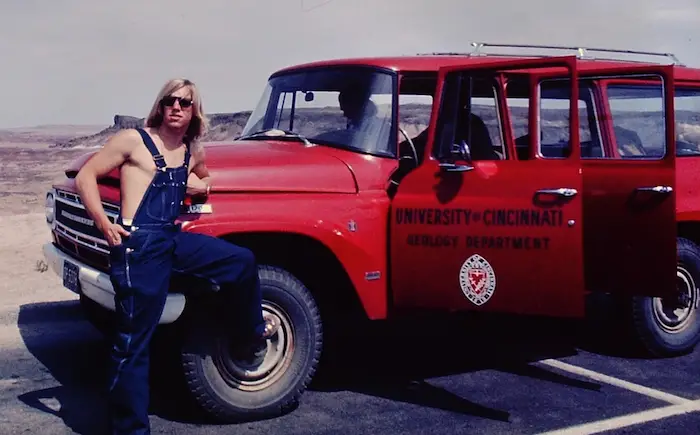
My college degree was in geology. I realize that not everyone had the good fortune to pursue this enlightening course of study. Several of the classes I took focused on flooding, earthquakes, and other natural disasters that face homeowners. Sinkholes, landslides, debris flows, and other things can wreak havoc and mayhem in your life should you decide to build a home in a spot where things can go wrong.
There’s little I can do to help Ann now other than have her schedule a meeting with the top three realtors in her neighborhood. I’m talking seasoned realtors who know what’s going on. They’ll be able to outline any and all options.
However, the best advice is to avoid buying or building a home on a lot that has a high or medium probability of suffering damage from most disasters. You can get this advice by talking with a professional engineering geologist. These pros know the best and worst lots to build on in a city, town, or region.
A consult with one may cost several hundred dollars, but it’s the absolute best insurance you can get to ensure your home, or what’s left of it, isn’t front and center on everyone else’s TV.