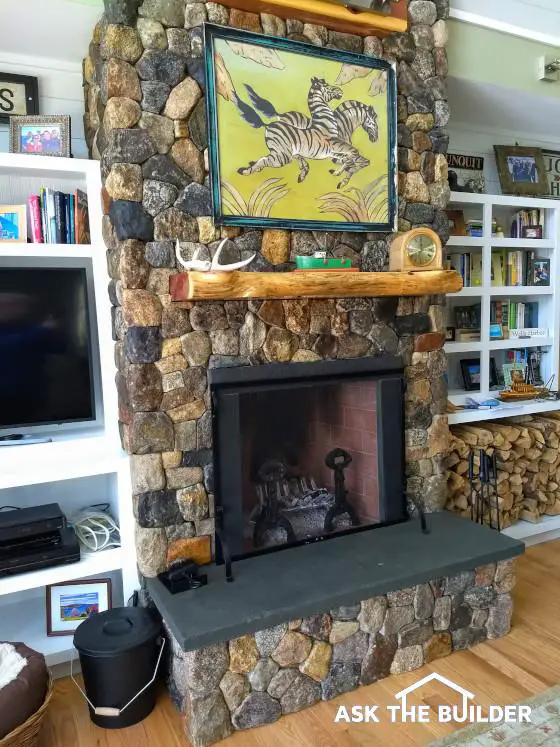
This stunning stone fireplace doesn’t smoke. All the dimensions are perfect. (C) Copyright 2018 Tim Carter
Smoking Fireplaces
QUESTION #1: Oh Tim, I need your help. I’ve got a masonry fireplace that puffs smoke into the room when a fire is burning. It gets worse as the fire dies down. I’ve spoken with three different bricklayers who build fireplaces and have received three different answers. Confusion reigns at my home and my wife is none too happy. Can you share what might be wrong and if there’s an easy fix to the problem? Gary N., Dayton, OH
When the cold weather starts to descend across the great fruited plain, I start to get quite a few emails like Gary’s. Smoking fireplaces are a nuisance and unfortunately, the solution is not always easy.
The physics that are involved in chimneys, drafting, and smoke prevention is quite complex. The Brick Industry Association (BIA) has tackled this topic in no less than three detailed white papers that show exactly how to build a fireplace that will work perfectly and not smoke. The white papers also help you diagnose why your fireplace might be smoking.
The issue is that most masons that build fireplaces have no clue about these fantastic easy-to-understand documents. A mason that’s been building bad fireplaces for years not realizing it may pass on his faulty knowledge to the young apprentice working for him. The young lad thinks he’s being taught the right way to do the job.
It’s important to realize there’s a very distinct mathematical relationship between the width and height of the fireplace opening for a standard fireplace. All the dimensions and shape of the firebox, the throat, the smoke chamber height, the flue size and the total height of the chimney are determined by just the width and height of the fireplace opening.
Here’s an example. Let’s say your fireplace opening is 32 inches wide. The height of the opening should be 29 inches. The depth of the firebox less the outside facing material of the fireplace should be 16 inches. The width of the rear of the firebox should be 19 inches. The smoke chamber height should be 24 inches and the nominal flue size should be 12 x 12 inches. The height of the chimney using this flue liner should be 19 feet.
You can sometimes solve a smoking fireplace problem by making the chimney higher. But before you go to all this work, you need to be sure all the other dimensions of the entire fireplace are correct. If there are significant design flaws in the firebox and the smoke chamber, it’s quite possible the entire fireplace will have to be rebuilt.
I’ve created a page at my website that has a full table of all the sizes and dimensions for all common fireplaces, links to the BIA white papers and a few videos showing you what you need to know about how to create a fireplace that won’t puff smoke at you! Go to: fireplace
Expanding Cement Patching
QUESTION #2: Tim, I’ve got water leaking through a crack in my foundation. I’ve tried to patch it with regular mortar and the leak is less, but it’s still happening. Is there a magic material I can use to stop the leak permanently? Why do you think my repair failed? Angie P., Tacoma, WA
You might have the same problem as Angie. You could have water coming through your foundation or crawlspace walls. The water may be entering around water pipes, cracks, or other penetrations through the wall.
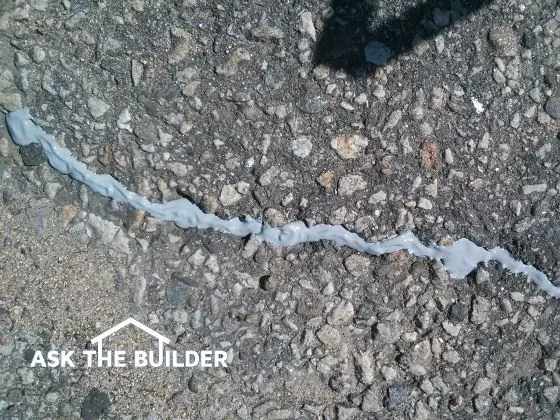
The good news is there’s an easy-to-use product that’s been around for years that usually solves these leaks within minutes. Commercial contractors use this material as well, so you can rest assured it works if you do the job right.
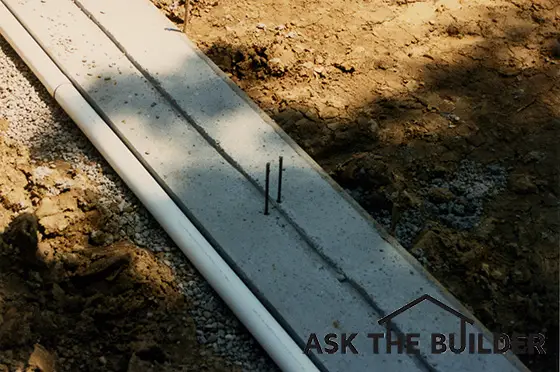
I’d start with hydraulic cement. Hydraulic cement is a powder that looks just like typical Portland cement but it’s radically different. Once you mix hydraulic cement with water an irreversible chemical reaction occurs and the plastic mix expands in volume. As it hardens it retains this change in volume and exerts pressure against the hole or crack so normal water pressure can’t leak through.
Normal Portland cement mixes do the opposite. They shrink as they harden. This is why Angie’s repair effort failed.
It’s important to realize the surfaces that the hydraulic cement touches should be free of all dust, dirt, oils, etc. For the best bond, just before pressing the cement mixture into the void, you should spritz the surfaces with a little bit of water so they’re damp. This small amount of water helps increase the bond of the cement.
The hydraulic cement hardens rapidly so you want to mix small amounts. You can slow down the hardening rate by mixing the powder with ice-cold water. It’s also not a bad idea to freeze the powder so it’s cold before you mix it.
I’ve got lots of other installation tips at my website as well as three videos showing you easy DIY methods to install hydraulic cement. Go to: cement