Last Thursday my youngest daughter Kelly helped me finish installing the dock here at the lake. It lifts up and down like a castle drawbridge that crosses a moat.
You have to lift the dock out of the water in the fall so the lake ice doesn't destroy it. Cedar wood panels that create the walking surface need to be lifted out, carried up some steps and set on a patio for the winter. You reverse this process in the spring.
It was a HOT day, with the temperature pushing 92 F. Just five days earlier, on Mothers Day, it was 36 F and raining.
You gotta love New Hampshire WX! Today and tomorrow are going to be perfect diamond days with temperatures at 72 F and sunny skies.
 My oldest daughter Meghan, just to the right - see her photo?, coined the phrase diamond day. When the sunlight reflects off the small waves in the lake, they look like thousands of twinkling diamonds.
My Trex Transcend Deck
Last summer was consumed with me rebuilding two massive decks and constructing a new giant deck that's slightly lower than my upper deck. Here's a photo I shot in the fall.
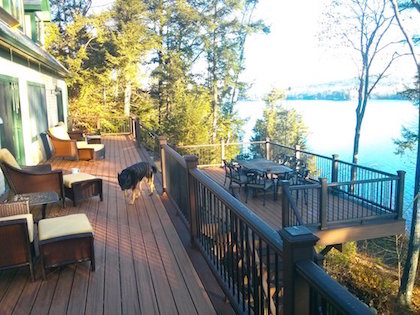
Today after sending out this newsletter to you, I'll be starting to finish the project. Cold WX set in and I couldn't finish the deck.
I have to build a very cool set of platforms and built-in bench between the two decks you see in the photo above.
I'll be shooting lots of photos of this aspect of the project as it might create some inspiration for you. I'm a huge fan of multi-level decks for a number of reasons.
In my case, I wanted the new deck to be lower so when you sit on the upper deck in the chairs with the yellow cushions you get an unobstructed view of the lake.
CLICK HERE to see how to best clean a wood or composite deck. You know I'm always trying to look out for you!
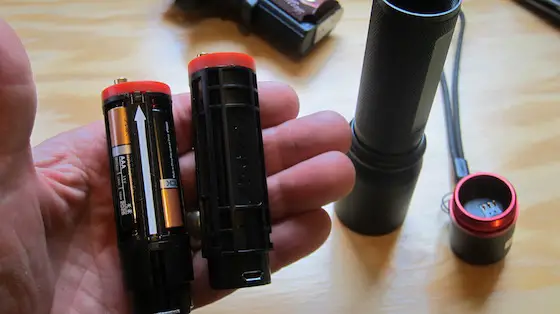
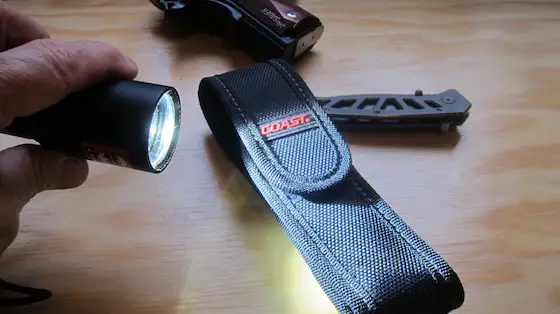
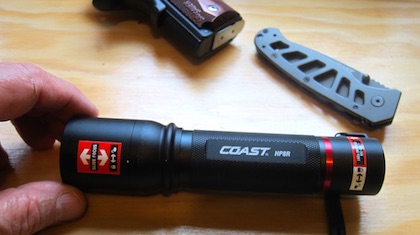
High-Quality LED Flashlight - LOW Price!
I published a review yesterday of a new Coast LED flashlight I had the chance to try out.
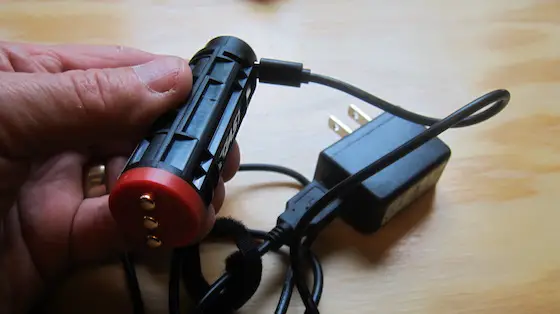
This is a very cool one because it's got a rechargeable lithium-ion battery as well as a conventional alkaline battery pack.
Do you need a laugh? Most people need more humor in their lives.
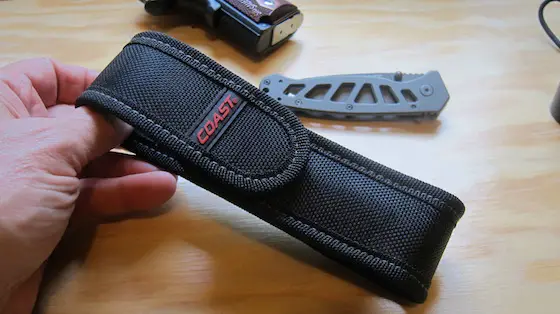
I BEG you to CLICK HERE and read the expanded captions under each photo in the review. By the time you get to the last photo, I'll bet I've put a grin on your face.
If not, I want you to email me and let me know.
Prevent a FIRE at Your House
There are over 100 electrical fires per week in the USA. Many of these fires can be prevented by you. People DIE in these fires.
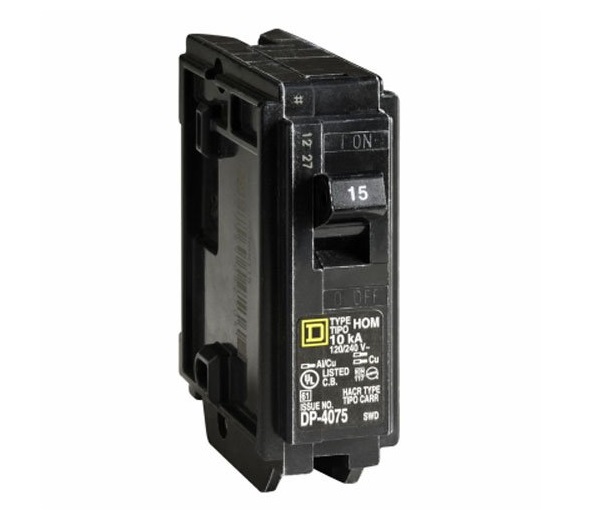
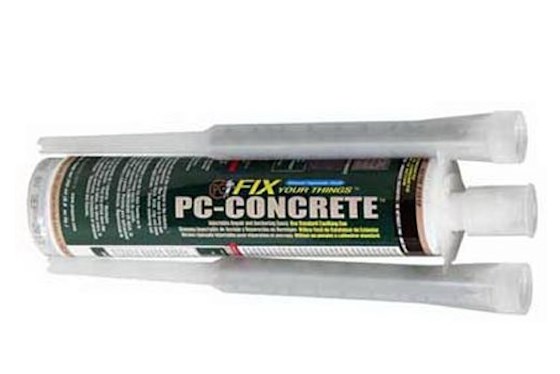
To prevent many of these sinister fires, all you have to do is install a few special AFFORDABLE circuit breakers in your electrical panel.
Here's what one of them looks like:
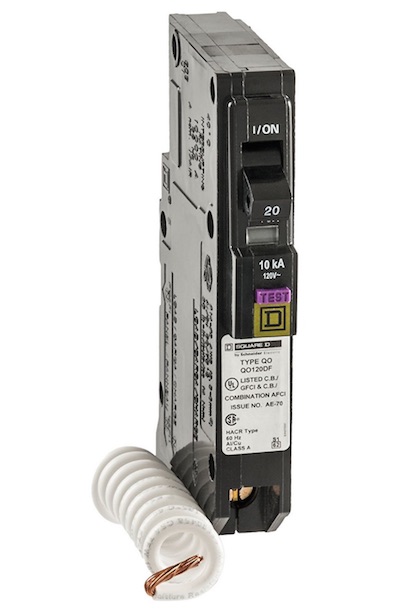
These special circuit breakers can SENSE a SHORT CIRCUIT and arcing in a switch or outlet BEFORE it turns into a fire.
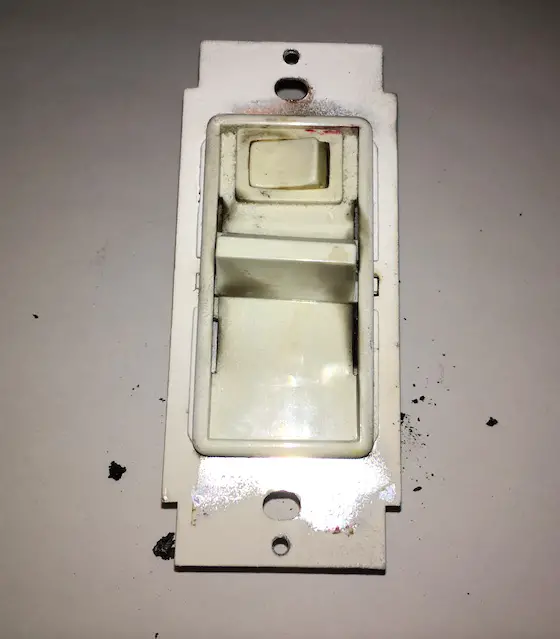
My friend Steve should have had these breakers in his home. If he had, he would have prevented the fire he had but CAUGHT IN TIME before it did lots of damage.
He and his wife might have died had this fire broke out when they were asleep. Thank God they were in the house and near the switch that melted.
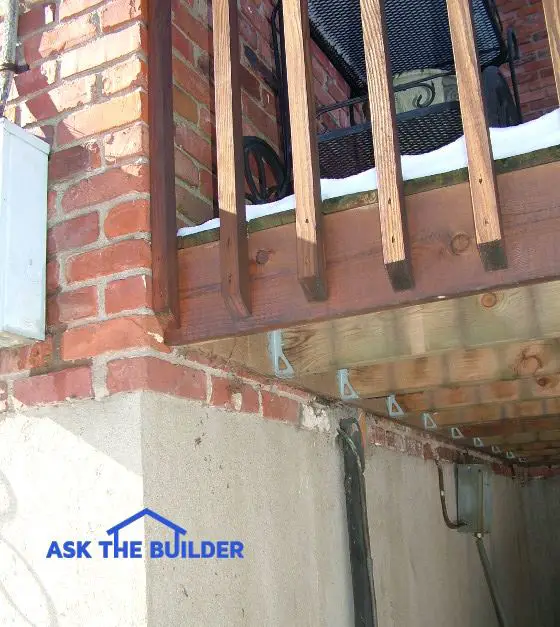
CLICK HERE to see what happened to Steve's dimmer switch.
CLICK HERE to read more about circuit breakers and this special arc-fault breaker that will protect you and your family!!!
How would you like to get FREE & FAST BIDS from local electricians who can come over and install these breakers in your home in just MINUTES?
Yes, it takes about two minutes to remove an existing circuit breaker and install this new arc-fault breaker.
I'm serious. You can get FREE BIDS - no obligation at all.
CLICK HERE to get the Free Bids that could save your life.
Roofing Ripoff Book Update
Today I'm supposed to get my proof of the PRINTED paperback Roofing Ripoff book.
If the printing process recreated in atoms what I saw in the digital PROOF, and I feel it will happen, then I click a button at Amazon Create Space and the book is instantly available for purchase by you.
You're in for a treat because my book designer, Ms. Sheridan Stancliff, took a suggestion I offered up and made it so much better.
It's at the bottom of just about each page of the book. I've never seen this done before, and I have to tell you in color it's stunning.
I'll send out a SPECIAL announcement to let you know if you can finally purchase a paperback version of the book.
You can get a PDF or Kindle version NOW if you want.
CLICK HERE to get a digital copy RIGHT NOW.

BIG ANNOUNCEMENT - Pay Attention!!!
Here's the big announcement about the book you need to know about.
If the statistics I uncovered while researching the book are accurate, you may be one of the eight out of TEN subscribers to this newsletter that have an asphalt shingle roof.
Or maybe one is on the light commercial building you work in or own.
Are you one of the 8 in 10?
If so, you don't necessarily have to read the book but you DO NEED something up on top of your roof I'm now selling.
I'll share what you need when I tell you the paperback is available.
Watch for that imminent announcement.
Suffice it to say that each day you wait to install what I'm selling you're one day CLOSER to WASTING THOUSANDS of dollars.
Yes, your inaction is going to cost you THOUSANDS of dollars.
CLICK HERE if you want to get an idea of what Roofing Ripoff is all about and to download the first three chapter for FREE.
That's enough for today. I need to get outdoors on the deck.
Tim Carter
Founder - www.AsktheBuilder.com
Do It Right, Not Over!