Asphalt Repair Video Transcript
You know a lot of you've got holes in your blacktop and I know what you want to do. You want to make permanent repairs. Well, guess what? It's not that hard to do if you've got the right material and the right technique.
Now here's what you need to get. You can buy some really great brand-new cold patch asphalt compounds. Now what these are, don't confuse them with the old stuff that used to come in an old bag that was really hard.
These things have got great new polymer adhesives that are mixed in with the asphalt and if you clean out the hole right you put the right amount in and you compact it these things make permanent repairs. The old compounds would just make temporary repairs.
Now how do you repair the hole? Simple. Use a chisel and a hammer to make sure that the bottom of the hole is as wide as the top of the hole. That means that you can't have sides that slant. It's best to have the bottom bigger than the top. (See this secret tip in the July 20, 2012 Newsletter.)
Now once you get all the loose material out, compact any loose gravel at the bottom
or a loose blacktop. Go ahead and pour your patching compound in there. Make it a little higher than the surrounding blacktop. Use a steel tamper to pat it down really nice and solid and you're ready to go.
You know I told you that patching blacktop holes is really simple. It's so simple in fact that even our garden expert Ron Wilson can do it. You want to discover more home-improvement tips, go to AsktheBuilder.com.
Related Links
Blacktop Crack Repair - It's Pretty Simple To Do
Blacktop Driveway Types - Yes, Not All Are the Same
Tar and Chip Driveways - They Can Be Many Colors!
CLICK or TAP HERE to get FREE QUOTES from local blacktop contractors for any repair work.
Buy These Cold Patch Blacktop Repair Products
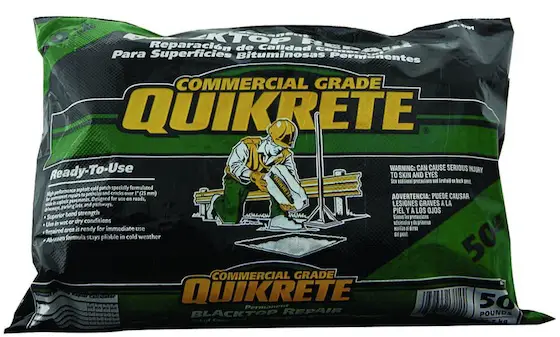
CLICK the photo above to purchase this blacktop cold patch material or to see other similar products. It's good stuff.