Are you a new subscriber? Welcome to my crazy world. If you've been observing me from afar for the past month or twenty-plus years, sit back and relax.
The Week of Cast Iron
I'm up in Bar Harbor, Maine, as I type this early today. The sky is just starting to brighten after the wretched switch to Daylight Savings Time.
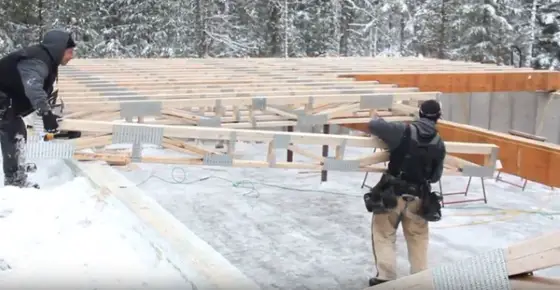
I arrived here on Tuesday afternoon not wanting to drive through a wicked late-winter storm that dumped another 14 inches of fresh snow up here on Mt. Desert Island. Wednesday morning, I was at the job site by 7 am enduring a balmy 2 F temperature. The next three days were sunny but very very cold.
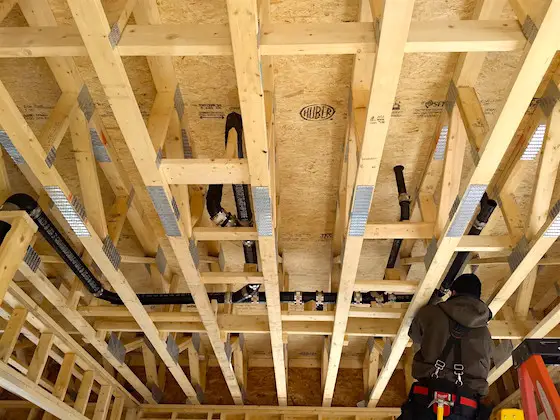
This was to be the week of cast iron. My son-in-law, Brent, and I were going to finish installing all the cast iron drain and waste lines in the new home he's going to share with my daughter and my one-month-old granddaughter.
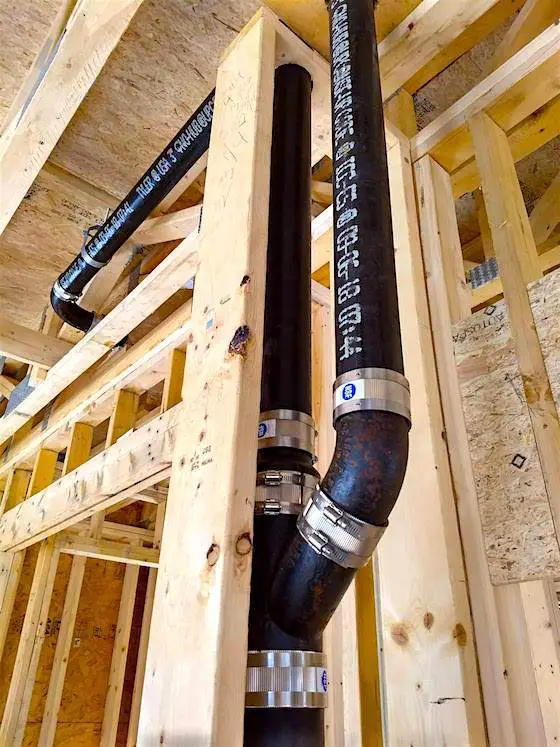
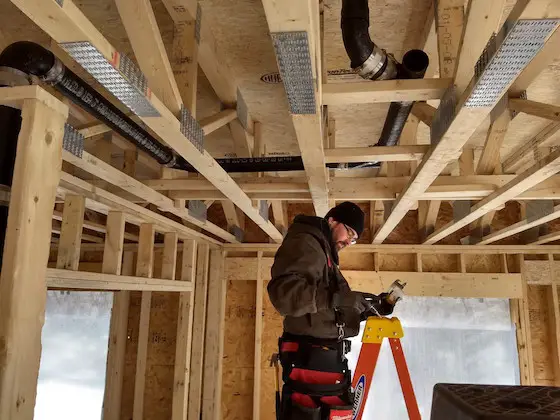
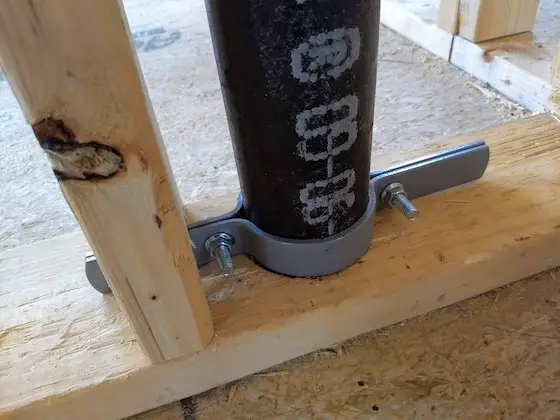
You're looking above at a giant 4 x 3 no-hub cast iron wye fitting. The 4-inch cast iron plumbing stack runs down to the crawlspace. A 3-inch stack goes out the top of the wye to the kid's second-floor bathroom and the second stack goes up to a future full-bathroom in the attic.
If you have the opportunity to build a new home and think you might expand the house, try to put in these future plumbing stacks now. Can you imagine how hard it is to do this after a house is built?
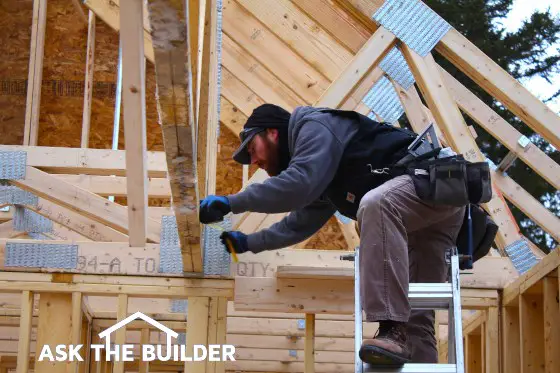
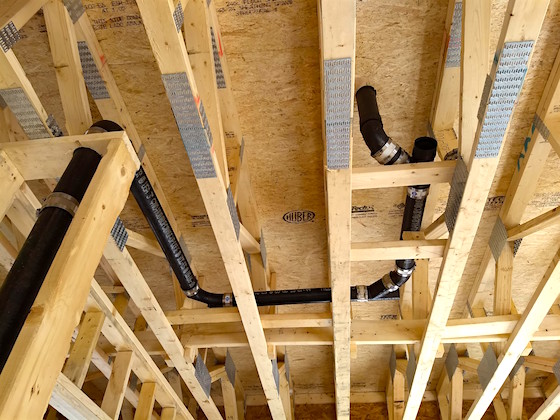
I've done it. It's expensive to do it after the fact and it's messy. You can save thousands of dollars by installing these stacks. Yesterday morning we installed a second future stack up into the attic trusses above the garage.
It took less than two hours to extend the stack up into each attic! It would take days of work to do this in the future counting all the patching and painting that would be required.
CLICK OR TAP HERE to SEE MORE PHOTOS of what we did and to read more about the benefits of cast iron plumbing stacks.
My Aching Back
Two weeks ago, I was up here with my wife Kathy. She helped Meghan with the new darling infant while Brent and I re-started up the installation of the plumbing. We had started the job back the first week of January and took it as far as we could in four days waiting for the builder to get the roof on the house.
Twelve days ago, I must have wrenched my lower back or re-aggravated an old injury. When Kathy and I got home about nine days ago, my lower back started to ache.
Last weekend, it got worse and it really flared up this past Thursday as we wrestled with the giant pieces of cast iron. Contorting my body up in the floor trusses and trying to balance walking around on the glare ice surely didn't help matters.
The Appointment
When we came back for lunch on Friday, Meghan saw I could barely walk. "Dad, let me schedule an appointment with a deep-tissue massage professional for you on Saturday." I resisted at first, but agreed it was probably the best thing to do.
It's important to realize that back in the fall my loving daughter and son-in-law purchased a ten-session rolfing experience for me. It just so happens one of the top rolfing experts in the USA, Kevin Frank, lives about six miles from me in central NH!
What is rolfing? CLICK OR TAP HERE to discover more about this little-known healing methodology.
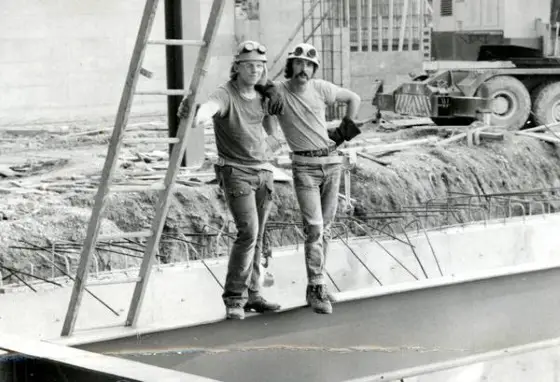
Years ago, I fell off two roofs as a builder and survived. Nothing broke but both times I landed on my left side. My left hip pain was getting worse by the week and Meghan told me that rolfing might help.
The first rolfing session with Kevin ELIMINATED my hip pain. It was as if I had been dipped in magic waters. I became an instant believer in rolfing and deep massage of fascial tissue that surrounds muscles.
Yesterday I was in a treatment room of Massage Bar Harbor. Minutes before I had gingerly slid down out of my truck and hobbled across the parking lot trying to hide my pain.
Ms. Jen Macri, a highly trained professional, greeted me at the door and knew I was hurting. She asked if I could make it up a simple flight of steps to the treatment room. "Sure, I'll get up there one way or another," I replied.
Jen asked me a bunch of questions regarding what hurt and what might have caused it. She then explained that it's quite possible two, or more, fascial tissue layers had welded together when they should be sliding past one another. She also mentioned that there could be several other reasons for my discomfort.
"I'm going to do a deep-tissue massage and try to locate all your problem areas. It's possible I may have to use some acupuncture to relieve muscles that are spasming," she commented.
"I trust you. Feel free to do whatever you think might end the agony," I replied.
Past Problems
When I was 18, I injured my back moving an overloaded wheelbarrow filled with concrete. I caused a disc in my upper back to partially rupture.
Within 30 seconds of starting the treatment, Jen found it. "Oh my, what happened here?" I explained as she tried to sooth that part of my back.
The more she pressed all around my back the more bound-up muscles she discovered. Some she was able to release but others fought her.
"I'd like to use acupuncture to release some pesky muscles. Is that okay with you?"
"Do it. I've no fear of needles as I have my own 16-gauge monster needle I use to extract splinters."
I had always been interested in acupuncture but had never tried it. Jen had to insert, I think, at least four different needles to release muscles. I never felt the needles go in. I was astonished.
I was even more astounded as I FELT the muscles immediately relax.
The one-hour session ended and as each minute passed I felt better and better. By the time I got back to the house, I felt like a new man.
Jen suggested drinking more water, taking a magnesium supplement, and a few simple exercises to help heal faster.
I'm going back to see her on Wednesday for a full-blown acupuncture session as she indicated I've got quite a few areas that need attention.
The moral of the story is:
Don't kick to the curb other forms of treatment for your aches and pains. Rather than go under the knife to have a hip replaced, why not invest an hour and $150 in a rolfing session or deep-tissue massage to see if it works?
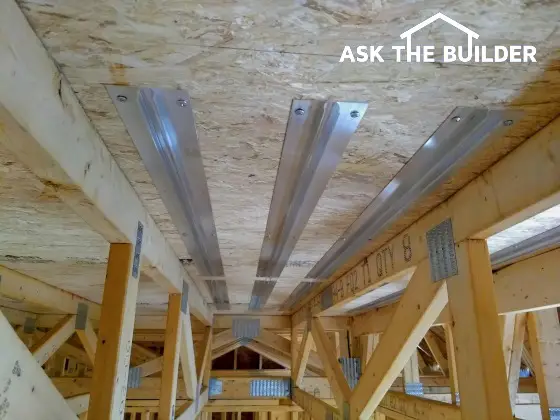
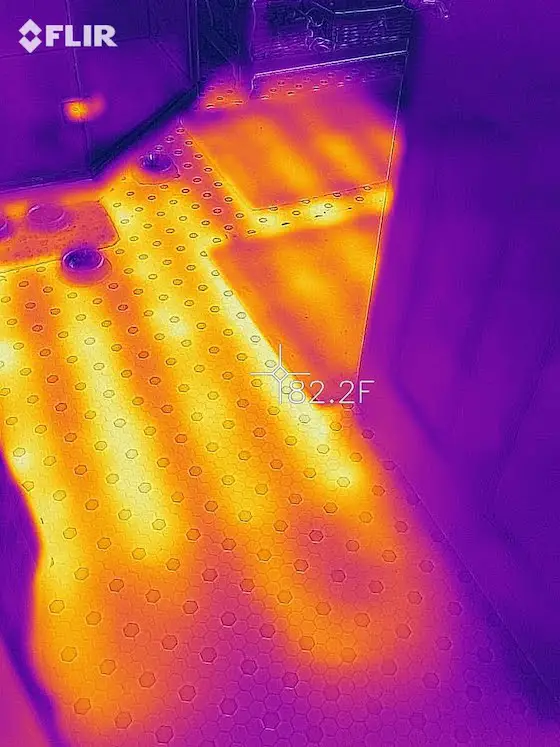
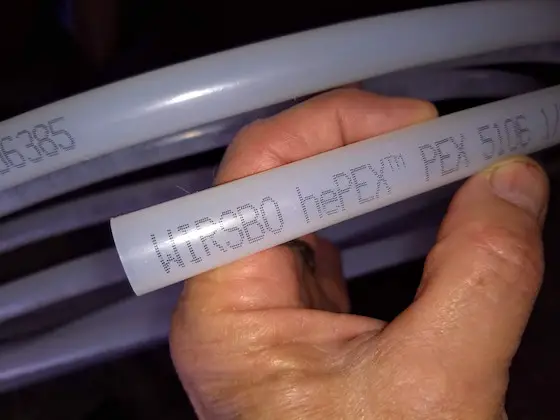
This coming week we'll be installing the aluminum Uponor heat transfer plates for the radiant under-floor heating system. Yes, I'll have photos and video for you soon, so be calm my Padawans.
The forecast is for much warmer weather this coming week and I plan to shoot quite a few new videos. I hope to have a few ready for your viewing pleasure next week.
That's enough for a Sunday. More snow is forecast for here today. The sky was glowing red just 30 minutes ago so the old sailors' adage must be true!
Tim Carter
Founder - www.AsktheBuilder.com
Get Certified Organic Clean - www.StainSolver.com
Happiness Can Be Invisible - www.W3ATB.com
Do It Right, Not Over!