Hastings Triplet 10X Review

hastings triplet 10x

Hastings Triplet 10X | This is my own triplet that I bought back in 1972. It's super durable and is well worth the purchase price. CLICK THE PHOTO now to have one in your hands in days.

Hastings Triplet 10X Review - Very Handy Lasts Decades

I've owned my Hastings Triplet 10X magnifier since 1972. I was required to buy one for my Geology 101 lab course.

I use my magnifier for these tasks:

  • wood splinter removal
  • check solder connections on circuit boards
  • inspect expensive jewelry settings BEFORE a failure
  • close inspection of anything, including Tim's finger! (Check the story out in the January 19, 2020 Newsletter)

Hold the Hastings Triplet to Your Eye

For best performance, you need to hold the magnifier very close to your eye. Believe me, you'll be blown away by what you'll see. Watch the video at the bottom of this page for the proper technique.

The detail on jewelry is astounding. Look at how you can count the teeth in the skull on my mother's College of Pharmacy pin from 1946.

hastings triplet 10X

Look at the incredible detail you can see. You can actually get BETTER results if you hold it to your eye. This is the best I could do with my smartphone camera which was about 4 inches away from the magnifier. CLICK THE PHOTO NOW to order one.

CLICK HERE to order a high-quality Hastings Triplet 10X magnifier.

hastings triplet 10x

This is my mother's College of Pharmacy pin. The skull on the pin is perhaps only 1/8-inch wide! Yet look at the detail the Hastings Triplet 10X magnifier picks up. CLICK THE PHOTO NOW to have your own Hastings Triplet 10X magnifier. Don't fall for cheap knockoffs - you'll regret buying a piece of crap.

How to Use a Hastings Triplet 10X Magnifier

Watch this video to see the proper technique to use one of these great tools.

Borders for Wallpaper and Flagstone Mortar

wallpaper borders

This wallpaper border with palm trees added the right touch to this powder room. (C) Copyright 2018 Tim Carter

Wallpaper Borders

QUESTION #1: Hello Tim. Trends and designs change and I’m convinced wallpaper will rise from the ashes. I’d like to start the resurgence and install some wallpaper borders in a few rooms in my home. What can you share to make this job go smoothly? Have you ever put in a border halfway up a wall? What are the biggest mistakes you can make working with wallpaper borders? Mandy P., Wheeling, WV

Mandy’s right about trends coming back, though I’m not holding my breath for the avocado kitchen appliances and the pink and gray bathroom ceramic tile! It’s important to realize that I don’t know if wallpaper borders ever really dropped out of favor. They’re an inexpensive way to add themed character and eye candy to otherwise bland painted walls.

I’ve installed countless rolls of wallpaper border in my lifetime. I was very lucky that my wife selected interesting ones that accented each room. My favorite border of all time was one that had palm trees on it in a tropical setting. I installed it about 48 inches up off the floor in a themed half bathroom.

Are Wallpaper Borders Hard To Install?

Another key point you should know is hanging giant strips of wallpaper is challenging. Some of the old comedy movies showing actors getting wrapped up in the sticky paper are not too far-fetched. Wallpaper borders, on the other hand, are very simple to work with. It’s almost impossible to goof up.

The biggest mistake you can make, in my opinion, is to ignore any written instructions that might come with the border. It’s very important to use the correct adhesive. Some borders come pre-pasted. Instead of using water to activate the adhesive, I’d suggest a clear paste activator. These inexpensive products brush or roll on with ease.

What Is Booking?

Be sure you allow the border to expand once the adhesive has been activated. Pros call this booking. This simply means you fold the back of the border onto itself so the adhesive is not exposed to the air. Allow the border to rest or expand for about ten minutes before putting it on the wall.

When Should The Wall Be Primed?

I’d highly recommend painting the wall with a special wallpaper primer a week before you install the border. These glossy paints allow you to remove the border in the future with little effort. If you apply the border to normal painted drywall, there’s a good chance you’ll rip off the facing paper of the drywall when you attempt to remove the border.

One of the biggest rookie mistakes I see is when a person wraps the border around an inside corner where two walls meet. When the border dries, it pulls away from the inside of the corner leaving an unsightly 1/4-inch gap.

You solve this problem by pressing the border into the corner very tightly. Use a sharp razor knife to make a straight cut through the border about 3/8-inch away from the inside corner. Overlap the border that was about to run across the wall just 1/4-inch over this small strip of paper that wrapped around the corner. Trust me, you’ll never see this overlap after the job is complete.

I’ve created a page on my website for you that has wallpaper border installation videos and other tips. Go to: wallpaperborders

Flagstone Mortar

QUESTION #2: Tim, winters are mild where I live. The temperature rarely drops below freezing. I’ve decided to install some traditional flagstone on a patio. I understand how to cut it and fit the pieces. I’m wondering about the best mortar to use to install it. I plan on putting the flagstone on a concrete slab that has reinforcing steel in it so it will last for a long time. Mark H., Mobile AL

Mark’s lucky. Mild weather is the best for installing flagstone or any stone or brick that you’d mortar to a concrete slab. If I could pick my conditions, I’d want to do this work on overcast days with no wind and the temperature about 55 F.

I’d recommend a mortar mix that’s rapidly becoming mythical. This happens with many techniques in the building industry. I’d use a mortar that’s got a healthy amount of hydrated lime in it.

Hydrated lime has untold benefits not the least of which is its ability to make the mortar easier to work with. Shrinkage cracks are minimized using hydrated lime. Lime has self-healing properties if small cracks develop over time.

Here’s a recipe that’s worked well for me on all my jobs:

  • 15 gallons of medium sand
  • 6.38 gallons of Portland cement
  • 1.12 gallons of hydrated lime

Blend all of these together in a wheelbarrow until well mixed and the color is uniform. Then add enough water so the final mix resembles mashed potatoes, not runny applesauce.

I’ve got lots of FREE extra flagstone mortar tips for you at my website: flagstonemortar

Column 1273

New Build Home Timeline Part 3

stake out foundation

This is the contractor beginning to stake out the house. You need to have a long tape measure and know the foundation measurements as well as the diagonals. Copyright 2018 Tim Carter

New Build Home Timeline Series - Part 3

This is part three of a new build home timeline series following my own daughter and son-in-law. They're building a new home on Mt. Desert Island in Downeast Maine.

At the bottom of the page, you'll discover a link to the next part of the series.

Related Links

Lot Clearing Tips - FREE ADVICE

Land Clearing Challenges - PLEASE SHARE to friends to save $$$$

New Build Home Timeline Part Three - Stakeout House, Dig & Blast Prep

Week Three - October 28, 2018

Week three of the project was exciting. The first step was to do a rough stakeout of where the house will be. Once that was completed, it was obvious a few more trees had to come down.

The contractor started to dig for the foundation and proceeded to run into a large chunk of ledge. Ledge is solid bedrock, in this case, granite. The blasting mats were delivered, notices sent out to neighbors, and then the rain came. That was the end of progress for the week.

There are videos below showing you what blasting actually looks like. I encourage you to watch them and be aware of how powerful the TNT is.

stake out plan drawing

It's best to create one of these simple drawings before you get out to the job site. Double check the diagonal calculation. CLICK THE IMAGE to get the cool calculator I use to do this.

CLICK the orange excavator to watch a short video of it working to get rid of the stumps. Copyright 2018 Tim Carter

foundation hole dug

This is a panorama shot of the foundation hole. You can see the giant piece of ledge in the center. CLICK THE PHOTO to see a full-size photo.

These are giant heavy blasting mats. They are placed over the ledge after the TNT is drilled and placed. The mats prevent rocks from flying through the air when the TNT is detonated. Copyright 2018 Tim Carter

construction calculator

This is the type of calculator you should own if you're going to build a new home. It allows you to CHECK to make sure things are SQUARE!!! CLICK THE IMAGE NOW to have one in your hands in days.


Senco FinishPro Mg18 Review

senco finishpro mg18

Senco FinishPro Mg18 Finish Nailer | This gun shoots very small nails for precision work. Copyright 2018 Tim Carter

Senco FinishPro Mg18 Review

Professionals normally do tool reviews. I'm talking about people like me who have used tools all day long for decades.

How would you like a review of a nail gun done by someone who's NEVER used one before?

Here it is.

Who Used the Senco FinishPro Mg18?

My friends Ann and Russ Waters who live in southern California used the nail gun. Here's what Ann had to say:

"We had never thought about using a nail gun until Tim, our friend and founder of Ask the Builder, recommended it and it saved this project for us. Instead of being frustrated with driving nails through the expensive wood trim into hard plaster, we're having great fun with it."

senco finishpro mg18

Ann's clearly visible. She had no trouble at all using this fine finish nailer. Copyright 2018 Tim Carter

Did You Have Any Nail Gun Experience?

"We have no prior nail-gun experience, but the grips feel good and it is comfortable to use them for a long period of time without fatigue.  It was easy to get used to using them.  We're now spoiled forever.  No more hammers and bent nails."

CLICK HERE to have the Senco Mg18 in your hands in a few days.

Was the Senco Finishpro Mg18 Dependable?

"The gun was very dependable. We shot hundreds and hundreds of nails. We had one nail jam and it was easy to clear."

senco finishpro mg18

It's easy to hold up the Senco FinishPro Mg18 at the ceiling to fasten small pieces of molding. Copyright 2018 Tim Carter

What Did You Like Most About the FinishPro Mg18?

"What we like most while we were using them was the speed and ease of getting the job done. What we are going to like the most for as long as we live in this house, is how much better the finished product is. The nail holes are so tiny that you can hardly see them. Taps, or common nail sets, would have left much more obvious holes.  And by pushing with the gun before you nail, you can get the wood very tight against the wall or other wood.  I couldn't have held it like that when you're holding a hammer and nail so seams between the trim pieces are nice and tight."

Would You Recommend a Finish Nail Gun to Other Beginners?

"We would definitely tell anyone who has not tried them to get over using a hammer and do this. Get over the horror stories you hear about people getting nailed in the head. Russ and I never felt in danger. Read the safety information and you will feel comfortable using it in no time. We did not use the setting where a nail comes out every time you make contact. In view of our inexperience, we set it so you have to hit the trigger each time and we felt very comfortable with it."

CLICK HERE to have the Senco Mg18 in your hands in a few days.

senco finishpro mg18

Here's the small nailer near valuable stained glass that's almost 100 years old. You can work with confidence with the gun. Copyright 2018 Tim Carter

CLICK HERE to have the Senco Mg18 in your hands in a few days.

Senco FinishPro XP16 Review

senco finishpro xp16

Senco FinishPro XP16 | This is a rugged air nailer that drives 16-gauge finish nails perfectly one after another. Copyright 2018 Tim Carter

Senco FinishPro XP16 Review

Professionals normally do tool reviews. I'm talking about people like me who have used tools all day long for decades.

How would you like a review of a nail gun done by someone who's NEVER used one before?

Here it is.

Who Used the Senco FinishPro XP16?

My friends Ann and Russ Waters who live in southern California used the nail gun. Here's what Ann had to say:

"We had never thought about using a nail gun until Tim, our friend and founder of Ask the Builder, recommended it and it saved this project for us. Instead of being frustrated with driving nails through the expensive wood trim into hard plaster, we're having great fun with it."

senco finishpro xp16

Here's Ann driving a nail with confidence. Years ago, she'd be tapping away with a hammer HOPING not to create a beauty mark in the gorgeous wood that's going to be stained. Copyright 2018 Tim Carter

Did You Have Any Nail Gun Experience?

"We have no prior nail-gun experience, but the grips feel good and it is comfortable to use them for a long period of time without fatigue.  It was easy to get used to using them.  We're now spoiled forever.  No more hammers and bent nails."

Was the Senco Finishpro XP16 Dependable?

"The gun was very dependable. We shot hundreds and hundreds of nails. We had one nail jam and it was easy to clear."

senco finishpro xp16

Here's the Senco FinishPro XP16 working next to stained glass that's just about 100 years old. Ann wasn't worried about a hammer slipping that could shatter the glass! Copyright 2018 Tim Carter

What Did You Like Most About the FinishPro XP16?

"What we like most while we were using them was the speed and ease of getting the job done. What we are going to like the most for as long as we live in this house, is how much better the finished product is. The nail holes are so tiny that you can hardly see them. Taps, or common nail sets, would have left much more obvious holes.  And by pushing with the gun before you nail, you can get the wood very tight against the wall or other wood.  I couldn't have held it like that when you're holding a hammer and nail so seams between the trim pieces are nice and tight."

Would You Recommend a Finish Nail Gun to Other Beginners?

"We would definitely tell anyone who has not tried them to get over using a hammer and do this. Get over the horror stories you hear about people getting nailed in the head. Russ and I never felt in danger. Read the safety information and you will feel comfortable using it in no time. We did not use the setting where a nail comes out every time you make contact. In view of our inexperience, we set it so you have to hit the trigger each time and we felt very comfortable with it."

senco finishpro xp16

This is the epic tip to the gun. Senco has perfected this over decades. This wire foot allows you to easily see exactly where every nail will go. This is just one reason Ann and Russ had so much success. Copyright 2018 Tim Carter

November 1, 2018 AsktheBuilder Newsletter

Are you a new subscriber? I'm sure glad you're here!

Czy jesteś doświadczonym subskrybentem? Please inform the new arrivals of my strange sense of humor.

Happy November! It's been a strange autumn here in the great Northeast Kingdom of New Hampshire. We've had many more gray rainy days than bluebird days. The temperatures have been much more like late November than balmy October.

In other words, my favorite season of the year has eluded me!

Your Company and the Media

Do you own a company, represent one, or just work for one? How would you like your company to get $50,000, or more, worth of free advertising?

Allow me ask you something. What do you think it costs to get a message out to say 2,000,000 consumers? I'm talking about messaging from an independent third party, not ad copy you, or a professional, creates. Do you think you could do it for a nickel a person?

I'll answer. It's huge money. But can you get this same exposure for free? You bet you can.

It's easy. Reply to media requests on your company's Contact Us page. And reply within HOURS.

I'm not going to mention names so as to protect the guilty, but six days ago I reached out to a major paint manufacturer as I wanted to review a special paint they manufacture.

I used the exact special media email address they provided on their website. I double checked it was correct, and I had it appear in my Sent box.

Yes, I know email isn't reliable. You can't count on a person seeing your message in their Inbox. All sorts of things can go wrong.

I've heard nothing back. It's important to realize, in my opinion, they made a grave mistake not listing the name and phone number of their primary media contact. Frequently companies will off-load this to a PR person.

Yesterday I went to the company's Twitter page and sent them a direct message. I've still not heard a word.

If your company is not set up to reply to media requests within an hour or two, you're making a serious mistake. You're missing out on tens of thousands of dollars of possible FREE advertising.

HUGE Stocking Stuffer Success

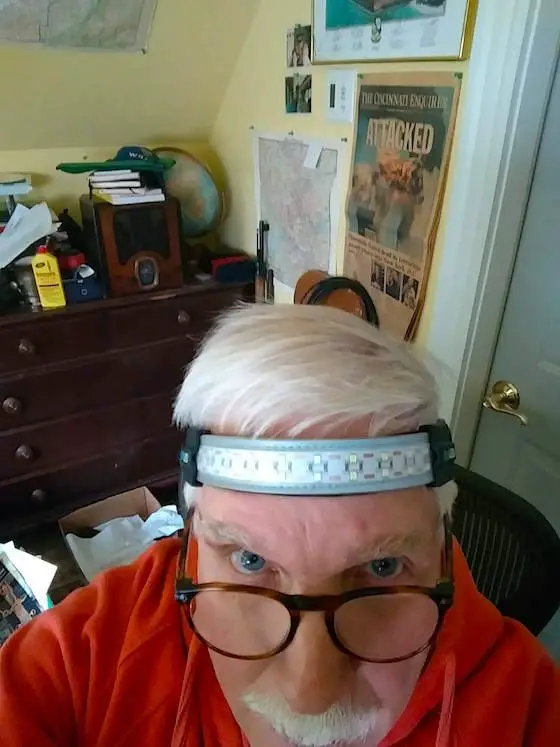
In the last newsletter, I casually mentioned a very cool LED headlamp I had just tested. I was really impressed by it. The cost was just $15.

You may have been one of the HUNDREDS AND HUNDREDS of people that bought one, or more, of these! My Inbox exploded with replies about how great it was for me to share affordable gift ideas.

DUH!!!!! What the heck is wrong with my brain? It seems so easy looking back.

With that said, each week on the lead up to Christmas I've decided to feature a cool stocking stuffer idea that's $15 or less.

Today I've got one that's less than $5. It's an insane bargain.

small screwdriver set

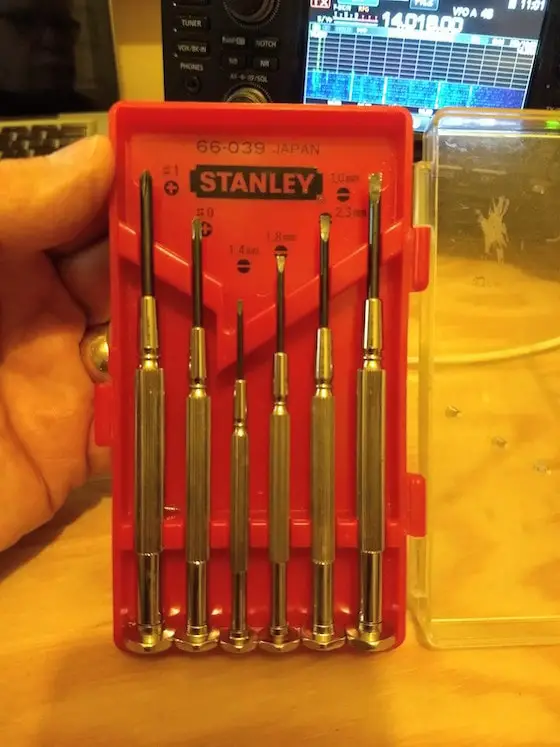
This is the wonderful small screwdriver set I have in my office desk drawer. I use it all the time.

It's the Stanley 66-039 set.

Yes, at the time I'm typing this it costs less than $5. You absolutely should order MULTIPLE sets for all in the family, your car, your sewing or hobby room, your man cave, etc.

This is actually a great set for small kids that may be 5 years or older. You can start your kids or grand-kids private personal collection of their own tools. These are perfect for small hands.

Only buy them for kids if you know you can TRUST them with the tools and not get into mischief with them!

CLICK HERE to see more photos of my screwdriver set and a video of this incredible deal.

CLICK HERE to ORDER the screwdriver set.

Reciprocity - It's That Time of Year

Christmas, or a holiday you celebrate, is soon. Kathy, the kids, and I celebrate Christmas here at the Carter house.

You may have started to shop. You may do lots of shopping on Amazon.com.

Have I helped you throughout the year with a tip or two or three from the newsletter? Have I saved you some money, time, or both?

If so, you might think of reciprocating by using my simple affiliate link when you shop at Amazon.com.

Amazon pays me a tiny commission for each thing you buy. The revenue helps keep Ask the Builder alive. It keeps this newsletter coming to you at NO COST.

The commission does not cause your price to be higher. If you don't use my link, then Jeff Bezos keeps all the profit from the sale to himself.

Each week you're going to see a button just like the one below this sentence. Please CLICK IT to start your shopping experience at Amazon. I truly appreciate it.

CLICK HERE to Shop at Amazon.com!

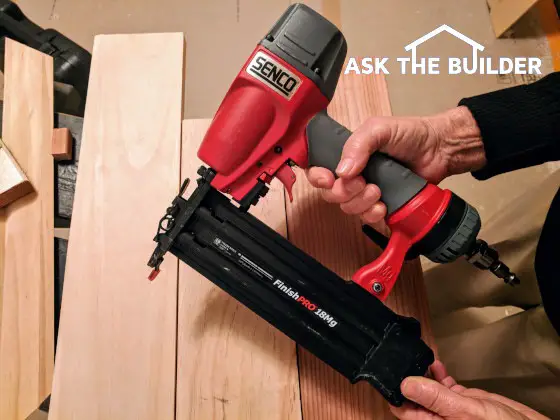
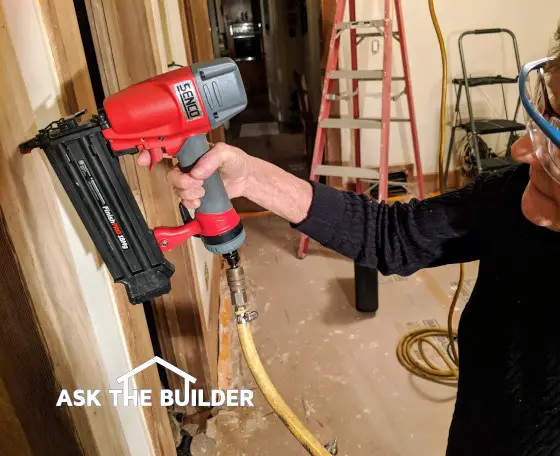
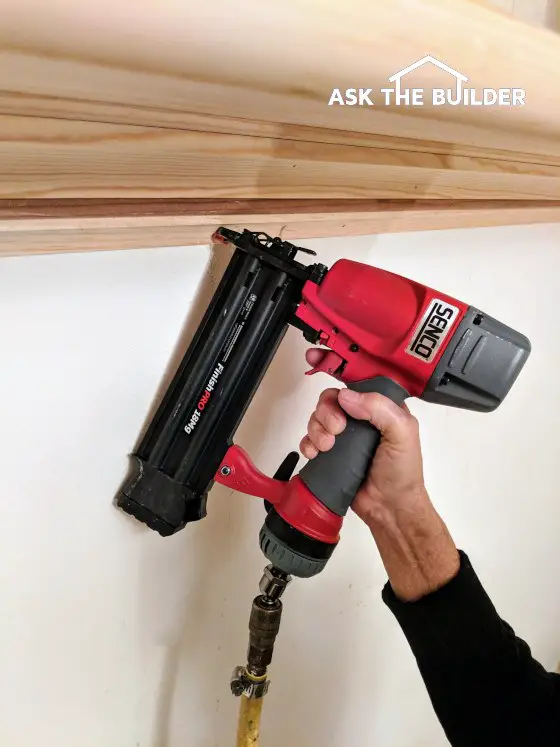
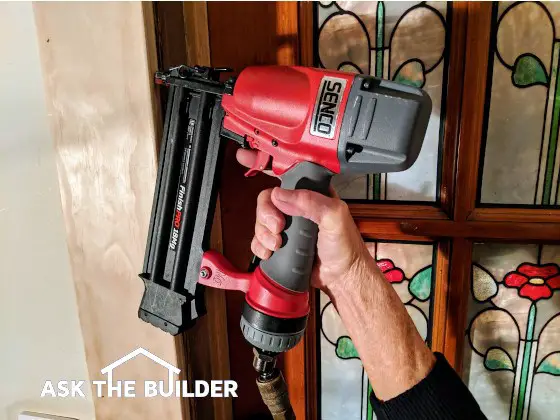
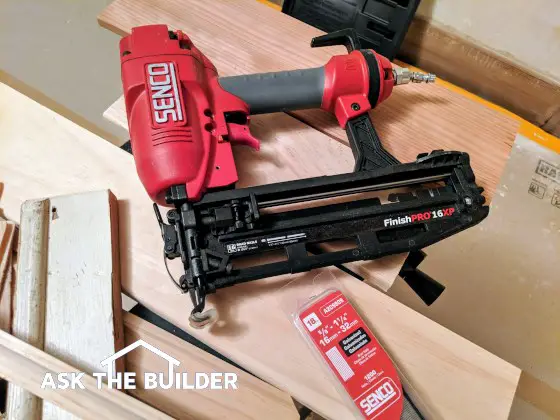
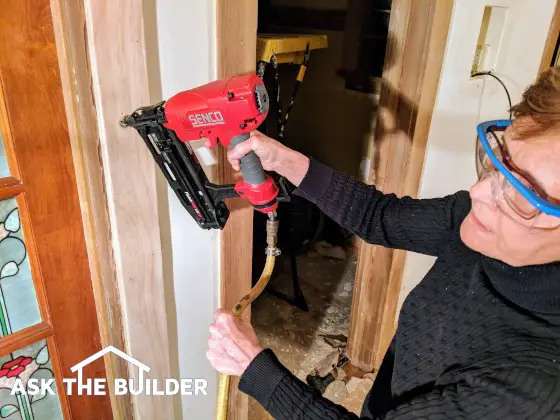
Revised Columns For You

I've been busy revising columns. You can't believe how many great videos I'm putting into the columns.

I've also cut up the columns and created headers that tell you what's in the column.

In other words, I've made the content easy on your eyes.

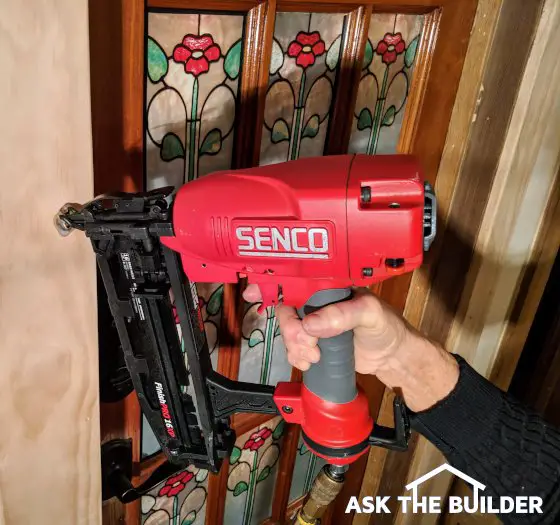
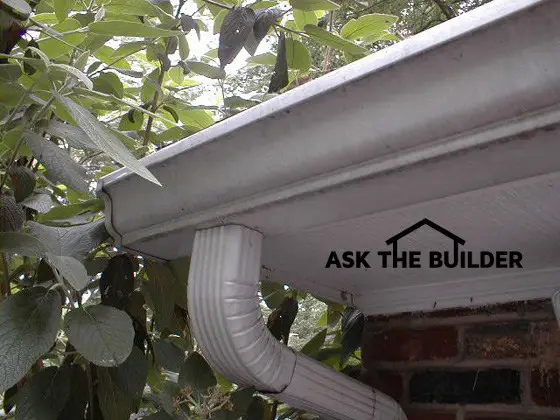
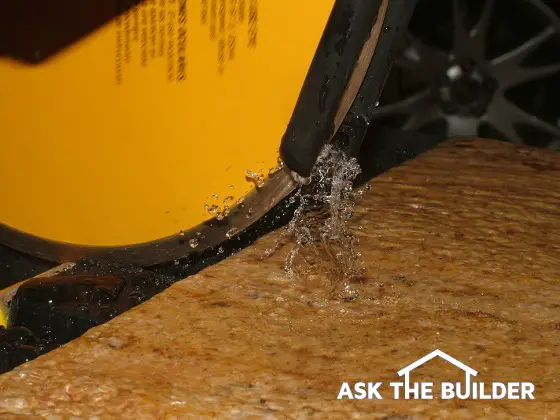
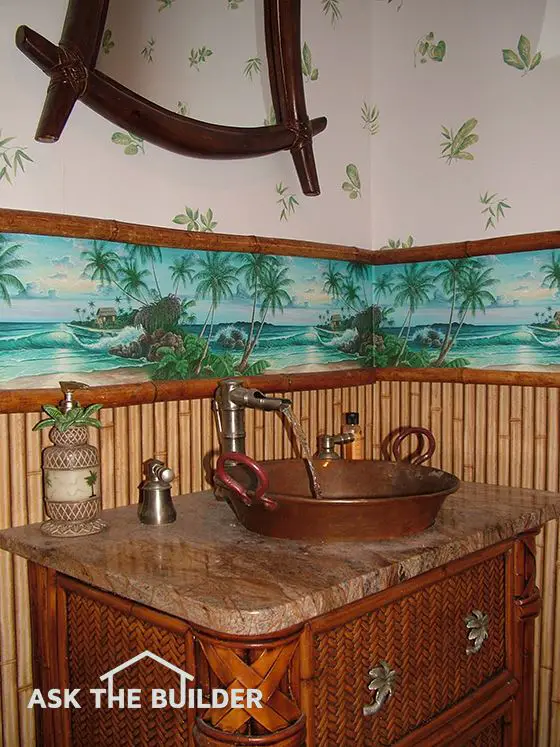
Don't believe me? Go ahead and click one, or all, of the photos below. The photos are links to the columns as are the titles or headlines:

How To Paint Aluminum Gutters

paint aluminum gutters

Secret Method to Cut Ceramic Tile

ceramic tile saw

Magic Wallpaper Borders

wallpaper borders

That's quite enough for a Thursday.

I'll be back over the weekend with an update on Meghan and Brent's house. Let's just say it's going to be explosive news!

Tim Carter
Founder - www.AsktheBuilder.com
Certified Organic Cleaner - www.StainSolver.com
Tickle the Ether - www.W3ATB.com

​​​​​​​Do It Right, Not Over!

Small Screwdriver Set Review – Stanley 66 039

small screwdriver set

Small screwdriver set | This is my handy Stanley 66-039 set. I've had it for many years and it's saved my bacon any number of times. CLICK the photo now to have this set in your hands in several days. It's less than $5 at the time of this review. WOW!

Small Screwdriver Set - Stanley 66-039 - Great Quality

I've owned my small screwdriver set for years. I've lost count of the many times I've used it!

The set has six screwdrivers:

  • #1 Phillips
  • #0 Phillips
  • 3.0 mm Flat Blade
  • 2.3 mm Flat Blade
  • 1.8 mm Flat Blade
  • 1. 4 mm Flat Blade

CLICK HERE NOW to order this set. It was less than $5 at the time of this review. That's a super deal!!!

Small Screwdriver Set - Rotating Cap

A great feature of this screwdriver set is the rotating spinning top. You hold the cap with your finger and thumb applying downward pressure while your other hand rotates the tool to loosen or tighten the screw.

small screwdriver set

This is the spinning cap that sets these screwdrivers apart from the imposters. You'll appreciate this simple feature. CLICK THE PHOTO NOW so you have this set in your hands in days.

Knurled Shaft Provides Great Grip

The knurled shaft ensures the screwdriver doesn't slip in your hand unless you have your fingers covered with oil!

small screwdriver set

These are the knurls. A very expensive machine creates them in the factory. Stanley did this for you so you'd not ruin what you're working on. CLICK THE IMAGE NOW so you can feel these knurls through the soft skin on your fingertips. Let me know in the comments below how much you like this small screwdriver set!


This screwdriver set was featured in Tim's November 1, 2018 AsktheBuilder Newsletter.

AsktheBuilder Help Alert

Are you a Criminal Court Judge or Attorney?

If you're a NEW subscriber, I send out requests for your help from time to time. This is one of those times.

I'm blessed to have you as a subscriber. Just this morning, I received an overnight email from a woman who may have information that can help me on a new secret project. Her email came out of nowhere.

But I have another need. A friend of mine might be sent away to prison for fifteen years or more. He's a good person that made a stupid mistake.

If you're a judge, or a former one, that hears criminal cases, or you're a prosecuting attorney or criminal defense attorney, I could use some advice that might help my friend.

Just reply if you have the above qualifications and are interested in helping me, and I'll give you the one-pager of what this is about and what my plan is.

I'm pretty sure your advice will take but two or three sentences once you see my one pager and my plan.

Thanks.

Tim Carter
Founder - www.AsktheBuilder.com

P.S. Please do NOT respond to this if you're just curious. I only want responses from current or retired criminal judges or attorneys who work that beat. I'm sure you understand.

October 27, 2018 AsktheBuilder Newsletter

New subscriber? Welcome! The new home project has just started.

Insignes olim et subscribens? Please inform the new arrivals that
they arrived just in time.

I was up on Mt. Desert Island this past week for four days. Kathy and I visited with Meghan and Brent scoping out their new home site. You'll see links below to the New Build Home Timeline series.

The weather was really wretched except for Thursday, the day we drove back to New Hampshire. That morning we visited Asticou Gardens in Northeast Harbor on Mt. Desert Island.

We missed peak color by about ten days, but it was still pretty stunning. Here's a small photo. CLICK HERE to see the full-sized version.

Christmas Stocking Stuffer

I don't often get super excited about new products. It's important to realize I see many and the bar to get "WOWED" inches up each month.

Well, yesterday I was WOWED!

ov led headlamp

CLICK HERE to see more photos of this wonderful wide-angle headlamp that's LIGHT AS A FEATHER.

I'm telling you this is a GREAT Christmas stocking stuffer. It comes in a small box that will fit in most stockings! Or, you can take it out of the box and it will fit for sure.

This is the OV LED headlamp and, are you sitting down?, it costs only $15. That's far below what I thought it would be.

It seems to be very well made. When you CLICK HERE to order one, be sure you order some rechargeable AAA batteries for it. When you land at the page, CLICK MY NOSE on the top photo.

Week One New Build Home Timeline

CLICK HERE to see photos of week one of Meghan and Brent's new home project.

Week Two New Build Home Timeline

CLICK HERE to see photos and a VIDEO of week two at Meghan's house project.

Vinyl Siding Installation SECRETS

vinyl siding installation tips


What's WRONG in the photo below?

CLICK HERE and enter your answer in the comments at the BOTTOM of the column.

I'd say that's enough for a weekend.

I'm going to be very busy the next two months with Meghan and Brent's new house.

You should benefit. Why?

My plan is to create hundreds of new videos. The conditions will be challenging to say the least. It's going to take hundreds of hours to cut and produce all the videos.

Tim Carter
Founder - www.AsktheBuilder.com
Get OUT Stains! - www.StainSolver.com
Morse Code! - www.W3ATB.com

​​​​​​​Do It Right, Not Over!