Driveway Repair Video Transcript
You know, it's not too late in the season to patch those pesky cracks in either your concrete or blacktop driveway. Now what I want to talk about first is concrete. Maybe you've got a small crack in a driveway or sidewalk or patio and it could be a big crack even.
There are all types of different things to use but I'll tell you what I prefer. I like the urethane caulks. Why do I like those? They're sticky, they are very elastic so that if the concrete moves the caulk will move with it in the future.
How do you start the repair? If it's a small crack, maybe an eighth to a quarter-inch wide, you can just shoot the caulk right into it. But let's say it's a larger crack. Sometimes you'll need to buy the foam backer rods and you pack that down into the crack so that you're only putting in about a half-inch to maybe three-eighths inch depth of caulking material.
Go ahead and squeeze the caulk out of the gun. Let it get into the crack. Smooth it with a stick if you have to. If it's a wide crack or if you want to use your finger, go ahead and do that but sometimes put a little bit of paint thinner on it to get a really nice smooth appearance.
Blacktop driveways are basically the same. What you want to do first is to make sure you pick the right patching material. Now frequently you'll go out and you'll find these blacktop crack fillers. Well, there are two different types. One of the materials happens to have a whole lot more rubber in it and that makes it more flexible and it'll stay longer in the cracks.
Now those products typically cost more money they can be up to about 13 dollars a gallon (2001 pricing). So try to find those. The more expensive they are, the better.
Now make sure that you go ahead and follow the directions on the label. Frequently they say to clean the crack out. Make sure it's dry and then if the crack is deep you might have to get backer rod as well to put in there or fill it partially with dry sand.
Go ahead and trim the nozzle on the bottle, squeeze it in and try not to get a lot of stuff beyond the crack. If it's really really hot weather, you may have to put a little sand on it so you don't track it into your house.
And in almost all cases don't drive on the repaired cracks for at least a day. I told you sealing cracks really isn't that hard you just have to act soon winter’s gonna be here soon.
I'm Tim Carter for AsktheBuilder.com. If you want to discover more home-improvement tips, go to AsktheBuilder.com.
Related Links
Concrete Repair Magic Epoxy - Great Video Here
Use Small Rocks To Repair Blacktop Drive Cracks
CLICK or TAP HERE to get FREE QUOTES from local handymen that can repair your driveway cracks.
Buy These Great Driveway Crack Repair Products
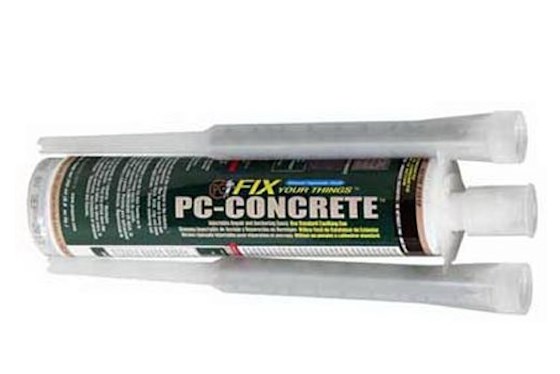
This is a wonderful concrete driveway crack repair epoxy. I've used it with great results. CLICK HERE or THE IMAGE to have it delivered to your home in days.
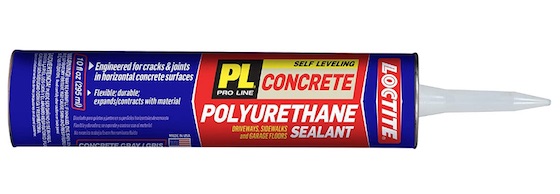
This is a fantastic concrete driveway crack repair caulk. CLICK HERE or the photo to have it delivered to your home.
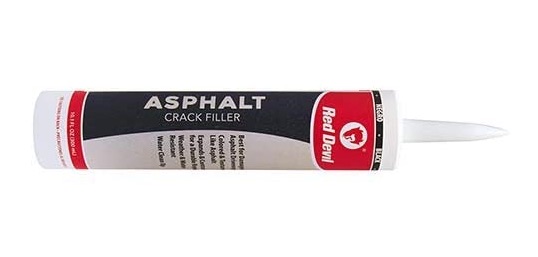
This is a wonderful blacktop crack repair caulk. CLICK HERE or the photo to have it delivered to your home in days. You'll probably use six, or more, tubes.