I'm going to make this as short as possible. Hang in there if you can - especially if you want a great deal on Stain Solver - BLACK FRIDAY SALE today baby!
Thanks to You
I don't say this as often as I should - I'm so very thankful for you.
You may not realize it, but you're directly responsible for my continued passion about all things home improvement.
Just when things are going off the rails and I've received ten nasty or hateful comments on my YouTube videos, you may send me a delightful email about how I've helped you in some way.
Or perhaps you leave a great comment at the bottom of one of my articles at the website.
You may have sent me an old-fashioned letter - yes, I do get them from time to time - and they're a special treat!
When you play the fun games in this newsletter, you help AsktheBuilder.com.
When you shop at Amazon using my affiliate link to get to Amazon.com, you help AsktheBuilder.com. CLICK HERE if shopping at Amazon.com today.
When you write a letter to the editor of your local paper where you see my column telling her / him how you like my column, you help me.
I could go on and on, but I'm sure you get the idea. Your FEEDBACK to me or to things that connect to me all HELP keep AsktheBuilder.com going.
I've got news for you. Next year, 2018, is very likely going to be the BEST YEAR EVER for AsktheBuilder.com. I can't share just yet why, but stay tuned!
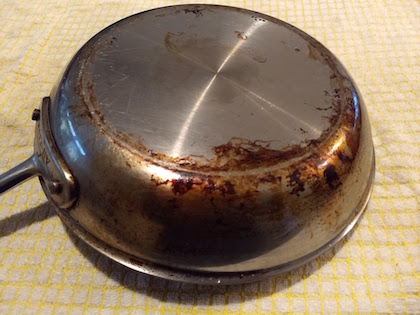
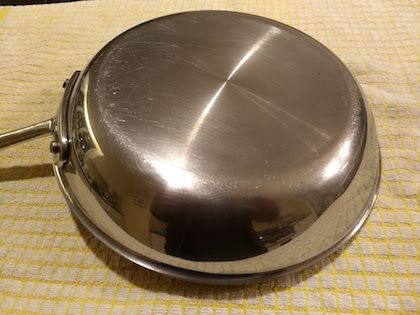
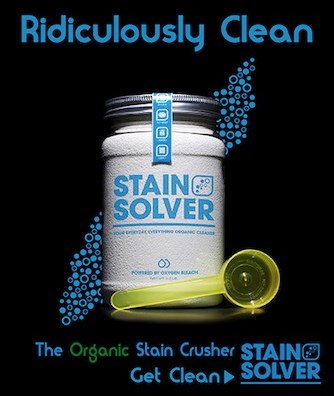
Stain Solver Black Friday SALE
Many stains are black. It only seems natural that we should have a sale on the monster BLACK FRIDAY along with everyone else.
It's happening NOW! Yes, CLICK HERE for the Stain Solver Black Friday SALE.
Promo Code: THANKS17
10% off any order over $28.00 + FREE SHIPPING to anywhere in the contiguous 48 USA states.
This sale ENDS Sunday night at midnight. I'll send out a reminder, but just act NOW before you forget or are too tired to do it on Sunday.

New Columns & VIDEOS
Here are some great new columns for you many with VIDEOS!!!
Magic Dust Patches Patio Crack - Amazing Video!!!
How to Cut Mexican Tile - Super Grinder Video!!
Strong Wood Epoxy Fixes Wood Rot Fast
That's quite enough for the insane day before Thanksgiving!
Once again, THANKS SO MUCH for being part of my family here at AsktheBuilder.com!
Tim Carter
Founder - www.AsktheBuilder.com
Do It Right, Not Over!
P.S. I want to thank Jim and Maryrose who reached out to me three days ago after I sent out my "Oooops" email.
Maryrose said, "I love the fact that you forget. You are still a lot younger than I. In February, I will be just 4 years short of 100."
Jim was very pithy saying, "You're the real deal."
Notes like that paste a huge smile on my face for hours......
Maryrose, I'm planning on going that far too on the journey. Happy early birthday!!!