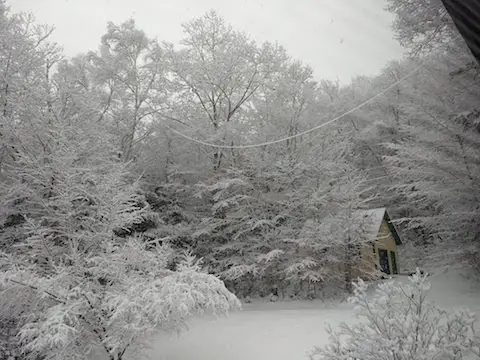
Today started out to be a bluebird day here in central New Hampshire. Blue skies are forecast and temperatures are supposed to scratch their way up to 38 F. But as often happens, gray clouds move in robbing us of the much-needed infrared energy from our friend the sun!
The beginning of December for me means winter is here. Already we've had two pesky snowfalls. The last one was so wet it was impossible for the snowblower to handle it.
The snow was like concrete. It was crazy heavy, yet only 3 inches deep. You could only take a small shovelful, pick it up, and walk with it to the edge of the driveway. I was none too happy out there moving the frozen water from one place to another.
I then started to put my driveway into perspective. The previous two weeks I had been re-reading a book I read about fifteen years ago, Nothing Like it In the World.

This book will blow your mind, if you've had the good fortune to drive out West - especially along Interstate 80 from Omaha, Nebraska to Sacramento, California.
Those railroad tracks and trains you see paralleling the interstate highway are the subject of the book. You're looking at the transcontinental railroad.
Shoveling my driveway, and it's a pretty big one including the apron, allowed me to think about the 30,000 men who used their bare hands to do all the work day after day in just about any weather.
In the Sierra Nevada Mountains in California, the industrious and hard-working Chinese immigrants had to shovel away, by hand, enormous piles of snow from the tracks so the supply trains could move rails, ties, fishplates, bolts, food, and everything else to the crews hard at work in the Great Basin in Nevada. I'm talking 30-foot snow drifts they had to hand shovel.
They didn't have fancy Gore Tex fabric to keep them dry. Can you imagine the quality of the shoes or boots they had?
Cuts through solid rock were done by hand. Tunnels up in the Sierra Nevada mountains were created all by hand at the mind-numbing rate of less than a foot of progress per day on each of four rock faces in the grand summit tunnel. That was even with crews working around the clock.
There were no power tools, no giant machines to cut or drill into rock. Blasted rock and soil were lifted by hand in most cases into wheelbarrows and horse-drawn carts.
There were crude horse-drawn graders that worked in the soft soil of the Great Plains, but hundreds of miles of track was laid on ground where men had to move the material with their hands.
This is a FANTASTIC book that will hold your interest. I guarantee it.
Winter Topics
Two days ago, I received a press release about a newer deicing product. It was a typical press release that extolled all the benefits but, as usual, avoided the "How does this compare in cost to regular deicing salt?" question.
I decided to do the math for you. I BEG YOU to just skim over this very short column. I want it to just be a reminder for you to get out some paper and a pencil when a salesperson is trying to play one or two Jedi mind tricks on you.
CLICK HERE to read about Entry Ice Melt.
Why is My House So COLD Tim?

CLICK HERE to discover a few of the reasons why you might be shivering in your home as winter descends upon you.
Do DeIcing Salts HURT Concrete?

CLICK HERE to discover the truth about deicing salts and concrete.
Why Those Rooms are SO COLD!!!!

CLICK HERE to discover why those rooms in your home are SO COLD when other rooms are just fine.
New Stocking Stuffer!
Okay, I know I promised you that my stocking stuffer ideas would be $15 or less. I went over budget a little bit this week, but believe me it's a great product. Christmas is now just over three weeks away!
Here are the past stocking stuffer ideas if you're a new subscriber:
Super Useful LED Headband Light
10X Hand Magnifier - Mine's 45 years old!
Life-Saving Fire Starter - You MUST GET THIS ONE
What Happens When the ATM is BROKEN?
Now, for this week's stocking stuffer:

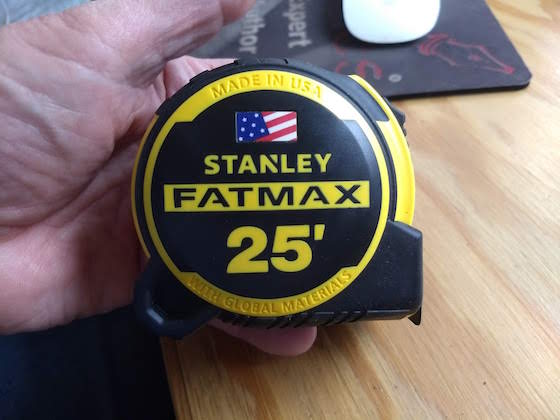
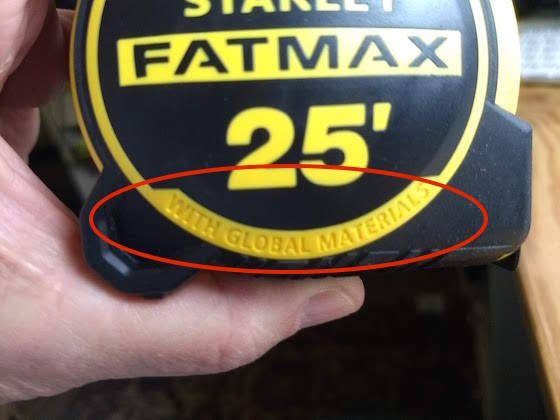
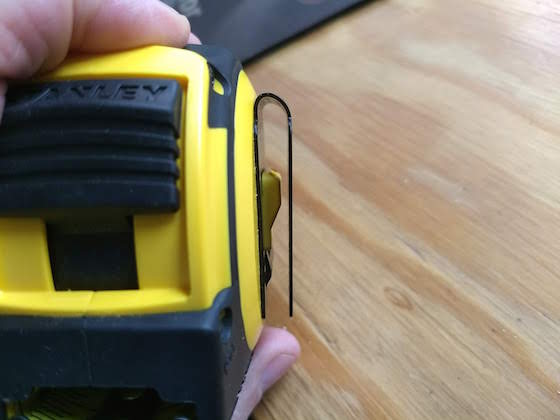
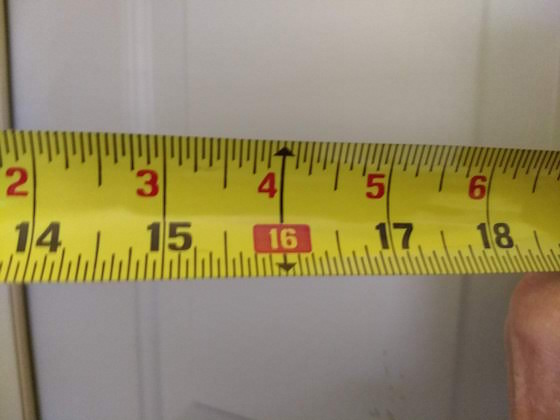
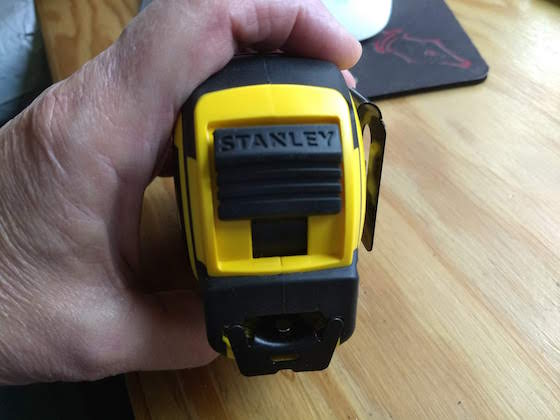
This is a BRAND NEW tape measure. I love it because of the SIZE of the tape.
I GUARANTEE you that whomever you give this to is going to LOVE YOU. Wait until you see how it fits into your hand.
CLICK HERE to see more photos and a video of the tape.
That's enough for a Saturday morning. I need to get ready to go to Skip's Shop with my son. Skip's is in Bristol, NH and is always an adventure. Lots of delicious eye candy there!
Tim Carter
Founder - www.AsktheBuilder.com
Super Clean Man - www.StainSolver.com
Morse Maniac - www.W3ATB.com
Do It Right, Not Over!